Inhaltsverzeichnis:
- Autor Sierra Becker [email protected].
- Public 2024-02-26 04:44.
- Zuletzt bearbeitet 2025-06-01 05:43.
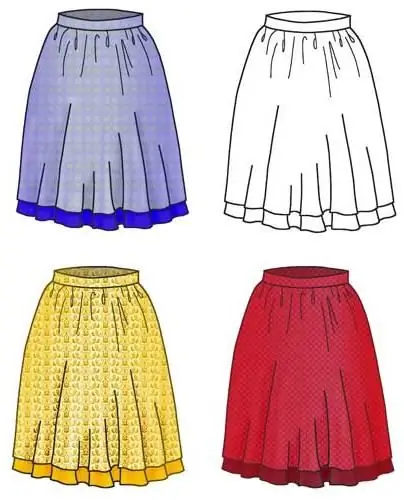
Bei heißem Sommerwetter solltest du unbedingt leichte und lässige Kleidung tragen. Die Idee, einen Sommerrock selbstständig zu nähen, tauchte nicht im Kopf eines einzigen Mädchens auf. Aber die Suche nach Mustern und anderen Schemata, Mangel an Erfahrung könnte diese Idee noch vor ihrer Umsetzung stoppen. Wenn Sie bereits Erfahrung im Nähen haben, wird Ihnen ein eigenständiges Schnittmuster eines Sommerrocks nicht allzu schwer fallen. Dazu müssen Sie drei grundlegende Messungen vornehmen: die Länge des zukünftigen Produkts, den Halbkreis der Taille und den Halbkreis der Hüften.

Frontstoff des Rocks
Damit ein Sommerrockmuster mit hoher Qualität hergestellt werden kann, müssen Sie sich an die wichtigsten Punkte erinnern. Es ist erforderlich, einen rechten Winkel zu bilden und den Scheitelpunkt mit dem Buchstaben "T" zu bezeichnen. Von dort aus müssen Sie die Messung der Länge des Modells verschieben und "H" eingeben. 19 cm werden von der Oberkante der Ecke gemessen (für jede Rockgröße). Dieser Punkt ist mit dem Buchstaben „B“zu kennzeichnen. Dies wird die Länge der Hüften sein. Von Punkt "B" und "H" müssen Sie horizontale Linien der Hüften und des Bodens nach links zeichnen. Für die Rockweite von „B“wird eine Messung des Halbkreises der Hüfte verschoben. Ihr folgtFügen Sie je nach Schnittfreiheit eine bestimmte Anzahl von Zentimetern hinzu. Dieser Punkt muss mit „B1“bezeichnet werden und eine senkrechte Linie durch ihn gezogen werden. Es muss sich mit horizontalen Linien schneiden. Bestimmen Sie die Schnittpunkte "T1" (oben) und "H1" (unten). Um eine Seitenlinie von „B“zu bilden, wird die Hälfte des Halbkreises der Hüfte nach links und zusätzliche Zentimeter für die Schnittfreiheit sowie ein paar Zentimeter für die Erweiterung der Front zur Seite gelegt.

Der Schnittpunkt mit der unteren Linie wird durch "H2" angezeigt. Das Muster des Sommerrocks, nämlich seines Vorderteils, entlang der Taille sollte wie folgt sein: Vom „T“müssen Sie den halben Halbkreis der Taille plus 2 cm, plus 2,5 cm und plus 1,6 cm nach links beiseite legen Diese Zentimeter werden zum Aufweiten, Stecken und Anpassen verwendet. Es ist notwendig, dort die Bezeichnung „T2“anzubringen und von diesem Punkt aus 2 cm zu zählen Der resultierende Punkt muss mit „T3“bezeichnet und mit „B2“verbunden werden. Zwischen „T3“und „T“sollte eine konkave Linie gezogen werden. Wenn die Schürze gerade ist, werden 2-6 cm von „H2“abgesetzt, dieser Punkt wird mit „H3“bezeichnet. Es muss an "B2" angeschlossen werden. Von „H3“nach oben sind die Punkte „H3 und B2“in gerader Linie 1 cm abzumessen, mit „H4“zu markieren und mit einer leichten konvexen Linie mit dem Punkt „H“zu verbinden. Darts werden vom "T" nach links gebaut. Es ist notwendig, die Hälfte des Abstands "T2" zu messen und 1 cm abzuziehen. An dieser Stelle wird "T4" eingesetzt. Von „B“nach links sollten Sie eine Länge gleich „T4“beiseite legen und 0,5 cm hinzufügen, dies wird „B3“sein. „T4“und „B3“sind durch eine gerade Linie verbunden. Das Ende des Fangs muss von „B3“plus 4 cm nach oben begonnen werden. Punkt "B4" bezeichnen. TiefeAbnäher von „T4“nach rechts und links um 1,25 cm ziehen Die Punkte „T5“und „T6“müssen mit geraden Linien mit „B4“verbunden werden.
Rückseite des Rocks
Das Muster eines Sommerrocks, nämlich sein Rückenteil, ist wie folgt: Die Breite dieses Teils beträgt 1/4 des Halbkreises der Taille minus 2 cm, plus 5 cm und plus 1 cm von "T1 " Nach rechts. Dieser Punkt ist mit "T7" bezeichnet. Davon müssen Sie 2 cm nach oben zählen und "T8" eingeben, das mit einer geraden Linie mit "B2" verbunden werden muss. Von "H2" nach rechts müssen Sie 6 cm messen und den Punkt "H5" setzen. Es muss mit einer geraden Linie mit „B2“verbunden werden. Von „H5“aufwärts entlang der Geraden „B2H5“sollte 1 cm freigelassen werden, dieser Punkt ist mit „H6“bezeichnet. Anschließend muss es mit einer konvexen Linie mit „H1“verbunden werden. Der Einschlag ist ähnlich aufgebaut wie der Einschlag des Vorderstegs.

Schlussfolgerung
Modelle von Röcken mit Mustern sind heutzutage nicht mehr so schwer zu finden. Aber wenn Sie sich entscheiden, das Muster selbst zu machen, dann hoffen wir, dass dieser Artikel Ihnen sehr helfen wird. Wenn Sie möchten, dass Ihr Produkt alle modischen Nuancen erfüllt, sollten Sie sich alle Röcke nach Zeitraum ansehen und vergleichen - Frühjahr 2011, 2012 und 2013. Dies hilft Ihnen, Ihre Vorlieben zu bestimmen und aktuelle Trends zu berücksichtigen.
Empfohlen:
So nähen Sie ein rundes Kissen mit Ihren eigenen Händen: Fotos, Muster und Schritt-für-Schritt-Anleitungen
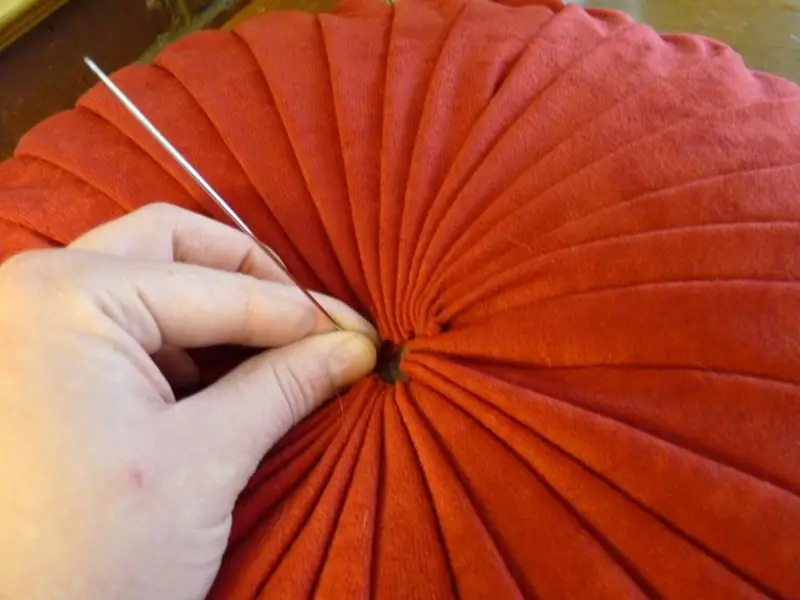
In diesem Artikel werden wir uns überlegen, wie Sie ein rundes Kissen mit Ihren eigenen Händen nähen und wie Sie verschiedene Optionen für solche Produkte schneiden. Sie lernen, wie Handwerker normalerweise sein Inneres füllen, wie Sie Kreise aus einzelnen Patchwork-Patchworkstücken machen. Der Artikel ist mit vielen Fotos gefüllt, die neuen Nadelfrauen helfen, das Prinzip der Herstellung runder Kissen schnell zu verstehen
Spielzeug von Hand gefertigt. So nähen Sie ein Stofftier mit Ihren eigenen Händen: Muster für Anfänger
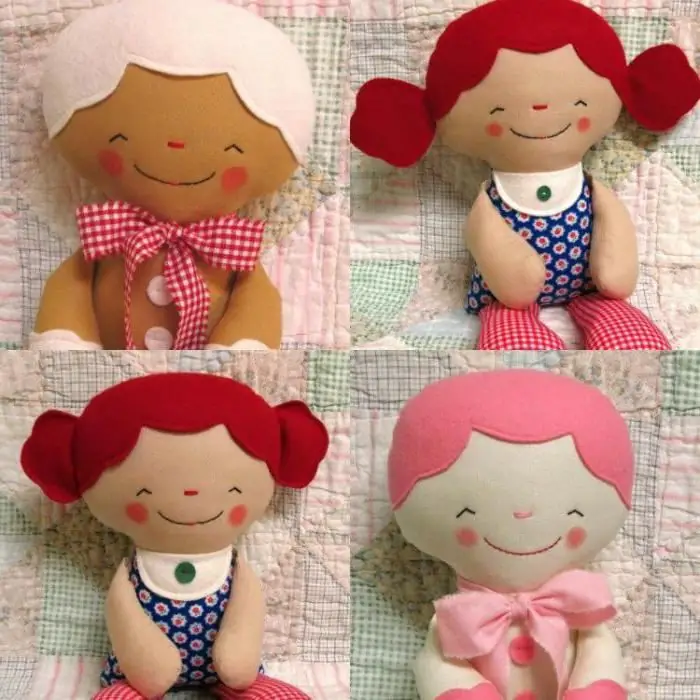
Angesichts der Popularität und Nachfrage nach handgefertigten Waren ist ein handgenähtes Spielzeug nicht nur für ein Kind, sondern auch für einen Erwachsenen jeden Alters ein hervorragendes Geschenk: Es kann als Souvenir oder Interieur präsentiert werden Dekoration. Es ist einfach, so etwas zu machen. Die Hauptsache ist, ein einfaches Muster entsprechend Ihrer Erfahrung zu wählen
So erstellen Sie ein Buch mit Ihren eigenen Händen: Schritt-für-Schritt-Anleitung
Ein Buch ist eine einzigartige Welt, die keine Grenzen oder Grenzen hat. Ihre Fantasie ist grenzenlos. Bücher begleiten uns ein Leben lang – von der Geburt bis ins hohe Alter. Die Buchwelt lockt mit Abenteuern, Gefühlen, Magie, Geschichte. Wenn ein Mensch anfängt, ein interessantes Buch zu lesen, kann er nicht mehr aufhören, denn seine Magie entführt ihn nach und nach in ein Fantasieland
Wie Sie mit Ihren eigenen Händen ein praktisches und schönes Tagebuch erstellen
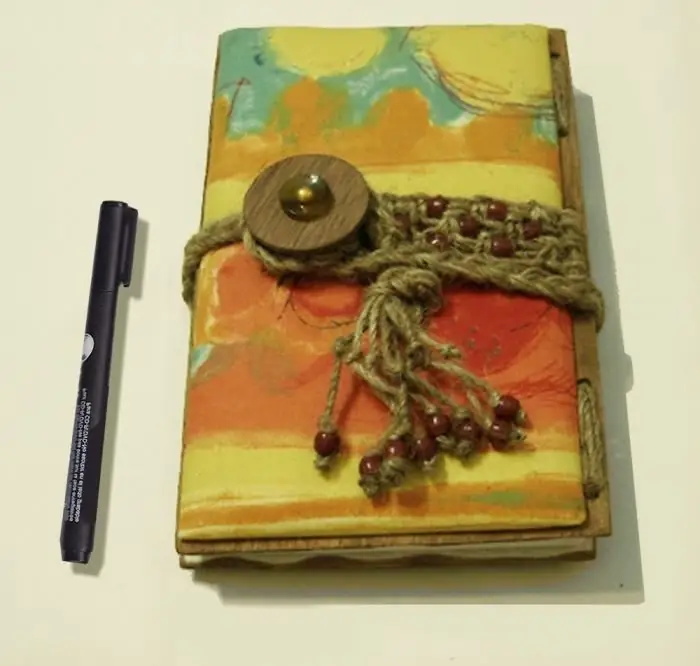
Für einen modernen Menschen ist es schwierig, auf ein Tagebuch zu verzichten. Mit diesem Notizbuch können Sie Ihren Tag planen, Erinnerungen an wichtige Meetings und Ereignisse, Telefonnummern und Adressen aufschreiben. Wenn Sie also ein Geschenk für einen Ihrer Freunde oder Arbeitskollegen auswählen, werden Sie sich nie irren, wenn Sie es mit einem Tagebuch überreichen
So erstellen Sie mit Ihren eigenen Händen ein Muster für eine Nähmaschinenabdeckung: Konstruktionsmerkmale mit einem Foto
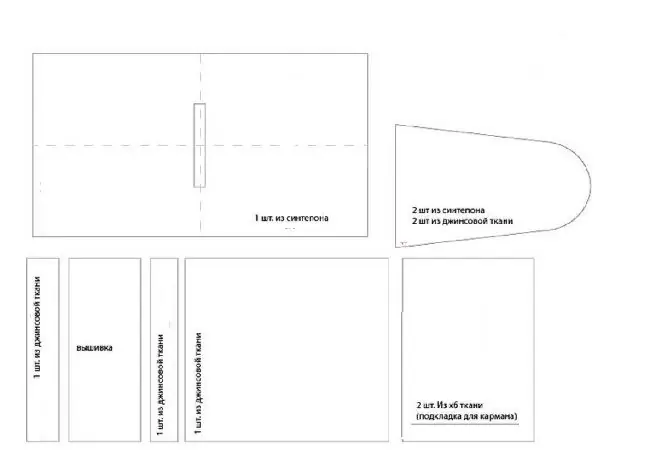
Eine Nähmaschine ist für viele Näherinnen nicht nur ein Arbeitsgerät, sondern eine Einnahmequelle und ein zuverlässiger Helfer, der etwas Pflege erfordert. Damit die Mechanismen nicht unter Staub und mechanischen Beschädigungen leiden, lohnt es sich, eine Abdeckung für eine Nähmaschine zu verwenden, die sich ganz einfach mit den eigenen Händen nähen lässt
