Table of contents:
- Author Sierra Becker becker@designhomebox.com.
- Public 2024-02-26 03:47.
- Last modified 2025-01-22 22:09.
The bow is used to decorate not only clothing items, but also gifts and surprises. It gives festivity and complements any image or composition. But how to tie a bow so that it is even, original and beautiful? It is enough to purchase the necessary materials and be patient.

Overview and preparation
The most successful and best material for making a decoration in the form of a bow is a ribbon. Before tying a bow from a ribbon, you need to determine the size of the future product. The dependence is as follows: the wider the ribbon, the larger the bow will be.
The choice of material and colors of the tape will depend on the texture of the base from which the decorated object is made. For example, the length of the ribbon for the bow that will decorate the surprise contained in the medium-sized box should correspond to the double circumference of the box + 50-60 cm for the bow.
Items needed to create a bow:
- scissors or knife;
- glue or wax candle;
- additional itemsdecor.
Method 1. Simple bow

A simple small bow is made from a narrow ribbon. Can be used to decorate postcards, soft toys, personal items and souvenirs. It is done very simply and quickly: only 3 steps. How to tie a ribbon bow?
The instruction is as follows:
- You will need a narrow ribbon about 30 cm long. When the fabric is in your hands, you need to fold it so that the design resembles the letter "M" and at the same time the ends of the eye loops hang down.
- Next, you need to connect the eye loops with a cross so that one of them is on top of the other. In the hole formed from below, you should pass the upper eye-loop towards you from the back side.
- After the previous step, you need to pull the side "wings" to fix and adjust the desired shape and length of the butterfly. You can fix the craft with a candle. The wax will hold the fabric together so that the decoration will not unravel.
Method 2. Bow on fork
Among all the ways to tie a bow beautifully, the most interesting is tying on a fork. To do everything right and get the desired product, just follow the instructions:
- The selected tape must be straightened and wrapped around the fork.
- Through the distance between the teeth in the middle of the cutlery, insert one end of the ribbon and wrap it.
- After the end is pushed in the opposite direction, it rises up in such a way thatso that the entire fork is wrapped in cloth.
- All the same part of the tape must be passed forward through the top of the cutlery. If a loop formed during these manipulations, then everything is correct.
- The same end of the tape is pulled to the right and pushed through the loop through the bottom of the fork.
- The final step will be giving the desired shape to the bow and fixing.
The ribbon product is ready to decorate the surprise.
Method 3. Simple bow

Strict bow will go well with formal clothes, jewelry and shoes. Before you tie a bow, you need to check the availability of materials and buy the missing ones. So, you will need:
- Wide ribbon made of satin material - 25-30 cm.
- Thin type tape - 5 cm.
- Scissors or other cutting tool.
- Glue.
This method consists of only 2 stages. So, how to tie a bow?
- A wide ribbon is folded in such a way that the ends are connected in the middle, where they are glued with glue and pressed until the materials are connected.
- The junction of the ends of the wide tape is wrapped with a narrow ribbon and fixed with glue. 5 minutes after the glue has set, the bow can be used to decorate a bag, dress or other items.
Method 4. 2 color bow

Among all the options for how to tie a bow, the most striking is the design made from ribbons of variousflowers.
Sequence:
- First, you need to cut off the same sizes from wide and narrow ribbons and put the resulting blanks on top of each other.
- If everything is done correctly, then the narrow workpiece should be wide on top. With the help of glue, the ends of the ribbons are fastened in such a way that an ellipse shape is obtained.
- Tighten a double knot in the middle using thin ribbon to give the bow a delicate shape.
This kind of bow is suitable for little princesses and fashionable schoolgirls. With it, you can easily decorate, for example, a bezel.
Recommended:
Shiny DIY bow tie

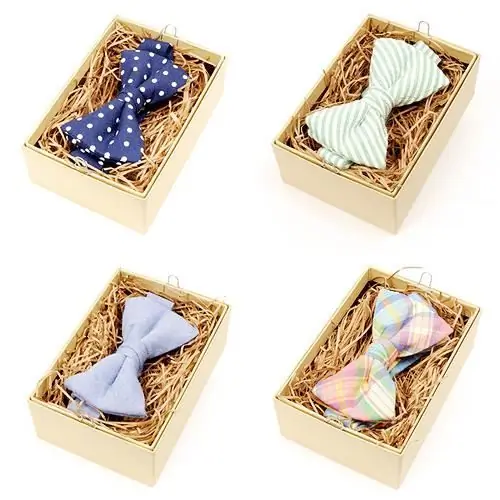
The bow tie is always one of the most glamorous accessories. Where it is needed, there is always a holiday, a celebration or a banquet. At the same time, almost everyone can sew an exquisite or bright bow tie with their own hands
How to sew knitted details? There are several ways

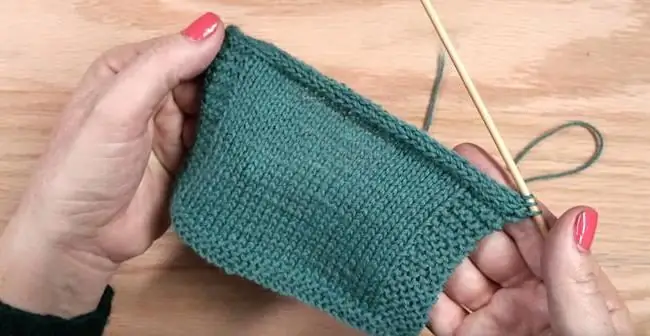
After all the elements of the knitted product are ready, you can proceed to the final stage - connecting the existing parts into a single whole. This is a very important stage, the quality of which will largely depend on the appearance of the thing. To do this, you need to know how to sew knitted parts correctly so as not to spoil the product
DIY tie pattern: a model with an elastic band and an aristocratic bow tie

The tie has long ceased to be the subject of an exclusively male wardrobe. Ladies love to wear it. Sometimes, for a certain image, a girl needs a tie of a specific shape and color, but there is nowhere to buy it. This article presents patterns for accessories of various types: long with an elastic band and a self-tie butterfly
Ribbon bow for discharge from the hospital. How to make a bow for an extract with your own hands

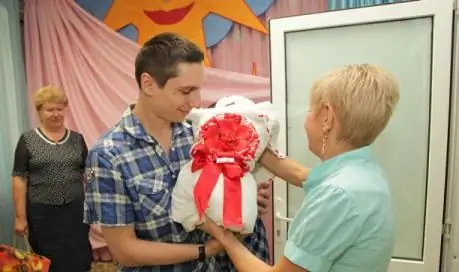
When a child is born to you or your loved ones, not only the baby himself, but also his parents begin a new life. The cub is protected from extraneous sidelong glances, but at the same time it is dressed up in colorful diapers. A beautiful bow for discharge, made with your own hands, becomes an indispensable attribute of the first children's wardrobe
Several ways to close the loops with knitting needles

You should choose the right way to close the loops with knitting needles. This will help to avoid unpleasant nuances when collecting parts or when wearing clothes
