Inhaltsverzeichnis:
- Autor Sierra Becker [email protected].
- Public 2024-02-26 04:45.
- Zuletzt bearbeitet 2025-01-22 22:11.
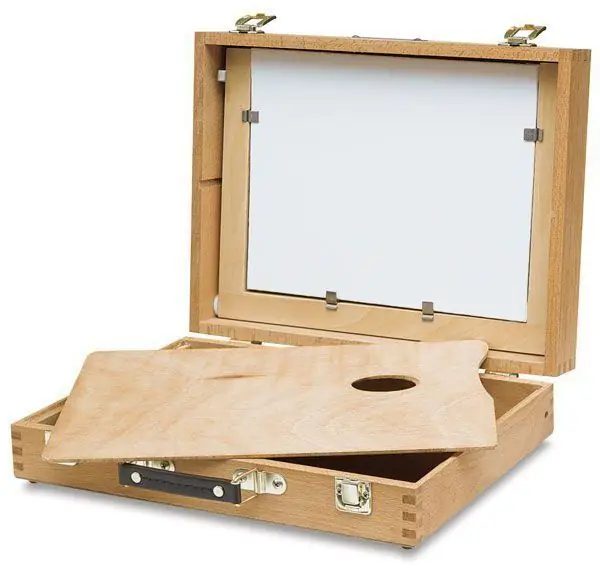
Ein Skizzenbuch ist ein spezieller tragbarer Koffer für einen Künstler. Darin tragen normalerweise Kreative Farben, Pinsel, eine Palette, Blätter, Bleistifte, Buntstifte, einen Radiergummi und viele Kleinigkeiten. Die Ladenoptionen sind sehr teuer, und es ist kein Problem, ein Skizzenbuch mit Ihren eigenen Händen zu erstellen, insbesondere wenn der Meister Erfahrung in der Tischlerei oder Zimmerei mit Holz und Sperrholz hat.

Um zu arbeiten, müssen Sie ein Handwerkzeug haben: eine Säge, eine Stichsäge, eine Schleifmaschine (wenn letztere nicht vorhanden ist, können Sie einfach Schleifpapier verwenden - 80 und 100), einen Schraubendreher.
Die Größe des Koffers sollte so sein, dass A-3-Blätter, die am häufigsten von Künstlern zum Zeichnen von Skizzen verwendet werden, problemlos hineinpassen.
Erforderliche Materialien
Um ein Skizzenbuch mit Ihren eigenen Händen zu erstellen, müssen Sie Latten oder Fetzen aus dickem Sperrholz, ein Blatt dünnes Sperrholz kaufen oder auch zustimmen und ein halbes Blatt kaufen. Das wird reichengenug.
Außerdem müssen je nach Körperlänge eine Klavierschlaufe und Befestigungen für einen Schultergurt gekauft werden, damit das Skizzenbuch bequem über der Schulter getragen werden kann.
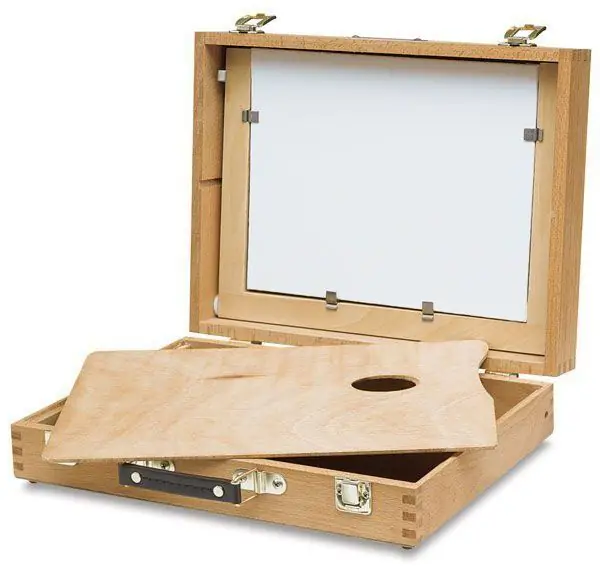
Um die Teile aneinander zu befestigen, müssen Sie selbstschneidende Schrauben 10 mm und 21 mm, PVA-Kleber mit dicker Konsistenz, H alterungen für F alttüren von Möbeln aufnehmen, damit der Deckel beim Anheben an Ort und Stelle bleibt.
Denken Sie auch daran, wie der Deckel schließt - Sie benötigen ein Schloss, einen Riegel oder einen Haken. Für die Oberfläche des Skizzenbuchs müssen Sie einen Lack vorbereiten, es ist ratsam, Möbel zu kaufen.
Zeichnungen
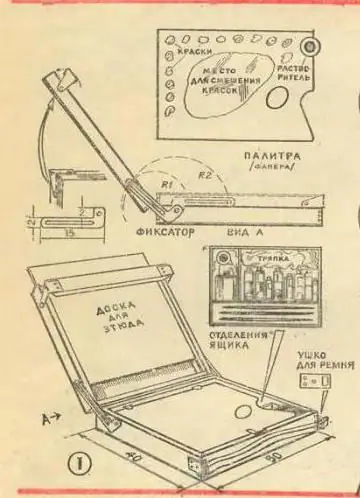
Do-it-yourself-Skizzenbuch muss gemäß den Zeichnungen hergestellt werden. Es ist ganz einfach, sehen Sie sich einfach das Beispiel im Bild unten an:
- Der Körper ist eine Sperrholzkiste, 500 mm lang, 350 mm breit, 60 mm hoch.
- Für den Deckel werden die gleichen Abmessungen verwendet, nur die Höhe wird kleiner - 25 mm.
- Für die Seiten werden Sperrholz oder Holzlatten verwendet, 10-12 mm dick.
- Bei Innenbrücken müssen Sie zusätzlich die benötigte Taschenanzahl auf der Zeichnung markieren.
Zunächst wird der Rahmen aus Einband und Korpus des Skizzenbuchs mit Schrauben zusammengebaut. Mit eigenen Händen werden die untere und obere Ebene markiert und installiert. Sie sind aus dünnem Sperrholz geschnitten - 3-4 mm, so dass das Gewicht des fertigen Gehäuses gering ist. Verwenden Sie eine Säge oder Stichsäge, um Teile der Struktur gleichmäßig entlang der Konturen zu schneiden.
Darüber hinaus schleifen wir sorgfältig jeden Teil des Gehäuses. Sie können Schleifpapier verwenden. Zuerst wird der größere genommen, dann der kleinere.
Interne Partitionen
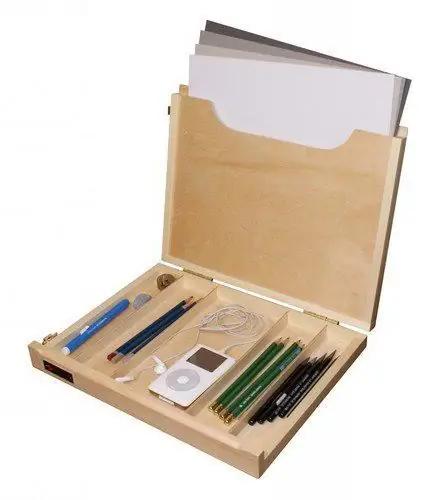
Bevor der Meister mit seinen eigenen Händen ein Skizzenbuch erstellt, sollte er sich mit dem zukünftigen Besitzer des Koffers beraten, wie viele Fächer darin hergestellt werden müssen und welche Größe sie haben sollten. Dann wird gemäß der Zeichnung die erforderliche Anzahl von Trennwänden des inneren Teils des Körpers aus dünnem Sperrholz ausgeschnitten und mit selbstschneidenden Schrauben befestigt. Im Deckel ist nichts verbaut, da dort meist Papierbögen oder Zeichenpapier gef altet werden.
Armaturenmontage
Verbinde zuerst Deckel und Korpus mit einer Klavierschlaufe. Als nächstes wird eine Stange oder ein Möbelscharnier mit selbstschneidenden Schrauben installiert. Wenn der Künstler m alt, ist der Deckel geöffnet und wird von diesem Scharnier geh alten. Eine leichte Neigung nach außen hilft auch.
Installieren Sie das Scharnier von der Innenseite des Deckels zur Seite der Hauptschublade.
An der Vorderseite ist dann in der Mitte ein Haken angebracht, damit sich das Skizzenbuch schließt und beim Tragen nichts herausfällt. Es gibt auch Griffe für den Gürtel. Dazu können Sie einen alten Herrengürtel oder einen Streifen dicker Leinwand verwenden.
Damit die Blätter nicht aus dem Deckel fallen, können Sie eine dünne Trennwand aus Sperrholz an Scharnieren anbringen. Machen Sie im Deckel selbst Drehh alterungen, damit Sie bequem ein Blatt Papier anbringen können.
Am Ende wird das Produkt lackiert. Nach dem Trocknen müssen Sie die Oberfläche erneut sorgfältig mit Schleifpapier bearbeiten und dann ein zweites Mal mit Lack öffnen.
Jetzt weißt du, wie man ein Skizzenbuch mit eigenen Händen macht. Viel Glück!
Empfohlen:
Wie man mit eigenen Händen einen Stuhl baut. Wie man mit eigenen Händen einen Schaukelstuhl baut

Möbel können nicht nur aus Brettern hergestellt werden, sondern aus jedem verfügbaren Material. Die Frage ist nur, wie stark, zuverlässig und langlebig es sein wird. Überlegen Sie, wie Sie aus Plastikflaschen, Pappe, Weinkorken, Reifen und Faden einen Stuhl mit Ihren eigenen Händen herstellen können
Wie erstelle ich ein Skizzenbuch mit eigenen Händen? Wie erstelle ich ein Skizzenbuch zum Zeichnen?
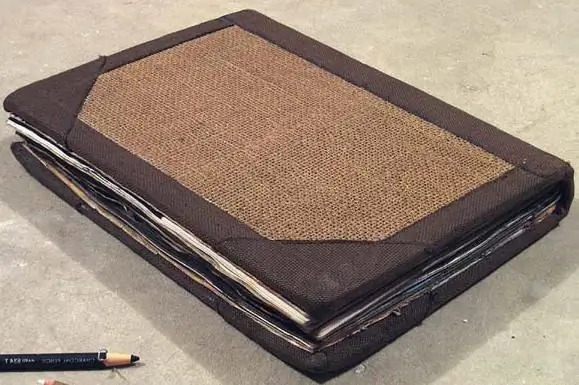
Notizbuch für Skizzen und Notizen ist schon lange kein exklusives Attribut von Kreativen mehr. Natürlich haben Künstler, Bildhauer, Schriftsteller und Designer immer mehr als ein Skizzenbuch in ihrem Arsenal. Aber auch Kunstferne schätzten die Möglichkeit, ein Skizzenbuch zur Hand zu haben. Do-it-yourself-Notizbücher zeigen die Kreativität des Besitzers, und Notizen, Fotos und Cartoons, die die Seiten füllen, ermöglichen es Ihnen, wertvolle Momente des Lebens für sich selbst zu speichern
Wie erstelle ich ein Weihnachtsmann-Kostüm mit eigenen Händen? Wie näht man ein Schneewittchenkostüm mit eigenen Händen?

Mit Hilfe von Kostümen können Sie dem Fest die nötige Atmosphäre verleihen. Welche Bilder sind zum Beispiel mit einem so wunderbaren und geliebten Neujahrsfest verbunden? Natürlich mit dem Weihnachtsmann und dem Schneewittchen. Warum sich also nicht einen unvergesslichen Urlaub gönnen und Kostüme mit eigenen Händen nähen?
Truhe des Weihnachtsmanns mit ihren eigenen Händen. Wie macht man mit eigenen Händen eine Neujahrskiste aus Pappe?
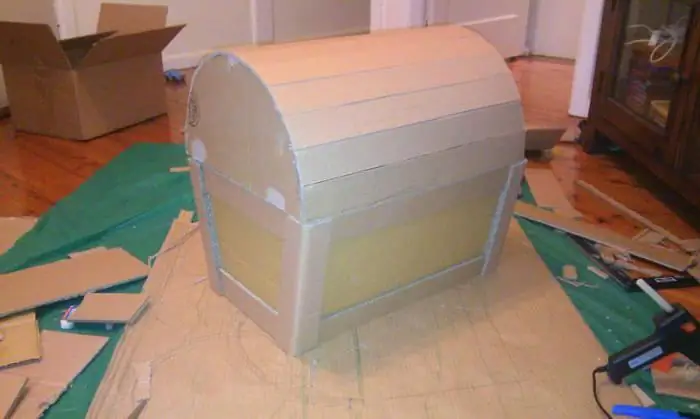
Vorbereitung auf das neue Jahr? Möchten Sie eine originelle Geschenkverpackung oder Innendekoration herstellen? Machen Sie mit Ihren eigenen Händen eine Zauberkiste aus Pappe! Kinder werden diese Idee besonders mögen. Schließlich ist es viel interessanter, wenn die Geschenke nicht nur unter dem Weihnachtsbaum liegen
Wie man Monster High-Kostüme mit eigenen Händen näht. Karnevalskostüme "Monster High" und Zubehör

Wie man Monster High-Kostüme herstellt, wird in diesem Artikel besprochen. Es wird weder komplexe Berechnungen noch komplizierte Muster geben. Die unten vorgestellte Herstellungsoption ist ziemlich einfach und verständlich und wird sogar für diejenigen passen, die hundert haben Prozent Zuversicht, dass Handarbeit nicht ihre Stärke ist
