Table of contents:
- Author Sierra Becker becker@designhomebox.com.
- Public 2024-02-26 03:46.
- Last modified 2025-01-22 22:09.
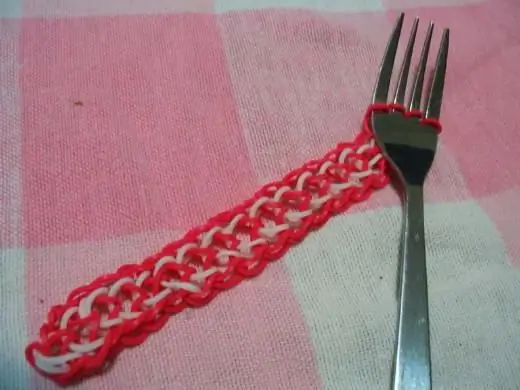
Today, many children have begun to get involved in unusual hobbies, such as weaving jewelry, small souvenirs and other crafts using rubber bands. Crafting materials are easy to obtain at any speci alty store.
What tools help in the work
Together with rubber bands, special machines and forks are sold, with the help of which the production will go much faster. If it is not possible to acquire additional accessories, then you can use your own fingers or take an ordinary cutlery - a fork. And here the question arises: how to weave bracelets from rubber bands on a fork? The answer is in this article.

What you need for weaving
Before embarking on an exciting action, you need to make sure that you have the following necessary materials at hand:
- gum in the required quantity;
- crochet hook;
- a few special clips;
- table fork.
So, everything is ready. It remains only to understand how to weave bracelets on a fork?
Principlework
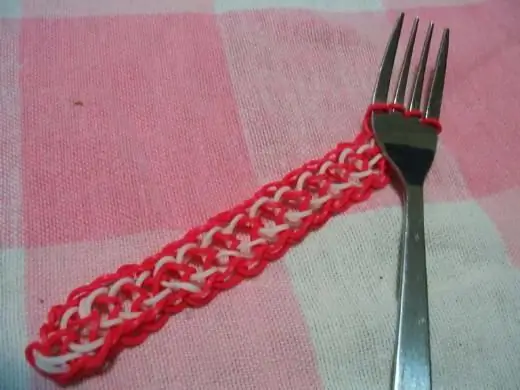
You can find a huge number of schemes for work, both simple and complex with a variety of patterns. In the article you can get acquainted with several options for such a hobby.
How to weave rubber band bracelets on a fork: fishtail option
- First of all, you need to select materials of the color you like. Put the first rubber band on the fork with a figure eight. She pulls on the extreme teeth, then turns over. The result is a pattern in the form of a cross, which is located in the center of the fork. The free edge is put on the next pair of teeth.
- With the second elastic band proceed as follows: it is pulled over the teeth of the fork from both edges, without affecting the central ones. Then comes the turn of the third gum.
- The next step is done using a hook. With the bent end, they grab the lowest gum from the edge and throw it over 2 cloves. It turns out a sagging piece in the middle of the cutlery.
- Then do the same for the second edge. To make it easier to work, it is recommended to move the loops down.
- When it's time to put on the next gum, then on the extreme teeth they will again be in the amount of three pieces. Then they again pick up the lower gum from the edge and throw it over 2 teeth and also leave it in the center. Weave the second edge in the same way. The action is repeated until the desired length of the decoration is set.
- As soon as the required value is reached, the rubber bands stop adding. They leave a couple of the last on the cutlery, and each edge of the bottomis displayed in the central part.
- The last elastic has two loops left, from which one is made, which remains on the hook. You will need this loop for fastening.
- From the opposite end of the decoration, you need to find the loops of the elastic band that was the very first, and skip the second part of the fastener through them. The work is over - the decoration is ready.
Having figured out how to weave rubber bracelets on a fork, you can move on to the next job.
What else can you do
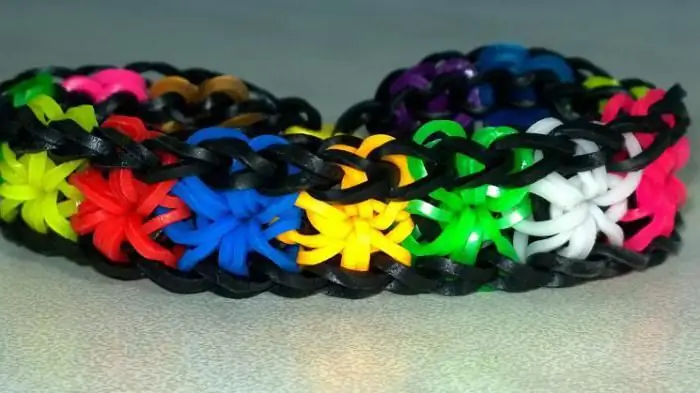
You can please yourself and your friends with a very interesting decoration option. It will attract the eye not only with an abundance of various bright colors, but also with an unusual technique of execution and will certainly appeal to all those who want to learn how to weave bracelets from rubber bands on a fork.
Rainbow variant
Here, bright rubber bands should be preferred, but you should remember to alternate them while working.
- The first elastic band is folded in half to make a figure eight, and only after that it is pulled over the fork (over the middle pair of teeth).
- The second elastic must also be folded into a figure-eight and put on the outer teeth on either side of the fork.
- The third, folded like the first and second, is threaded in a similar way to the second part of the fork, located on the edge.
- On the teeth in the middle, you need to put on an elastic band folded in half, but do not twist it with a figure eight. Using a hook, grab the loop of the lower gum and throw it over the central prong. The same procedure is carried out on the secondmedium clove.
If it is not possible to use a hook, then you can take a toothpick. Thanks to the sharp ends, when weaving bracelets from rubber bands on the fork, it is easy to throw loops.
- An elastic band folded in half is again put on the central teeth, but also not folded in a figure-eight.
- A row that has already been done is thrown over the new one.
To get bracelets from elastic bands on a fork, you need to alternate the length: one elastic band in the center and two on the sides. To create rainbow colors, use different colors for each row.
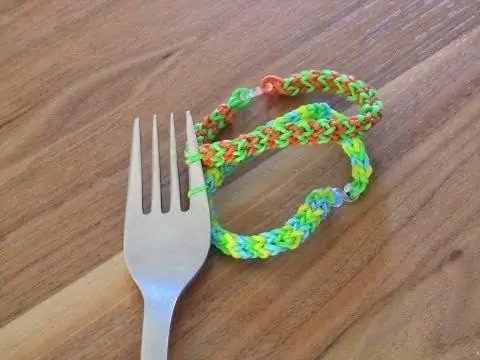
At the last stage of making jewelry, you need to transfer the loops from the teeth located on the edges to the central ones. Then throw the elastic bands from the bottom to the top. Pull an elastic band folded in half over a pair of central teeth, and string loops from the bottom row on top.
Through the resulting pair of loops, put on the clasp. Fasten with the second end of the decoration. To give a neat look to the craft, you can straighten all the knots. To do this is simple - you need to stretch the resulting material in width and length. As you can see from the article, making bracelets from rubber bands on a fork is quite simple.
Recommended:
How to weave bracelets from threads
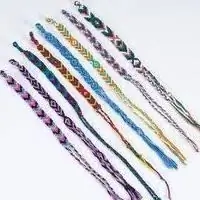
Thread bracelets are an original gift and a stylish decoration. Weaving them is easy, and the process itself does not take much time. Most often, floss threads are used for weaving, as they are very bright, do not fade and have a wide variety of shades
Schemes of weaving from gum. How to weave bracelets and three-dimensional figures from rubber bands

It tells about how to weave a doll figure from rubber bands using a loom, as well as about the weaving method ''French braid
How to weave bracelets from rubber bands on a fork for beginners

Did you decide to try making your own Rainbow Loom Bands jewelry? Haven't bought a machine yet? Use a regular table fork. Read about how to weave bracelets from rubber bands on a fork. It's not hard
How to weave a rubber band bracelet on a loom: a master class

Since the Rainbow loom appeared, needlewomen of various ages have learned to weave jewelry for their wrists, hair, neck and fingers, using special machines or improvised objects, such as pencils, slingshots, fingers and other
Rubber hamster. How to weave a hamster out of rubber bands

Colorful elastic bands are an excellent material for creating a variety of jewelry, including bracelets and hair bows, key chains, as well as voluminous toys. It is to the latter category that a hamster made of rubber bands belongs
