Table of contents:
- Author Sierra Becker becker@designhomebox.com.
- Public 2024-02-26 03:46.
- Last modified 2025-01-22 22:09.
From what improvised means New Year's symbols are not made! A do-it-yourself Christmas tree made of napkins looks like a work of art. Not everyone will guess what you made a forest beauty from. Moreover, there are several ways to make Christmas trees from this material, choose any you like and get creative.
Tissue napkin Christmas tree
This option will help decorate the New Year's table. How to make a Christmas tree from fabric napkins, we will now tell. Take a green napkin, fold it in four. Position so that open corners face you.

Fold up the first corner, then the second, third and fourth. At the same time, you must bend each subsequent one to a lesser extent than the previous one. Holding your work with your hand, turn the napkin over to the back. If you want to better fix the fold lines, you can iron them.
Now you need to fold the upside down napkin three times in this way: first turn the right corner to the left, then the left corner to the right. How such a Christmas tree is made from napkins is clearly shown in the photo above. In the picture at number ten, you can see that the napkin needs to be carefully turned over again and rotated an additional 180 ° so that the free corners are directed towards you. Start bending them from the top. Place the corner of the next one under the base of the first triangle. Continue shaping the tree in the same way, folding in the bottom corner last.
Now you can put a Christmas tree on a plate and make a few more like it, decorating the New Year's table with them. You can arrange the fabric tree vertically, and put on a small copy of Santa Claus's hat on top.

Slender beauty
To make a paper Christmas tree, you will need patterned napkins and a sheet of cardboard. Attach a large plate to it, circle it, cut out the resulting circle. You can use a compass to draw a circle. Now cut the resulting figure along the radius - that is, from the edge of the circle to its center. Lubricate one notch on the back side with glue, roll the circle to make a cone. Wait until the glue dries. After that, the do-it-yourself Christmas tree from napkins is done further.

Packs turn into a tree
Take the same napkins, they will be needed to decorate the first lower tier of the tree. Lubricate one side of the napkin with glue (wherefold), lay the second side on it, with which these two are connected by an angle. Press the junction with your fingers - you have a bag. Lubricate the fold line with glue, attach this part to the bottom of the cone. Next, glue a second napkin folded in the same way. At the same time, their free corners should be directed downwards.
After you have made the first lower tier, proceed to the second. It is also better to make it from napkins of the same pattern or matching color. In this way, build a Christmas tree, consisting of six or more rows of napkins, rolled into small bags. The top can be decorated with a star cut out of cardboard, or tie a satin bow on it. If you want to make a big tree, put the cone on a stick and stick the bottom end of it into the flower pot.

Jewelry work
In the same way (by sticking blanks on the cone) another Christmas tree is made from paper napkins. First, they need to be cut into squares with a side of 1 cm, then roll each one in a certain way.
Take the first square, put a ballpoint pen in its center, wrap this piece of napkin around it. Then bring this design to the PVA glue poured into the bottle cap. Lubricate the center of the folded square with a small amount of glue, attach the workpiece to the bottom of the cone. Glue the remaining parts in the same way - first to the first, then to subsequent tiers. Decorate the Christmas tree with paper beads, after which you can admire the finished work.
Fluffy spruce - let's start creating
The cardboard cone will serve as the basis for the next beauty. He will tell you how such a Christmas tree is made from napkins, a master class. If you made paper boats as a child, now this technique will come in handy for you. Have you forgotten how it's done? By looking at the picture below, you can quickly remember.

First unfold the green napkin. If it's too soft and too big, then don't unroll it. Now bend all 4 corners to the center, at this point they should meet. To make it easier to do this, first find the middle: to do this, bend the napkin one at a time, and then along the second diagonal. The intersection of these lines is the center of the square. This is how a do-it-yourself Christmas tree is made from napkins, but the process is not yet complete.
Creativity continues
Carefully turn the napkin over and do the same manipulations - bend the four corners to the center. Don't forget to iron the folds with your hand. Turn the napkin over again, straighten the resulting 4 petals, give them volume by rounding them. Apply glue to the center of the back of the workpiece, glue it to the bottom tier of the cone. In the same way, fold the second napkin, glue it. After that, proceed to filling the second and subsequent tiers.
It's time to decorate your creation. Cut a 2 cm wide strip from a red or pink napkin. Starting from the small side, fold the napkin into a circle shape. Apply a little glue to the resulting ball, place the paper toy inthe center of the napkin that is already glued to the cone. In this way, make some balls and decorate a paper tree with them.
Christmas tree of napkins made by hand. You can put it on the table in the office or leave it at home. Every time you look at it, you will remember how you made such beauty and be proud of yourself. But these are not all the ways in which a Christmas tree craft is born from napkins. One more will be discussed later.

One circle, two circles - there will be a Christmas tree
To make such a decorative tree, you will need cardboard or thick paper. Lubricate any of these bases with a small amount of glue, apply a napkin.
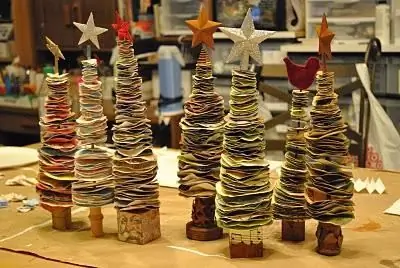
When the blanks are dry, cut them in a circle, make the edge wavy. First make big circles, then smaller ones. Now in the center of each workpiece you need to make a hole. Do this carefully with a knife or scissors. Place a blank made of cardboard on the table. Lubricate the edge of the wooden stick with glue, attach it with this part to the hole of the first mug, wait until the glue dries. Next, string prepared blanks on a stick so that the largest ones are at the bottom, and the small ones are at the top. Glue a star cut out of tissue paper to the top of the tree. Here is another Christmas tree ready.
Recommended:
Christmas tree made of paper. We make a decorative tree with our own hands

A Christmas tree made of paper is the most beautiful present for the New Year. Such a product will surely serve as a beautiful decoration of the interior of the house. How to make a handmade Christmas tree? You will find the answer to this question in the materials of this article. We have selected the most interesting ideas for you. Learn them and put them into practice
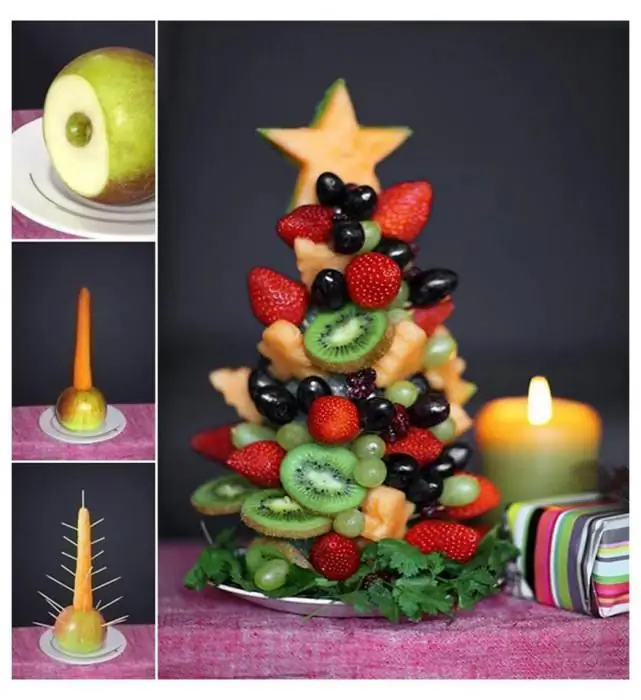
Christmas tree of fruits on the festive table. How to make a fruit tree

Christmas tree of fruits is a great decoration for any holiday table. Properly created decor is a guarantee that the holiday in your home will be fun and will be remembered for a long time
Christmas tree from napkins: you can make a real Christmas tree with your own hands

Crafts from waste material is a separate direction of needlework. What is especially pleasant, this type of creativity is available to everyone and is not limited by anything other than the imagination of the master. We bring to your attention an interesting idea. A Christmas tree made of napkins (it’s not difficult to make it with your own hands) can be made even by a child in a minimum amount of time and from materials that can be found in any home
Christmas tree made of cones. We make a decorative tree with our own hands

In this article we will talk about how a Christmas tree is made from cones. Such a product can be a good alternative to a living coniferous tree on the eve of the New Year holidays. Master classes are presented to your attention, which tell about the technology of making Christmas trees from pine fruits
How a palm tree is made from a bottle

What is not made from plastic bottles: birds and butterflies, flowers, cacti and palm trees, curtains and lamps, various accessories for the garden and country house. And with what pleasure children take part in this creativity! After all, before their eyes, some garbage turns into a toy
