Table of contents:
- Author Sierra Becker becker@designhomebox.com.
- Public 2024-02-26 03:46.
- Last modified 2025-01-22 22:09.
Lyalka-motanka is one of the varieties of Slavic dolls-amulets. Unlike Russian and Belarusian counterparts, threads are wound around her face in the form of a cross. Among the pagans, it meant fire and was a solar symbol.
To make such a doll does not require a lot of material, and anyone can make it.
Principles of making amulets

The process of making this doll is called wrapping. It really is like wrapping a baby in diapers, clothes. The traditional motanka is made without the use of needles or scissors. The fabric and threads are torn by hand.
In ancient times, the cloth for making dolls was dyed with elderberry, beetroot, nightshade juice. When this amulet was made, the craftswoman thought about who she would then hand it to. Often the dolls were left in their families and passed down through generations.
Now motanki are beautiful souvenirs, in Ukraine they are often tied to the hoods of wedding cars as a symbol of the happiness of newlyweds.
Starting crafting
Tell you how to make lyalka-motanka,master class.
First prepare everything you need:
- pieces of cloth;
- threads of desired colors;
- scissors;
- ribbons, various accessories for decoration.
Take a piece of a plain white rectangular cloth, inside you need to put either a bar of rolled cotton wool, or a fabric rolled up in the form of a roller. In the latter case, you need to fold the flap several times along to get a voluminous strip 3-5 cm wide. Now twist it tightly on one side in the form of a roll. Place the blank inside the white rectangular sheet.
Align its edges. Wrap the fabric with a thread so that the cotton wool or a piece of fabric rolled up with a roller turns into the head of the amulet and its neck is clearly marked.
Finishing the face

Tell you how to make Lyalka-motanka, scheme. Pay attention to how the threads are wound. They should be crosswise. This feature of the Ukrainian amulet distinguishes it from similar ones made by other peoples. Facial features are not done here, they are replaced by threads.
Place the first vertically, pass under the neck and continue winding in the same way. Let's say your first thread is yellow. From it you will make a strip in the center of the doll's face.

Further, to the right and left of this strip, wind one more blue color. In this case, wind the threads vertically too. For the right strip, pass them through the left side of the neck, for the left - through the right.
Borderblue can vertical stripes of blue. Now you need to wind the threads in the same color scheme, only horizontally. To keep them more firmly, pass them through the vertical rows. Thus you have completed the sacred cross.
Now wind a few rows of white thread around the neck of the doll to hide the previously created weaves and clearly define this part of the body.

Very soon you will get a motanka. How to make it, following the old traditions? Tear off the fabric with your hands, perform an odd number of windings.
Make arms and torso
The basis for these parts of the body will be two white pieces of fabric, one should be larger than the other. Take a small rectangular strip of canvas, wind the tube out of it away from you. Make a larger piece of fabric in the same way. Very soon it will become the basis of the body of the amulet.
Place it vertically, and position the small tube at the top, perpendicular to the large workpiece. Take a ball of white yarn. Twist the tubes with it so that they form a cross. The yarn is wound not only on the junction of these two parts, but also on the entire large tube, which is the basis of the doll's body.
Wrap a little white thread on the brush of the right and left hands of the amulet. Put the head blank on the upper part of the body, rewind the junction of these parts on the neck and under the doll’s chest with a thread, here the thread is twisted crosswise and horizontally.
Clothes
Now you can give free rein to your imagination. Lyalka-motankait will turn out very beautiful if you dress her in a colored suit.
In order to make its upper part, take a canvas of fabric with patterns. Cut or tear off a rectangle with your hands. In this case, the horizontal sides of the figure should be slightly larger than the vertical ones. Mark the middle of the rectangle, cut out a small circle for the head in this place. Next, make a continuous incision from it towards you. It is needed so that the vest can be freely put on the doll.
Dress up the amulet in a new thing, placing a cutout on the back. The long parts of the rectangle will become the sleeves of the winder. To define them more clearly, tie ribbons around your wrist.
From the same fabric as the shirt, cut open the petticoat. It will be narrower and longer than the top. First sew the top part of the skirt on the doll's waist, then cut the fabric for the top skirt, it should be bright. After the motanka doll is dressed up in two skirts - a long bottom and a shorter top, cut out an apron from a light-colored fabric and attach it in place with a satin ribbon.
It is necessary to wear a scarf around the neck of the amulet. Here you can show your imagination: first, knit a light scarf, then a bright shawl. From beads or beads, make a decoration around your neck, hang it on a charm. Work completed. This is how the motanka is made, the master class helped to cope with this task.
Variety of amulets
In the old days, mostly women's motanoks were made, now they also make male amulets. The principle of making the base is identical, the difference is only in clothes. In a suit, sundress orthe dress can be a motanka, the types of which are different.

To make a boy doll, use a thread to attach another piece of fabric rolled into a tube to the lower body to make legs. Put cut trousers on them, a shirt on the body, tie a belt. Decorate your head with a cap or a high hat.
Girl-woman
In the old days, many amulets could accumulate in one family. One of them helped fertility, the other was filled with healing herbs, the third was fraught with philosophical meaning, helped to see the life of women. Such a lyalka-motanka was called a doll-baba. The types of this amulet are easy to make. To make such a philosophical coastline, you need to cut a long skirt for the doll. When you put it on the shore, you need to wrap the hem up and tie it here to the waist with a ribbon.
This doll is a symbol of a girl. When a young woman gets married, she turns into a "woman". To show this, untie the ribbon at the waist - and the skirt will become long. Even before that, an apron must be tied to the waist of the amulet so that when you lower the doll's skirt, it becomes visible. Such coastlines were made by girls who wanted to get married as soon as possible.
Charm for moms
If a woman wanted to have children or protect those already born from troubles, she made a witch doll. The peculiarity of this coastline is that when such a lyalka-motanka was made, its arms were long. After all, these are the hands of mother and daughter at the same time. The girl is standing in front of the woman. The daughter's body is also created from a canvas rolled into a tube andfastened with thread. Then the head is wound, hair is made of threads, a braid is braided. It remains to put on the appropriate clothes for mom and daughter - and you can finish the master class (MK).

Motanka Lyalka is made not only from fabric, but also from yarn. To do this, threads of the same length are cut, folded in half, tied up at the top of the neck to indicate the head. In the same way, but having previously separated the strands, they are rewound with a thread to designate the legs and arms. It remains to dress your creation, and you can admire it.
Recommended:
How to embroider on a uniform: a master class for beginners. Uniform marking

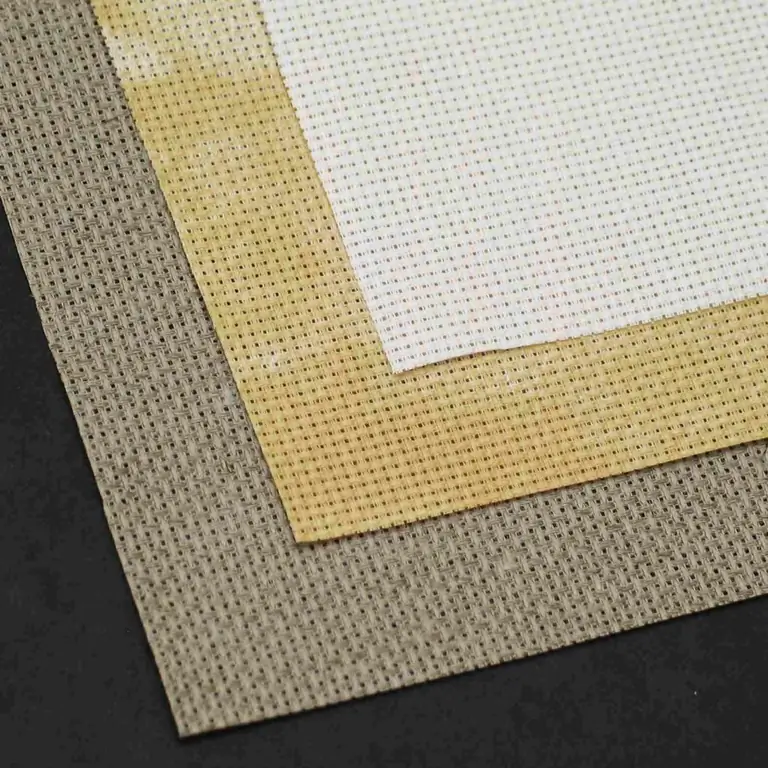
How to embroider on a uniform? And what is it anyway? Not everyone who learns to sew is interested in learning to embroider. Some people are intimidated by the variety of stitches, while others prefer not to make the process too easy. If you are new to the world of needlework, chances are you are wondering what fabric to use for hand embroidery
Felting flowers: master class

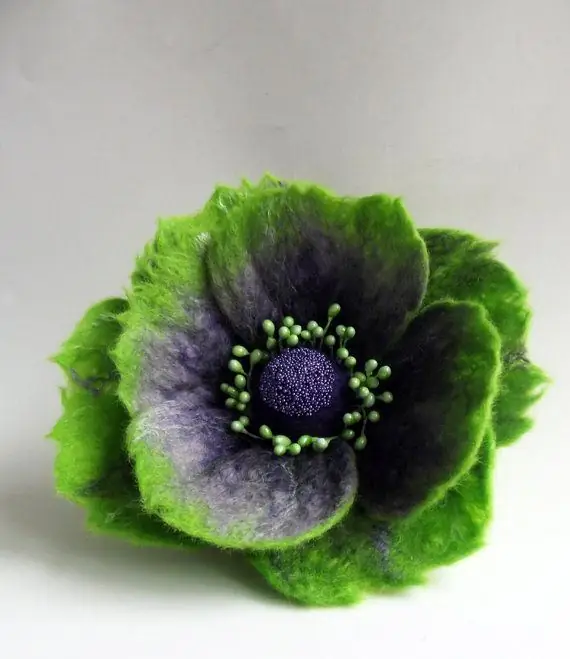
Felting is a process in which natural wool fibers are mixed and fused together, creating a dense smooth or embossed surface. The result is a material called felt. One of its varieties - felt, resembles a soft woolen fabric, but is very tightly connected to each other fibers of natural wool of various animals - alpaca, sheep, most often merino
Reverse decoupage of plates: a step-by-step master class with a photo

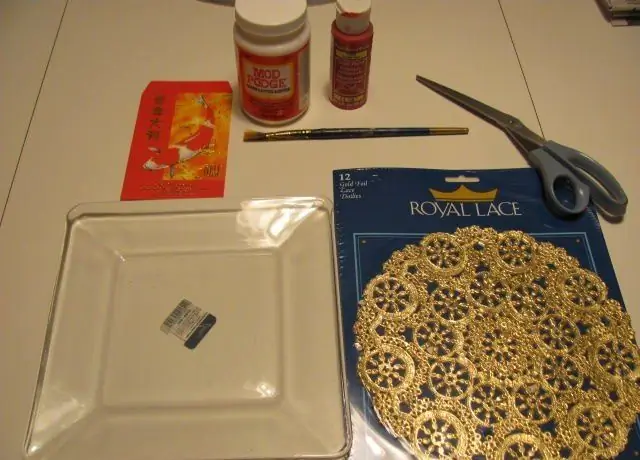
The technique of reverse decoupage of plates allows you to use them not only as a festive table decoration, but also for food, since the front part remains unaffected. The whole transformation process takes place on the back side. We offer a master class on how to reverse decoupage a plate with and without craquelure
DIY leather bracelets: master class

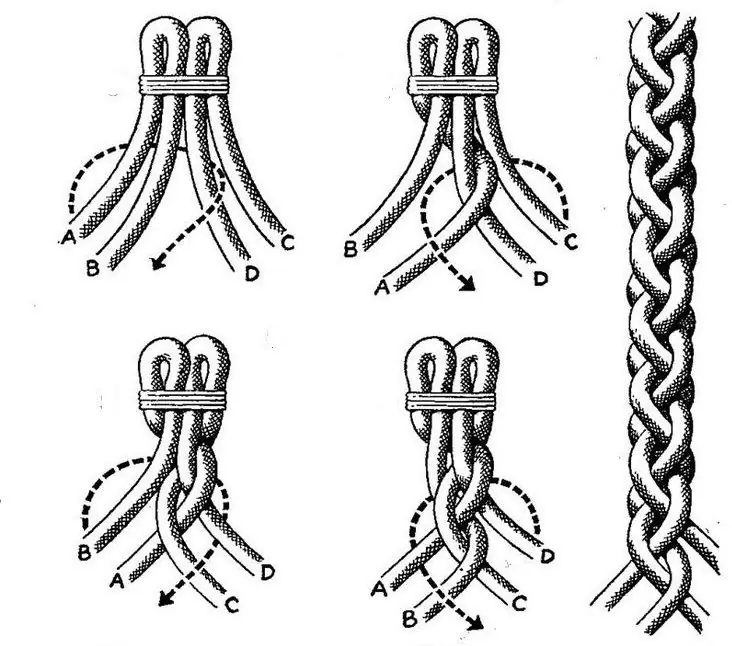
Bracelets are presented on store shelves in a wide range, so choosing a stylish addition to the image is not difficult. However, many prefer exclusive jewelry, so they decide to try their hand at creating accessories. Making a leather bracelet with your own hands is quite simple, even a novice craftswoman can handle it. In this material, we will tell you in detail how to weave women's and men's bracelets, what materials will be needed for work
How to make beads with your own hands? A master class will help you master the simple technique of needlework

The article provides a description with step-by-step instructions on how you can easily and simply make beads with your own hands, as well as a master class of the manufacturing process in photographs. The process of making beads will not take much time and effort, so you can safely start creating
