Table of contents:
- Author Sierra Becker becker@designhomebox.com.
- Public 2024-02-26 03:45.
- Last modified 2025-01-22 22:09.
The knitted scarf is the perfect first piece for girls and women who have just learned to knit. The classic scarf model is a long rectangular ribbon. However, in search of diversity, designers are increasingly experimenting with the shape of these accessories. As a result, snood scarves appeared, which are also called collars or "pipes".

Next, we will offer models of scarves that differ from each other in cut, level of complexity of work and purpose.
Classic thick knitted scarf
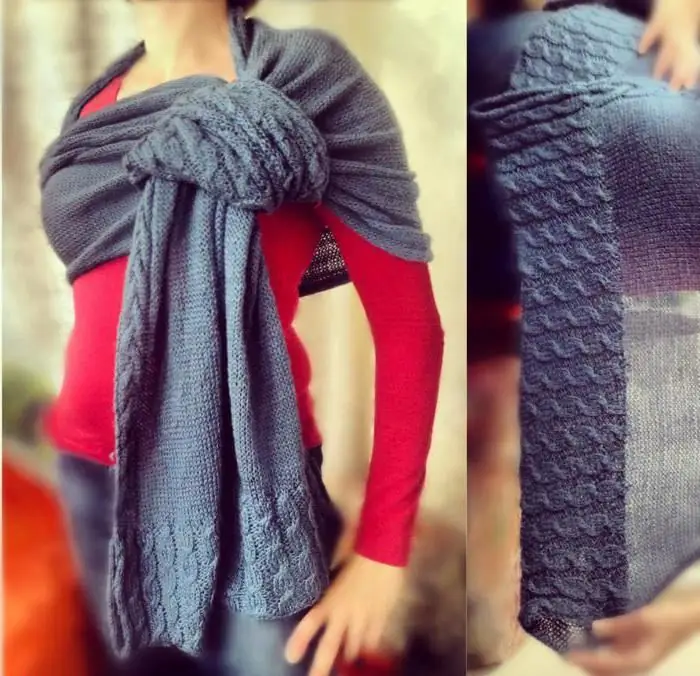
The photo suggested in the article shows a very voluminous and large scarf. As a rule, such accessories are worn in winter. Due to its size, the scarf will be a great addition to a fur coat or a warm coat.
For such a product, it is best to choose a material that is 50% wool and 50% acrylic. Although all-woolen yarn is much warmer, it is too heavy. And heavy accessories are very uncomfortable to wear, they cancause fatigue and discomfort. Acrylic is a man-made fibre, but a blended scarf is practical.
This model will require at least 500 g of very thick yarn (about 50 m / 100 g). The work is carried out with knitting needles No. 12. In the case when the craftswoman knits tightly, she should choose an even larger tool.
Such a scarf, knitted with an elementary garter stitch, receives additional relief due to the pattern. Chart is not required here as all sts on all rows are knit.
How to crochet a triangular scarf
In general, the work is extremely simple, but the formation of triangular ends of the product can be difficult for beginners. First, you should dial three loops on the knitting needles. Further, each first loop (P) should be transferred to the right knitting needle without knitting.
Work order for each row:
- Remove the edge P, form a new P from the broach between the first and second P and knit it with the front one (L). Knit the second P also L, raise the P from the broach between the second and third P and knit it L.
- Knit all P.
- Same as the first R, but in the center there will be three Ps instead of one.
- Knits the same as the second one.
The sequence is repeated until the scarf gets the desired width. With this thread thickness, 20 loops are enough. Due to the fact that two Ps are added in every second P, the canvas gradually expands.
After the triangular edge is formed, the fabric is knitted without increments to the desired height.
To complete the work, give the second edge a triangular shape. For this purpose, cuts are made in each front row: the second and third P, as well as the two penultimate ones, are knitted together. This continues until one P remains. Then the thread is cut.
This scarf, knitted with a simple pattern, is decorated with pompoms or tassels. Any decorative elements will be appropriate here.
How to knit a scarf-snood with knitting needles
Snood is a scarf closed in a ring. That is, it has no beginning and end, since its typesetting edge is sewn with the last row. An alternative to stitching is circular knitting. If the work is initially done in a circle, knitting a snood collar, a circular scarf or a “pipe” is even easier.
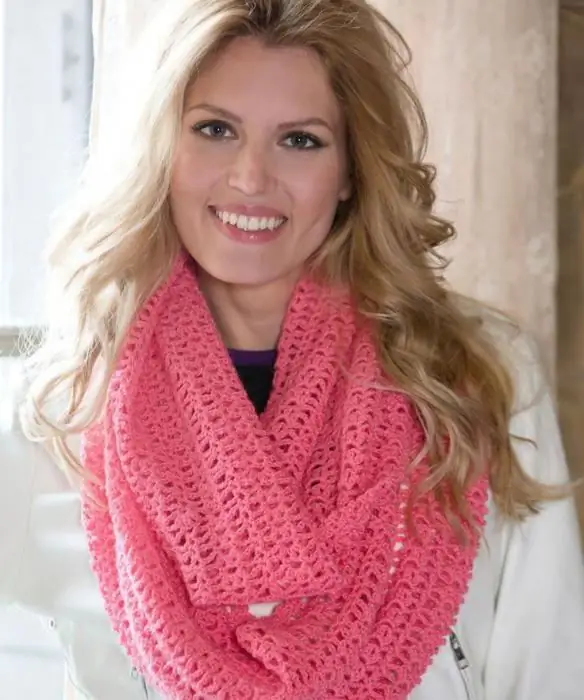
The photo in the article shows an openwork scarf made in circular rows. For work, yarn of medium thickness was used. This accessory is simply slipped over the head and fits loosely around the neck.

To begin with, cast on the loops for the first row. Their number must be clarified in advance by knitting a control sample.

The scarf depicted in the photo, knitted from a wool mixture on knitting needles No. 5, includes 12 rapports of the pattern. There are 10 sts in each rapport, so 122 sts were required for the typesetting edge (120 for the ornament and 2 hem sts).
Knitting openwork pattern
The first few Rs should be worked in a garter stitch to form neat edges. Then you need to start the first row of the pattern. The circuit is fineillustrates how it works. It uses the following conventions:
- Empty cage - front loop (LR).
- The symbol resembling a barrel - double crochet (H).
- Line inclined to the left - two LP knitted together with a slope to the left.
- Line slanted to the right - two LP, knitted with one LP with a slope to the right.
- Black triangle - three loops knitted together.
After the rapport of the pattern has been repeated the required number of times and the knitted scarf-snood is the desired height, you should again knit several rows of garter stitch.
At the final stage, all loops do not close tightly. Snood should not be steamed, as it may become too soft or completely lose its shape.
Scarf flared at the bottom
The following model has a rather unusual, but extremely interesting shape. A scarf knitted in the round is slightly wider at the bottom than at the top. Thanks to this feature, the product looks great and does not create extra volume around the neck.

The model is relatively easy to knit, but requires a lot of attention.
First, you should run a control sample to find out the density of the web.

Then the craftswoman should calculate the number of P for the first row. The scarf in the photo is knitted with a thread of medium thickness on knitting needles No. 5. The circumference of the product along the bottom line was 100 cm, and at the top 75 cm.
To achieve a similar effect, you should work according to the scheme below. Consistently following the instructions, the craftswoman will receive the canvas of the desired shape.
Easiest scarf
The following pattern is great for beginners.

It allows you to quickly create a beautiful, openwork pattern:
- First P: all Ps knit.
- Second R: remove the hem, make H, the next two P knit L. Then again N and again two P knit L. The sequence is repeated until the end of the row.
- The third and all other Ps are a repetition of the second.
This pattern is reversible, meaning it doesn't have a pronounced front or back, so it's great for classic long scarves. However, this does not mean that this ornament cannot be used for other types of accessories.
The specifics of working with an openwork pattern
How to knit a scarf-snood? For beginners, here are some tips:
- The first few Rs should be worked in garter stitch to give the piece a neat, finished look.
- It is necessary to carefully monitor the correct execution of all elements. Any skipped yarn over or wrong stitch will be very noticeable.
- The finished fabric will turn out to be very light and openwork, so these ornaments are used to make autumn scarves. For winter accessories, choose a denser pattern.
- If the knitter wants to give a little stiffness to the edges of the scarf, she can crochet them. Several rows, made with single crochets, will become an openwork patternpeculiar frame.
The finished product should not be steamed. Wet-heat treatment consists in washing in warm water and gentle drying. It is possible to steam the product or even iron it through a damp cloth only if the thread contains silk. Then, after steaming, the scarf will become very soft and will lie down in beautiful folds.
Recommended:
Wedding scarf: features, types and reviews. Pattern of a scarf for a wedding

Wedding is one of the most beautiful days. Many brides and grooms are waiting for him with trepidation and impatience. Today, many young people want to seal their bonds of marriage not only in the registry office, but also to go through the sacrament of the wedding in a cathedral or church
Crochet openwork scarf, knitted on a fork

Surprisingly light and openwork scarves are obtained by crocheting on a fork or hairpin. For a long time, this type of needlework was undeservedly forgotten, but now special devices for knitting products of different sizes and shapes have reappeared in stores
Knitted men's scarf: a description of several simple patterns

Some accessories will help to easily refresh the image, giving it a touch of chic and extravagance. Such items include, for example, a tie or a knitted men's scarf. How to make this little thing special using threads, knitting needles or a hook? You will find several different options in this article
Scarf-transformer with knitting needles: diagrams and description. Knitting patterns for a scarf-transformer

Given the ease of implementation, knitting a transformer scarf with knitting needles is possible for knitters with any experience. The basis for the manufacture of almost all such products is a flat canvas with a simple pattern
Circular knitting scarf: knitting pattern. Scarf-snood

As they say, everything new is well-forgotten old. And the scarf collar was no exception. Very slowly, he again came into fashion. What are the types and how to make a circular scarf with knitting needles, read below
