- Author Sierra Becker becker@designhomebox.com.
- Public 2024-02-26 03:47.
- Last modified 2025-01-22 22:09.
Due to the variety and availability of materials and tools, there are more and more new types of needlework. Among them are quilling, ceramic floristry and many others.
Today we will talk about how to make a topiary. First, let's figure out what it is. Topiary is a non-trivial interior decoration that will be a great alternative for those who, for whatever reason, cannot get indoor plants. However, for all their similarity with plants, ornamental trees are not an exact copy of any particular tree. The shape, design and materials of the topiary depend only on your imagination. The most popular are the shapes of cones and balls. In such compositions, not only the form is striking, but also the combination of colors, unusual crowns and the texture of materials.

Topiaries are usually called "European trees" and "trees of happiness", so they will not only be a wonderful decor, but also a great gift - after all, who among us does not want happiness…
"How to make a topiary?" - you ask. It's very simple! The basis of such a tree can be polystyrene foam, a floral oasis, balls for a dry pool, as well as old newspapers. Many needlewomen use building foam. This is very convenient, because the workpieces are perfectly even and do not require further processing.
All kinds of beads, pebbles, ribbons and feathers will be excellent decorative elements. Do not forget about decorative birds and butterflies, the varieties of which simply cannot be counted. For the trunk, it is better to use wire and dry branches.
Let's see how to make a topiary. The master class will come in handy! This will be a small step by step guide. Today we will see how to make do-it-yourself topiary from napkins. For this we need:
- branch for trunk;
- foam round;
- pot for composition;
- gypsum;
- various decor: satin ribbons, beads, feathers, dried flowers, in a word, use whatever your imagination tells you to.
First, let's prepare the flowers for our tree. As you may have guessed, we will make them from napkins. We will need a napkin with a size of 10 by 5 cm.


Now that the main decor is ready, let's start assembling the topiary. We fix the foam ball to the branch that we use as a trunk. Pour gypsum into the flower pot, place our base for the tree there and wait,until the plaster dries.
The next stage of work requires a creative approach. Glue flowers and leaves, rhinestones and bows to your ball, and plaster can be decorated with pebbles or twigs.

Do not forget about all kinds of figurines, such as butterflies and ladybugs - they will perfectly fit into this flower arrangement, and the "tree of happiness" will take its rightful place in any interior. Depending on the look and size, these trees can be placed on the floor, mantelpiece, coffee table, or even open bookshelves.
In conclusion, I would like to say a few words about leaving. Caring for this beauty is simple - just remove the dust with a hairdryer (preferably not with a hot stream of air), do not put it in direct sunlight and do not drop it!
We hope that you not only learned how to make a topiary, but also were inspired to create it. We are sure that it will delight you and, perhaps, will become a nice gift for friends for any occasion!
Recommended:
Topiary from beads: ideas and master classes. New Year's topiary

Do-it-yourself beaded topiary for the New Year is a beautiful and unique gift for relatives and friends. It is practical, as it will not fade or crumble, remaining a bright and elegant decoration of the interior. Unlike a live Christmas tree, a beaded tree will last for many years and take up little space, creating a sense of celebration. Such a gift will keep warm memories and will be associated with the person who gave it
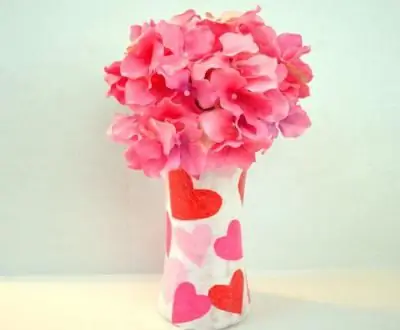
How to make a paper vase. How to make a crepe paper vase

What do you need a paper vase for, you ask a question. The answer is quite simple - such crafts can be an excellent decoration for the interior of a home, office, or just a wonderful gift. In this article you will find information on how to make a paper vase. Today, there are a huge number of techniques for creating crafts from this material. You will get to know them by reading the article
How to make a chair with your own hands. How to make a rocking chair with your own hands

Furniture can be made not only from boards, but also from any available material. The only question is how strong, reliable and durable it will be. Consider how to make a chair with your own hands from plastic bottles, cardboard, wine corks, hoop and thread
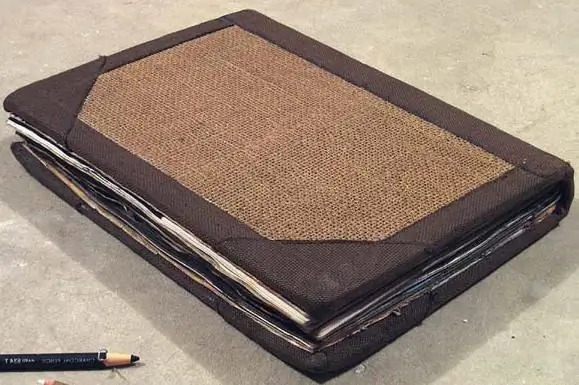
How to make a sketchbook with your own hands? How to make a sketchbook for drawing?

Notebook for sketches and notes has long ceased to be an exclusive attribute of creative individuals. Of course, artists, sculptors, writers and designers always have more than one sketchbook in their arsenal. But people far from the world of art also appreciated the opportunity to have a sketchbook at hand. Do-it-yourself notebooks demonstrate the owner's creativity, and notes, photographs, cartoons that fill the pages allow you to save precious moments of life for yourself
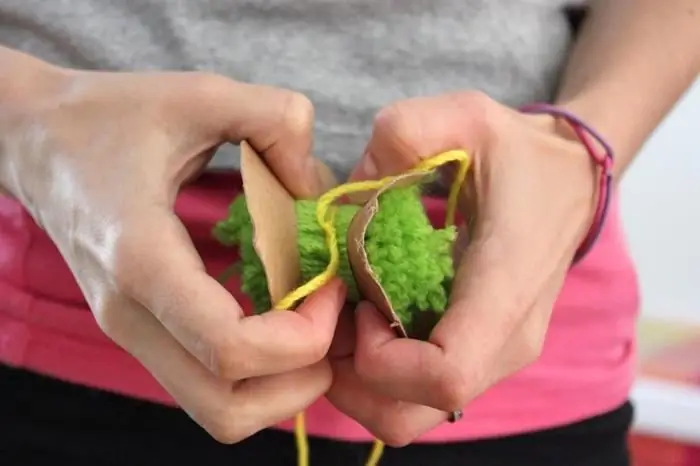
How to make a pom pom on a hat: two ways to make

Headwear models embody many ideas, which allows the owner of the hat to look attractive. Warm men's hats with pompoms are great for everyday wear and outdoor activities
