Table of contents:
- Author Sierra Becker becker@designhomebox.com.
- Public 2024-02-26 03:47.
- Last modified 2025-01-22 22:09.
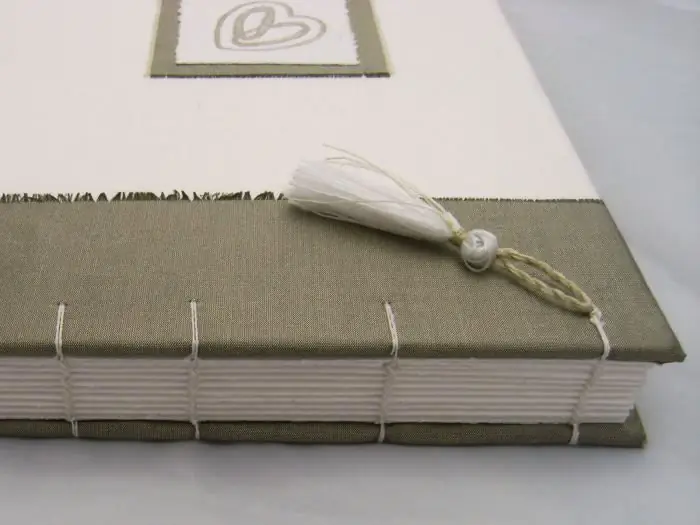
Every girl wants to have a unique and original wedding album that would keep pictures of the most important day of her life for many years. As you know, we insert photos from everyday life into standard albums that can be bought at any store. But I want to decorate the pictures from the wedding celebration in a special way so that the festive mood remains in them for more than a dozen years. So why not create an album with your own hands? Indeed, in this case, you will get the opportunity to realize all your creative ideas and get exactly what you want! How to arrange a wedding album with your own hands, we will tell in our article. We sincerely hope that our tips will help you make your holiday memories brighter.
Create DIY Wedding Albums: Design Ideas
We offer you three options for creating a photo book.

Standard way
If you don'tIf you want to spend a lot of time on needlework, then this option is for you. After all, it's no secret to anyone that it's completely optional to make wedding albums with your own hands, since they can be bought almost everywhere. However, such a standard collection of images can be designed creatively and in an original way. To do this, you should compose photos in some special way, add wishes from your guests, and also decorate a couple of pages with some special elements (for example, a dried sprig from a wedding bouquet).

Album blank
Today on sale you can find blanks for creating a book of photographs with your own hands. As a rule, they are albums of various formats with a blank cover, cardboard sheets and strong binding. Also, some blanks provide the ability to adjust the number of pages depending on how many pictures you want to place. With a foundation like this, you get a great opportunity for creativity.
Scrapbooking
Real craftswomen make wedding albums with their own hands literally inside and out. This method is very popular and involves creating a blank for a book of photographs, as well as designing it not only with pictures, but also with thematic drawings, newspaper and magazine clippings, notes, memorabilia, etc. To make an album in this style, stock up on the necessary materials in advance such as glue, sharp scissors, thread, colored paper and cardboard with different textures and patterns, colored pencils,markers, crayons, paints, various decorative elements (beads, laces, ribbons, rhinestones, flowers, sparkles, stickers, postcards, confetti, etc.), as well as everything else that your imagination tells you.

There are some very successful and popular scrapbooking techniques. One of them can definitely be called embroidery. You can beautifully embroider the names of the newlyweds or some suitable picture on the topic. Also a very good element is the presence of notes. So, you can put comments on the pictures or place on one of the pages of the album a short funny story about what happened to the young on the wedding day or on the eve of it. Notes can be written by hand or created on a computer using a variety of fonts and letter sizes.
Cropping is another popular scrapbooking element. At the same time, unnecessary background and details are removed from the photos, which allows you to focus on the main subject. However, it is important not to overdo it here. After all, the cut off parts over time can take on a new sentimental or historical meaning, which will make you regret removing them.
How to make a DIY wedding album step by step
As a tutorial, here's how to make a paperback wedding photography book.

For work we need: fabric, a tight folder with rings, threads, foam rubber one or two centimeters wide, Moment glue orglue gun, double-sided tape, thick paper or cardboard. It is advisable to choose fabric and other decorative elements in accordance with the design of the wedding celebration itself. In this case, your album will be a great addition to the holiday and will emphasize your inherent sense of style.
If the folder has been gathering dust in the closet for a long time, then you should definitely clean it from dust. We cut out a rectangle from foam rubber, the dimensions of which coincide with the crust of the folder, to which we glue the workpiece with a glue gun.

The next step is to give the overall look of the album. So, from a well-ironed fabric, we cut out a rectangle. Its length on one side should be equal to the height of the folder plus 8 centimeters, and on the other - two sides of the crust plus the width of the binding and plus another 8 centimeters. In order not to do the calculations, you can simply open the folder and circle it on the fabric, adding another eight centimeters on both sides.
After all the measurements are completed, and the rectangle is cut out of the fabric, we proceed to wrapping our future album with it. For this purpose, it is best to use double-sided tape. Be sure to keep in mind that the material must be pulled tight enough so that wrinkles do not appear in the future, significantly spoiling the appearance. After that, we cut out two rectangles from thick paper or cardboard, the size of which is slightly smaller than the crust. We glue them on the inside of the folder to make the junction of the fabric with the cover invisible.
After the main work is done, you can move on to the most interesting part, namely decorating the photo book. You can decorate it with everything that your fantasy tells you: rhinestones, beads, bows, dried flowers, etc. The decor can either be made in the colors of the album cover or contrast with it. However, do not rush to immediately tightly glue the decorations. At first, just attach them with a needle and thread and see how the composition looks.
Conclusion
As you can see, almost everyone can make wedding albums with their own hands. With a little time and effort, you will receive a book of photographs that will delight you and your loved ones for many years to come.
Recommended:
How to make a chair with your own hands. How to make a rocking chair with your own hands

Furniture can be made not only from boards, but also from any available material. The only question is how strong, reliable and durable it will be. Consider how to make a chair with your own hands from plastic bottles, cardboard, wine corks, hoop and thread
How to make a Santa Claus costume with your own hands? How to sew a Snow Maiden costume with your own hands?

With the help of costumes, you can give the holiday the necessary atmosphere. For example, what images are associated with such a wonderful and beloved New Year holiday? Of course, with Santa Claus and the Snow Maiden. So why not give yourself an unforgettable holiday and sew costumes with your own hands?
Chest of Santa Claus with their own hands. How to make a New Year's chest with your own hands from cardboard?

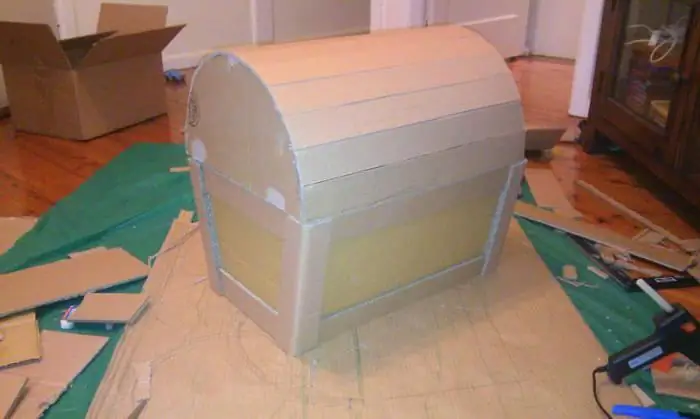
Preparing for the New Year? Do you want to make original gift wrapping or interior decoration? Make a magic box with your own hands out of cardboard! Children will especially like this idea. After all, it is much more interesting when the gifts are not just under the Christmas tree
New things from old things with your own hands. Knitting from old things. Remaking old things with your own hands

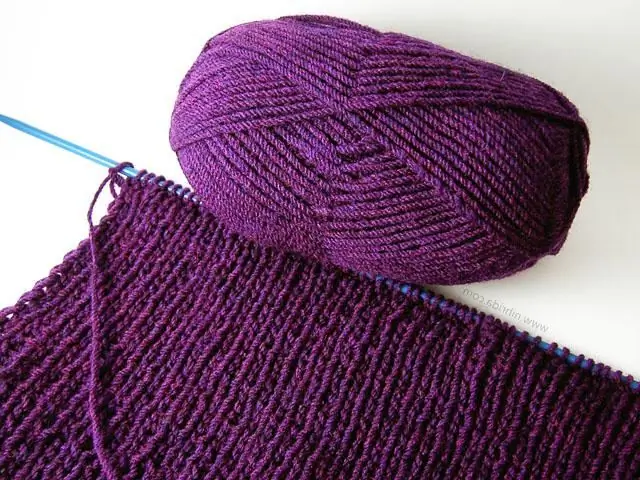
Knitting is an exciting process with which you can create new and beautiful products. For knitting, you can use threads that are obtained from old unnecessary things
Pattern of slippers with your own hands. How to sew children's house slippers with your own hands?

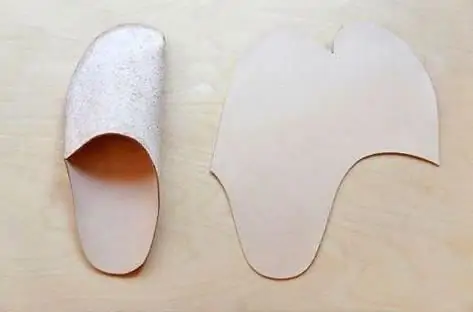
Shoes such as slippers are relevant at any time of the year. In summer, the foot in them rests from sandals, and in winter they do not allow to freeze. We suggest you make homemade slippers with your own hands. A pattern is included with every tutorial
