Table of contents:
- Author Sierra Becker becker@designhomebox.com.
- Public 2024-02-26 03:35.
- Last modified 2025-01-22 22:09.
Wood carving is certainly one of the most ancient crafts that mankind has ever done. Dishes, parts of a building, furniture, chests, boxes for backgammon, etc. can be decorated in this way. Of course, everyone can learn to carve wood. The main thing is to choose the right tools, blanks and master the necessary techniques. In this case, wood carving for a novice craftsman will soon become a hobby that is not just pleasant, but perhaps even bringing a good income.
Thread Types
There are four basic techniques for decorating wooden products in this way:
- through;
- deaf;
- sculptural;
- house (ship).
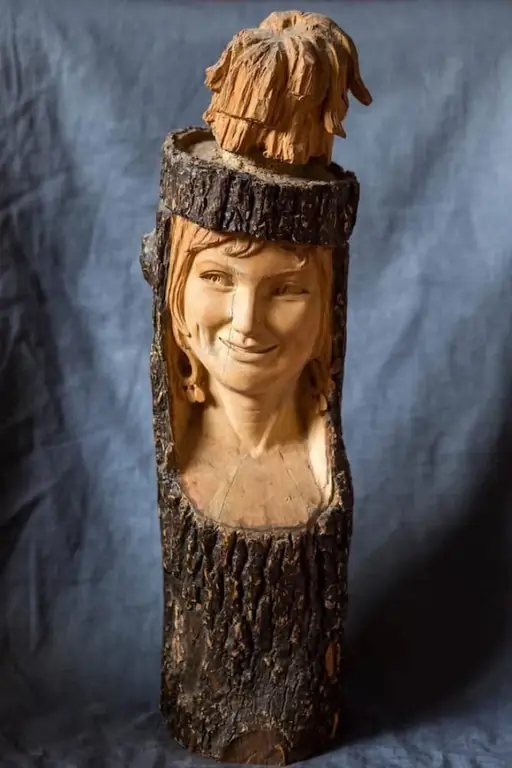
Sculptural carving is performed over the entire volume of the workpiece. The final product in this case is a separate figure or a three-dimensional composition. This type of carving is considered quite difficult and is more suitable for experienced craftsmen.

House carving, otherwise called ship carving, combines elements of all other techniques and is used to decorate buildings and structures. Using this technology, for example, platbands, balusters and railings of stairs, ridges of roofs of houses, etc. can be cut. For a beginner, this technique is not bad, because it does not differ in too much complexity.
Through thread
This technology, in turn, is classified into:
- slotted;
- openwork;
- propyl.
The end-to-end technique is distinguished primarily by the fact that when using it, the products do not have a background. Such technologies are most often used for the manufacture of architraves or, for example, in the design of wooden churches.
All three types of through threads are very similar in technique. The difference between them lies only in the degree of complexity of the work. The simplest type of through thread is a saw thread. In this case, the workpiece is cut along the contours of the applied pattern without further elaboration of the details.
Products in openwork technique are made in almost the same way. The only thing is that the carving in this case looks richer due to additional small details.
The slotted thread, in turn, is very similar to openwork. However, when using this technology, among other things, a thorough study of small and large parts of products is carried out. Using this technique, among other things, linings for furniture are often made.
To the end-to-end methodologyone can also include such a type of processing as artistic sawing of wood with a manual jigsaw. This technology allows you to get very beautiful products: boxes, furniture covers, toys, souvenirs, etc. However, this method is most often used not on wood, but on plywood.
Blind thread
This technology is often used to decorate dishes, furniture, house walls, etc. Blind carving, in turn, is classified into:
- flat serrated;
- embossed.
It is believed that carving in wood using the flat-notch technique is most suitable for beginners. Such a technique, in turn, can be:
- outline;
- geometric;
- bracket.
In the first case, wood cuts are made with a joint knife, chisels of small diameters or corners. The contrast between the pattern and the background in products using this technique is created by stain.
Geometric wood carving allows you to make very beautiful products. It is this technique that is most often chosen by beginners who decide to master such a craft. Geometric carving is usually performed using tools such as a flag (hatchet), semicircular chisels, corners and jamb knives. The triangle becomes the main pattern when carving using this technology.
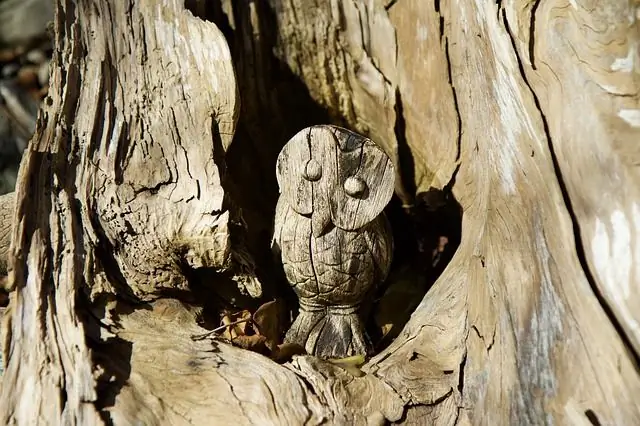
With stapled threads, only shallow cuts are made on the surface of the workpiece. In this case, the master performs verticalpricks with a chisel, and then - the actual cut. This technology in woodcarving is the most ancient. It was once widely used by village craftsmen.
Relief woodcarving, in turn, happens:
- flat relief;
- bas-relief;
- high relief.
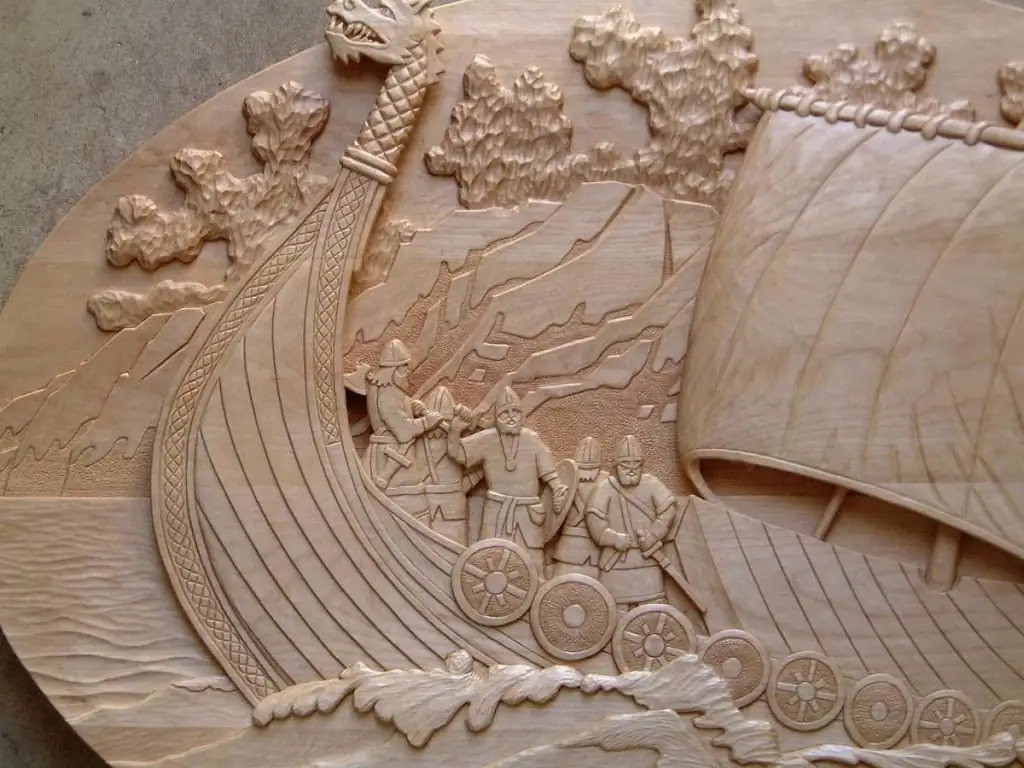
Techniques for performing the plot in this case are also similar. However, when using the first technique from the list, the image ends up being quite flat. The background when applying flat-relief technology can be:
- cushioned - descending towards the image, making it look pressed into the item (like a footprint on a pillow);
- oval - reduced (the image itself is cut off at an angle to the background).
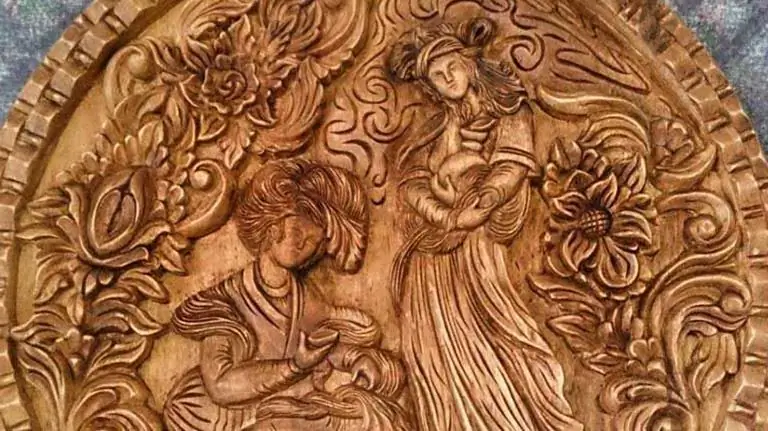
When using bas-relief technology, the background is reduced very much. At the same time, the elements of the drawing itself look semi-volumetric. The high-relief technique is considered even more complex. In this case, the image already looks three-dimensional - almost sculptural.
Basic tools
Most often, thus, novice masters choose the flat-notch geometric technique for carving on wood. Tools in this case, beginners usually use the following:
- flag (hatchet);
- corner;
- semicircular chisels.
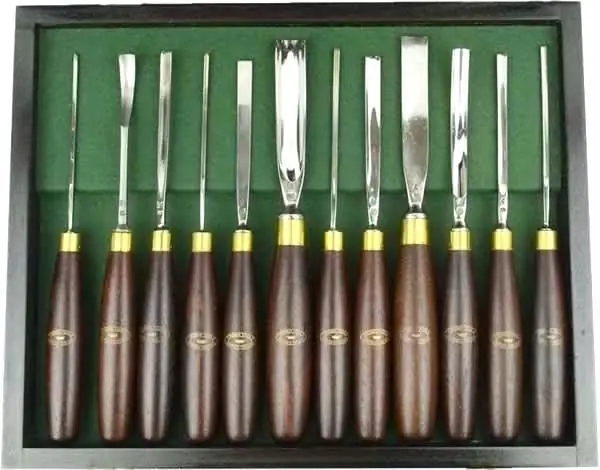
A flag cutter has a blade made in the form of a usually equilateral triangle. At the same time, it is attached to the handlefor the top. Such a cutter marks the contours of drawings, straight lines when decorating sides, etc.
The cutter-corner has a V-shape from the end (in section). It is used to cut through the relief of the appropriate configuration. Semicircular chisels at the end have the shape of a semicircle. They can be used, for example, for cutting smooth notches-petals. And corners and semicircular chisels can have different sizes.
There are many other tools that can make woodcarving work easier and make drawings more complex and beautiful. These can be, for example, joint knives, ordinary straight chisels, etc.
In addition to the actual cutting tool, for carving wood, a novice master must definitely purchase all kinds of auxiliary devices for himself. For the design of products using geometric technology, for example, you will definitely need: compasses, rulers, tape measure, protractor.
On sale today, there are also machines for carving wood. Such tools are called differently engravers. Such devices, although they are quite expensive, make it possible to facilitate and speed up the design of wooden products.
Which hand tool for wood to buy: manufacturers
Most often, novice carvers use Tatyanka knives in their work. The advantages of tools from this manufacturer include, first of all, low cost and good quality. The advantage of cutters of this brand is also the fact that oncounter they come already well sharpened. The only thing is that the tools from Tatyanka in most cases can only be used to work on fairly soft material. But this company supplies the market directly with whole sets for woodcarving, designed specifically for beginners.
Cutters from the Czech company Nareks also earned a very good reputation among carvers. Such tools are also of good quality and in many cases are inexpensive. But unfortunately, Nareks cutters are supplied to the market not sharpened. If desired, a beginner can also purchase a wood carving kit from this manufacturer.
Which wood to use
Of course, a novice master needs to decide on the type of material with which he will work at the first stage. Most experienced carvers advise beginners to choose basswood for learning. This wood is not too hard and lends itself well to the knife. The only thing is that linden is considered a material that is not too predictable. Depending on what kind of soil the tree grew on, it can be either too dense and, accordingly, hard enough, or, conversely, too loose and soft.
Also, various kinds of carvings, including by beginners, can be made from:
- cedar;
- aspens;
- birch trees;
- apple trees;
- pines.
At the same time, it is believed that cedar is best suited for the manufacture of various kinds of woodensouvenirs, light cases, boxes, etc. Products that are subjected to stress during operation cannot be made from this soft material. They do not, for example, make handles for knives, axes and hammers, carved shelves made of cedar wood, etc.
Aspen is considered very good for beginner materials. Such wood is cleanly cut and, moreover, unlike cedar, it “holds” fine carvings well (without chips). In addition, aspen is a common, and therefore usually inexpensive wood. This material has only one minus. Aspen, unfortunately, is difficult to grind. In the process of performing this procedure, pile usually rises on such “wetted” wood.
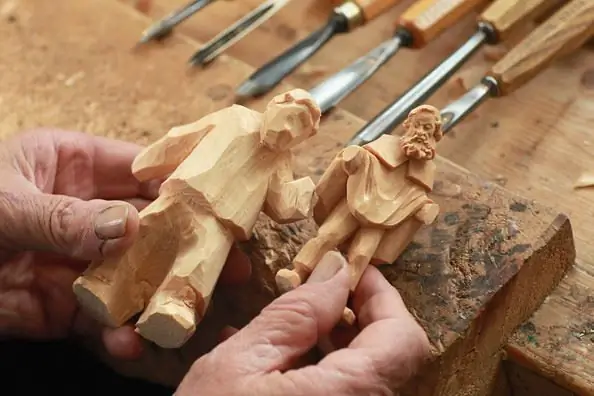
Birch is the favorite material of many carvers, both experienced and novice. Such wood is well cut, perfectly “holds” small details, and besides, unlike aspen, it is perfectly sanded and even polished.
The wood texture of the apple tree is characterized by increased density. Therefore, for beginners, such a tree is not very suitable. Before cutting, an apple tree, like a birch, is often boiled down. Such wood is usually used to make patterns with a large number of small details.
Pine is also considered a material not well suited for general cutting. The fact is that due to the hardened resin veins, in the process of working with a knife on such wood, chips and hemp are obtained. Pine is used most often only for the manufacture of large wooden park sculptures.
How to make a blank
Work outin woodcarving, in principle, it is possible on any small piece of wood. But in order to make a beautiful spectacular product, it is important, among other things, to use a good blank.
As already mentioned, most often beginners are engaged in carving wood on linden. To make a blank from such a tree, you just need to purchase the boards themselves at the nearest sawmill. Such material should be dried beforehand. Next, you need to grind each board on a special machine in such a way as to highlight the core as much as possible.
For woodcarving when using linden, only sapwood is used. It then needs to be separated from the core using a circular saw.
Linden sapwood, since the tree itself is not too thick, usually small. Therefore, in order to cut large-sized panels, such bars often have to be glued together. Fastening lime material, according to experienced craftsmen, is best in a conventional vice using the highest quality glue (for example, German Jowat).
How to avoid chipping
A good set of chisels for wood and high-quality blanks, of course, allow you to make very beautiful products in the end. But the actual thread itself must be done correctly.
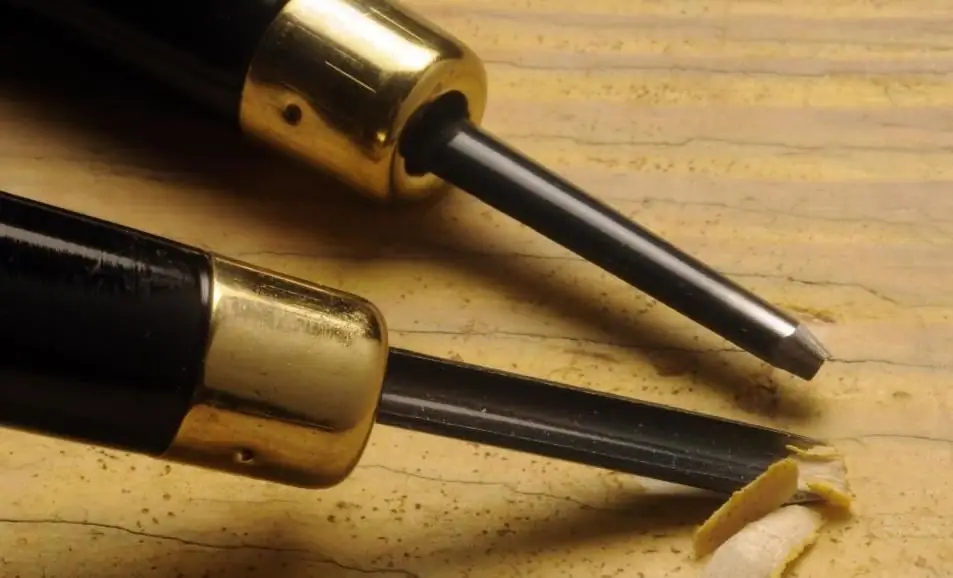
Boards - the material is known to be fibrous. Before cutting, a pattern is applied to a wooden blank through tracing paper. To cut contours and grooves in wood, you need to focus primarily on the location of its fibers. It is best to move along them. Thus it is possibleavoid chipping. When cutting, among other things, you should try to make sure that the tool does not “push” the fibers to the sides, but, on the contrary, moves towards the center of their mass.
Geometric carving
Before proceeding with the actual carving using patterns, patterns, etc., a novice master should get a little hand in working with knives of various types. With the help of a flag on some kind of junk board, you can do, for example, simple cuts at an angle, Christmas trees. Then you can use the corners of different lengths, making straight cuts, with turns and waves.
Experienced craftsmen advise a beginner to get a hand in using different cutters. Otherwise, he will not get a clean carving later, which can lead to disappointment.
Where to get templates
Beautiful woodwork to order and for personal use can, of course, only be made using spectacular templates. Stylish and attractive stencils for cutting in our time are easiest to download on the Internet on specialized sites. In addition, such a template, of course, you can create yourself. For geometric threads, for example, you can sketch directly on the workpiece using a regular compass, protractor and ruler.
For carving in other techniques, when choosing a stencil, one should observe, among other things, the following rules:
- for engraving, the template should be as simple as possible;
- for a large product, you should not choose a stencil with a lot of small details (andvice versa).
The lines from the existing template for cutting wood with a jigsaw or special knives should be transferred to the workpiece as accurately as possible. Otherwise, a neat product will not work out later.
Stain treatment
At the final stage, carved, custom-made wood products, as well as those intended for personal use, are often additionally stained with stain or varnish. These products are known to give the wood a brighter and more attractive appearance without hiding its spectacular natural texture.
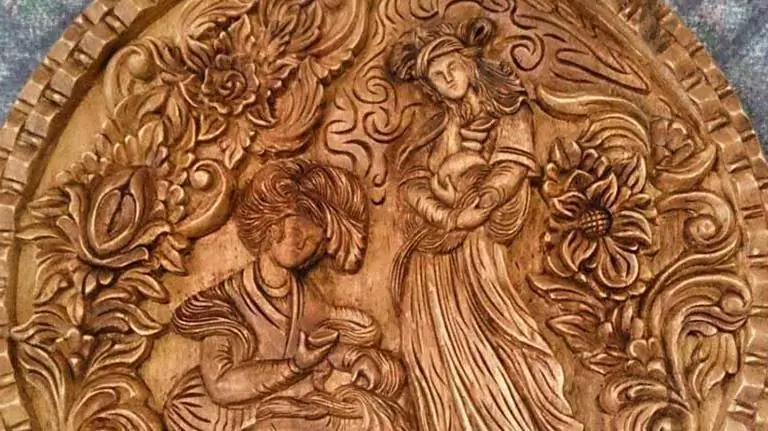
For the same purpose, a more modern tool can be used - wax for polishing wood. Such material, as well as stains and varnishes intended for coloring carved products, may have different colors. Very popular with carvers are, for example, shades of oak, alder, mahogany, etc. In any case, before staining with such means, the wood is usually carefully primed using transparent, colorless products.
Very often, carvings, among other things, are additionally aged. In this case, they are pre-painted with stain, and then sanded with sandpaper.
Recommended:
Wood carving, contour carving: description with photo, work technology and necessary materials
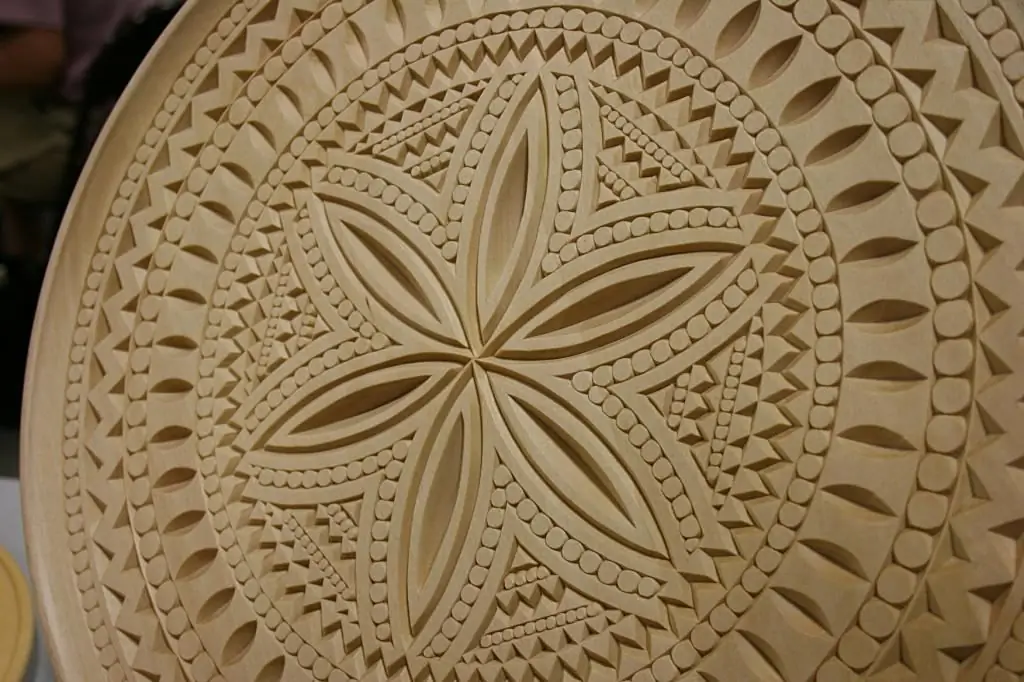
Artistic woodcarving is one of the oldest techniques of decorative art. During the history of the existence of the craft, several of its varieties have appeared. One type is contour carving: an exquisite technique used when working with wood
Wood carving, flat-relief carving: description with photo, sketches, necessary tools and work technique
Flat-relief carving is an exquisite and unique woodcarving technique that comes from the 18th century. Types and methods of performing techniques, necessary tools and sketches of ornaments. The history of the appearance of the craft of woodcarving in flat-relief technology
Wood carving, house carving: description with photo, work technique and ornament patterns
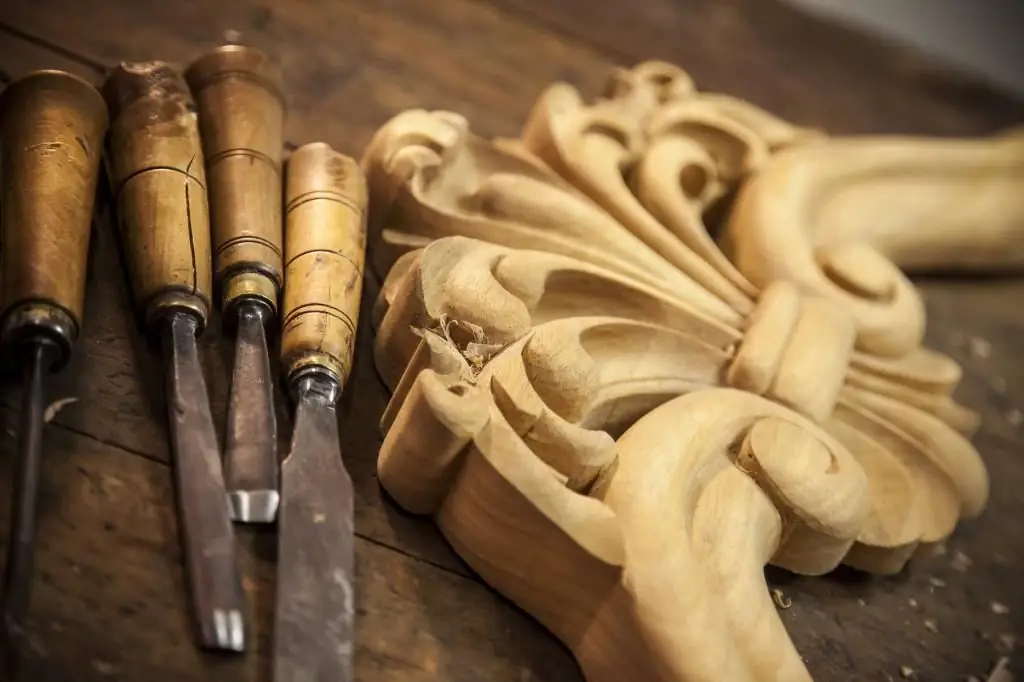
Facades made in ethnic style are distinguished by bright folk craft - house carving or woodcarving. The unique craftsmanship originated centuries ago and has been greatly improved over the years. Existing work techniques allow you to create aesthetic decorative elements to decorate buildings
Wood burning. Wood burning for beginners
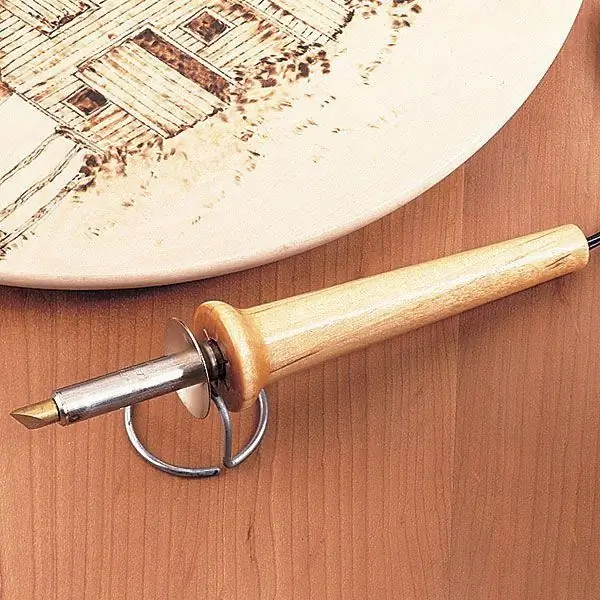
Woodburning is an art that first appeared at the end of the last century in the capital of Russia. At first, this technique was used to make nesting dolls. Subsequently, this method of artistic processing of wood was called pyrography
The main sculptor's tools for working with wood, clay, stone
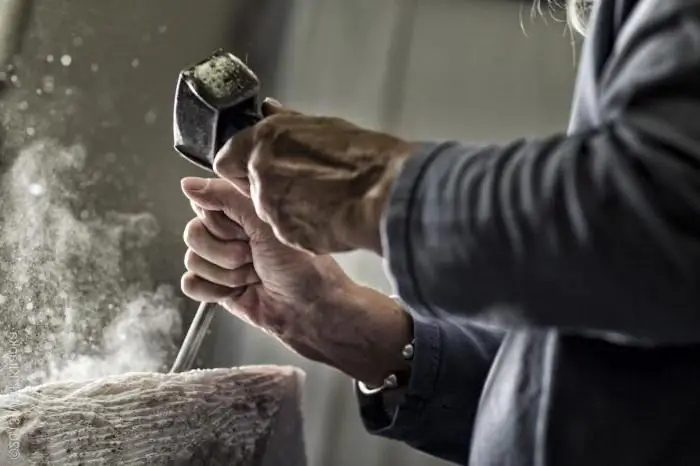
The work of a sculptor is not complete without the use of a wide range of tools. For high-quality processing of materials such as stone, clay or wood, many professional devices are required. Information about the main tools of sculptors can be found in our material
