Table of contents:
- Author Sierra Becker becker@designhomebox.com.
- Public 2024-02-26 03:35.
- Last modified 2025-06-01 05:43.
The fashion industry offers a whole bunch of interesting and even unusual items of clothing. Some are in demand for only one or two seasons, others remain in the top literally for centuries. The stores offer just a huge range of goods, but even this does not allow many buyers to purchase the cherished item. And then especially creative individuals decide to realize the idea on their own.
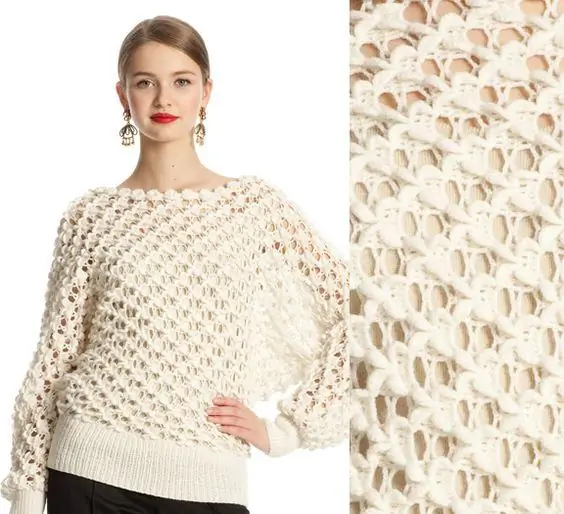
This article has been specially prepared for them. It tells in detail how to knit a jacket with a dropped shoulder using the selected threads and knitting needles.
Choose a model

It's worth mentioning right away that it just seems like the task is impossible. In fact, everything is quite simple. The most important thing is to carry out competent preparation. What is its essence?
So, the first step is to think about what season you need a jacket with a lowered shoulder. Basically, this item of clothing is worn in the spring and summer. Therefore it is worthconsider a fairly airy model made of fine yarn, possibly with lace or elements of fashionable perforated knitting. Dense patterns, various braids and plaits are best left for a winter thing. Or make these elements small.
Defining the tool
There are no strict recommendations regarding what to work with - knitting or crocheting. The product can be made with both tools, and even with two options at once - it all depends on the imagination. However, if a novice master plans to knit a jacket with a lowered shoulder, it is wiser to use knitting needles. At the same time, experts give important advice regarding their size.

For an openwork or a complex pattern, it is better to choose a tool equal in diameter to the thickness of the thread. For those who have only recently begun to study the craft, you can even knit with one facial loops along the entire length, but purchase knitting needles 2-5 times thicker than the thread.
Buying yarn
Another important point, which also determines the beauty of the intended product. The most important thing that experienced craftswomen emphasize is not to try to include all known patterns, favorite types of yarn and available decor elements in a knitted jacket with a lowered shoulder (or other thing).
To make the product really spectacular, you should think over the knitting features in advance. That is, decide what will be emphasized - on yarn, pattern or decor. It is better for inexperienced needlewomen to experiment with yarn - to purchase a patchwork or gradient one. As the main pattern, choose an elastic band, garter or stocking stitch. If the jacketthe lowered sleeve will be framed with lace, it is better to purchase plain yarn. Can be bright or even acid color.
And if the highlight of the sweater is an interesting decor, it is recommended to knit a simple thing. For example, stockinette stitch and plain yarn.

Taking measurements
Knitting any thing is a completely creative process. Rather, the needlewoman can navigate by ready-made master classes and instructions, however, it should be borne in mind that they are designed for a particular person, taking into account the characteristics of his appearance, build and even age.
Therefore, experienced needlewomen still do not advise beginners to follow the beaten path. Better make your way, it's easy!
Before you start knitting a sweater with a lowered shoulder, you need to take measurements from the person for whom the product is conceived. To do this:
- Prepare a measuring tape, a piece of paper and a pencil.
- Invite a model. She should wear tight-fitting clothing or underwear, whichever is more comfortable.
- Measure around your shoulders. Please note: not the width, but the girth! To get the correct value, the model must stand straight, arms pressed to the sides.
- Then determine the length of the shirt (shoulder to hem), sleeve length (shoulder to cuff), armhole level (hem to underarm) and hip circumference (shirt must be loose).
Building a pattern
Now let's get to the fun part! Do not be afraid of the title, you do not have to draw the product innatural size. It is required to make a sketch with exact parameters, according to which it will be possible to navigate when knitting.
So, to build a pattern of a jacket with a lowered shoulder:
- Take a piece of paper and a pencil.
- Draw a rectangle and then a shape 2 (photo below).

- Now mark the parameters of the model on the diagram, indicate the level of the armhole.
- Calculate parameter A using the formula shown in the photo. And also indicate on the diagram. This is the part of the sleeve that should be knitted at the end.
However, this pattern will be a regular pattern until you convert centimeters into loops and rows. This is easy to do, you only need to tie a fragment of 10 x 10 centimeters. But you need to complete it with prepared yarn and knitting needles.
After that, follow the instructions:
- Count the number of stitches and rows in the pattern.
- Divide these values by 10, round up to the nearest whole number and record on paper.
- Now you know the number of loops and rows in 1 cm and you can convert the parameters of the jacket to the desired units of measurement. To do this, divide the values \u200b\u200bmarked on your diagram by them. Accordingly, horizontal parameters are loops, vertical parameters are rows.
How to knit an off-the-shoulder blouse?

When the hardest part is over, you can get to work. Start knitting the back and front separately, having reached the level of the armhole, they should be connected by adding air loops and therebytying loops for sleeves. But first things first:
- Cast on 1/2 of your hips.
- Knit a flat fabric, the length of which is equal to the distance from the bottom edge to the armpits, break the thread, do not close the loops.
- Set the part aside and by analogy knit the same one, but do not break the thread, you should continue knitting with it.
- Next, calculate the number of stitches needed for the sleeve. Since you should increase the width of the canvas to 1/2 of the circumference of the shoulders, determine the number of additional ones using the formula: P\u003d 1/2 of the circumference of the shoulders - 1/2 of the hip width.
- Now you need to connect the back and front together. To do this, extend the canvas by one row and add the calculated number of air loops (P).
- Next, carefully knit 1 loop into 2 parts. Please note - it is already knitted like a regular one, and is not removed like a hem. Work the row to the end.
- After add more air loops, the number of which is also equal to the value of P.
- So you connected the back and front together, added the loops for the sleeves and got a total of loops equal to the girth of the shoulders. Next, you just need to knit in a circle, reaching the desired length of the product. The only clarification is that in the last three rows it is better to make an elastic band 1 x 1.
- Take the hook, pick up loops along the armhole, transfer to the knitting needles and knit (in a circle) the sleeve to the desired length (parameter A in the diagram above), at the end also adding a single elastic band. By analogy, make the second sleeve.
That's it! The basis of the product is ready. All you have to do is add the side seams by joining the front andbackrest.
Recommended:
What do you need to know to crochet a bat sweater?

In today's world, everyone wants to stand out. Therefore, when choosing clothes, preference is given to original and unusual models. One of these is an interesting jacket "bat". Bringing an idea to life is easy. Craftswomen note that the ability to knit simple columns is enough
How to shorten your trousers? What do you need to know for this?

Every woman at least once in her life had to deal with the problem of long trousers. And each of them was looking for an affordable solution that would be fast and high quality. We will consider some of them in our article
What you need to know about 20 kopecks in 1961

In the 18th century, the issue of minting a new coin with a face value of 20 kopecks was first raised. The reason for this was the "large distance" between the already existing coins of 50 kopecks and 10 kopecks. 20 kopecks 1961 is made of copper-nickel alloy and weighs 3.4 grams
Camera crane for video filming. What do you need to know about it?

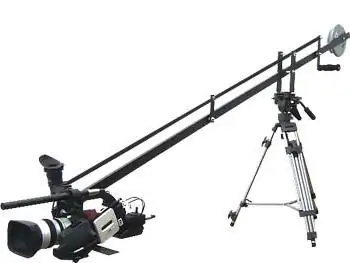
The camera crane is a specialized device for lifting an operator with a television camera and a film camera. It is necessary in order to ensure the movement of the camera in the horizontal and vertical planes
How to braid eggs with beads. What beginners need to know

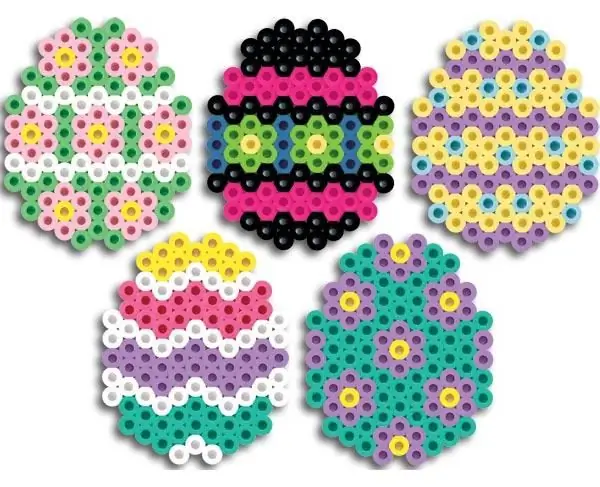
Beaded eggs are an original and worthy gift not only for Easter, but also for other holidays. How to start weaving a product? What do beginners need to know? We will cover everything in detail in our article
