Table of contents:
- Author Sierra Becker becker@designhomebox.com.
- Public 2024-02-26 03:47.
- Last modified 2025-01-22 22:09.
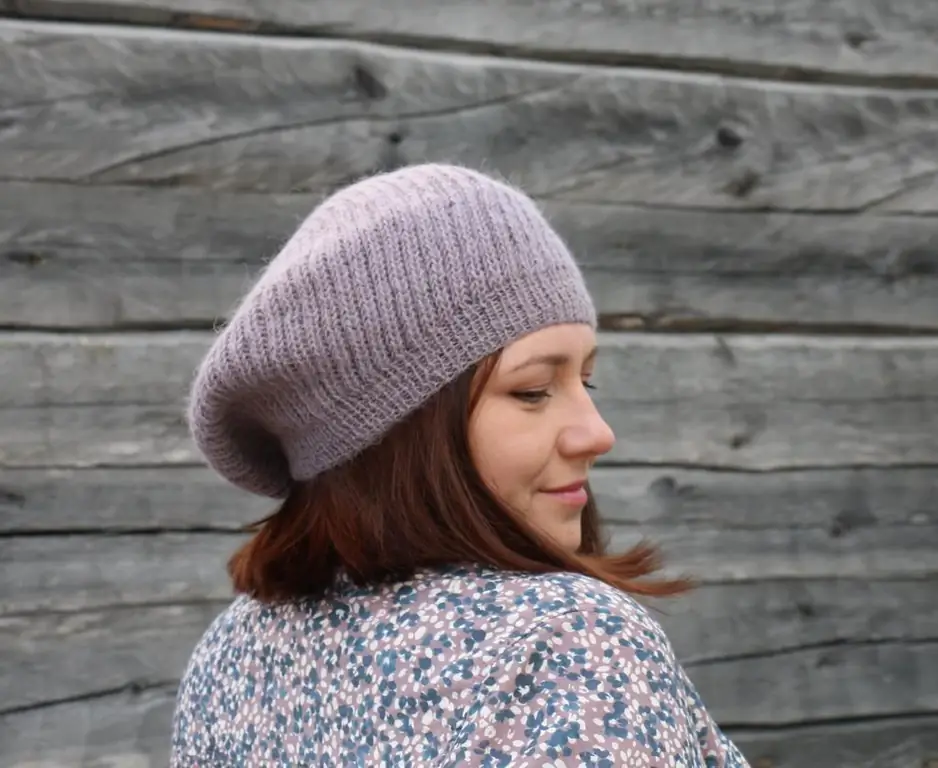
In anticipation of the cold weather, many beautiful people are wondering how to tie a beret. And all because knitted things are currently very popular. But sometimes it is not possible to find the desired model on the store shelves. For this reason, we have prepared the material presented below. It will tell you in detail about how beginners can bring their idea to life.
Model selection
On the Internet and on the pages of needlework magazines, you can see a huge number of spectacular and original products. Moreover, not only the pattern, the presence of decorative elements and other details differ, but also the styles of the berets. That is why needlewomen, wise with experience, talking about how to knit a beret, strongly advise beginners to think over the necessary wardrobe item. Ideally, depict the idea on a piece of paper. Available even in color.

Buying yarn
Focusing on the pattern of the intended product, we choose the mostsuitable knitting threads. According to experts, for braids, plaits, various ornaments and other complex patterns, it is better to choose pastel or monochrome yarn. Indeed, in this case, the product will attract attention due to the texture. Another thing is if the master is just starting to master the technology of knitting berets for women. Knitted products will look interesting even if they are made with front stitch or garter stitch. The main thing is to get interesting yarn. For example, a plush or one that folds itself into a pattern.
Selection of knitting needles
Experienced needlewomen advise beginners to pay due attention to buying a tool. Because the success of the work will depend on its quality. In general, you can knit a beret with any knitting needles. However, metal ones are more suitable for beginners. Especially for those who have a habit of tightening the loops strongly. And all because such a tool provides a good glide of the thread. Thanks to this, it is possible to knit faster and better.
In addition, for those who decide to knit a beret for a woman with knitting needles, it is important to choose the right size for the tool. For patterned things, knitting needles are more suitable, the diameter of which is equal to the thickness of the thread. But the front surface can be diversified using knitting needles of a much larger size.

Measuring the necessary parameters
Many beginners use standard values when knitting various wardrobe items. However, experts are convinced that in order to knit a really beautiful thing, you need to take measurements from a specific person. Only in thiscase, you can not make a mistake with the size. For this reason, the next stage of the master class "How to knit a beret with knitting needles" requires the preparation of a centimeter tape, a notebook and a pencil. After that, we schematically depict the conceived thing and indicate the necessary parameters.
In this case it is:
- Beret height. The value that changes across the top of the head from one ear to the other, divided by 2.
- Head circumference. Head circumference, centimeter, horizontal just above the eyebrows.
Studying the pattern scheme and calculating the required units of measurement
It is impossible to tell in detail how to knit a beret for a beginner if you miss this step. It is necessary to prepare a fragment of the selected pattern on it. It should be square and not too big. Experienced knitters say that a side ten centimeters long is enough.
For knitting we use prepared yarn and knitting needles. Having made a fragment, we count the number of loops and rows in it. Then we divide the girth of the head and the height of the beret by 10 (or another number, depending on the size of the square). Then we multiply the first value by the number of loops in the sample, and the second by the number of rows in it. We fix both parameters in our records.

Inception
If you look at the different patterns of knitted berets, you can see that many of them start with a single or double ribbing. However, professional masters say that this feature is not so important and may vary depending on the wishes.needlewomen. But in most cases, patterned items are decorated with this detail, while those decorated with stocking or garter stitch are not.
So, how to knit a beret with knitting needles:
- We cast on the hosiery needles the number of loops equal to the girth of the head.
- We knit with an elastic band or other pattern 10-15 rows without additions and decreases.
- Then we begin to evenly add loops in each next row. In general, there are no strict recommendations regarding the width of the beret. But experts believe that the ideal is a width equal to two girths of the head. From this it turns out that we need to add as many more loops as we have now. Therefore, we divide the number of additional loops by the remaining number of rows (the height of the beret is already knitted rows). So we find out how many additional loops are in each row. Having figured this out, let's start knitting.
- Moving in a circle, raise the sides of the beret to the desired height, gradually expanding the circumference of the product.
- This is the end of the initial knitting of the beret.

Final stage
Now we proceed to the final step of the instruction on how to knit a beret with knitting needles:
- Subtract from the current number of loops 8. They should remain at the end.
- Next, divide the new value by the number of rows that were knitted at the very beginning.
- After doing simple mathematical calculations, we will find out how many loops to decrease in each row.
- Then we proceed to the final stage.
- We knit a beret, moving in a circle and evenly reducing the loops.
- When 8 loops remain at the end, break the thread and pull through them. Tie from the wrong side.

If the reader managed to cope with the task described in the article, then the master class is over. All the most difficult is left behind, and next to the needlewoman lies a spectacular beret. Which you need to show your girlfriends as soon as possible.
Recommended:
Beautiful and original skirts for girls with knitting needles (with descriptions and diagrams). How to knit a skirt for a girl with knitting needles (with a description)
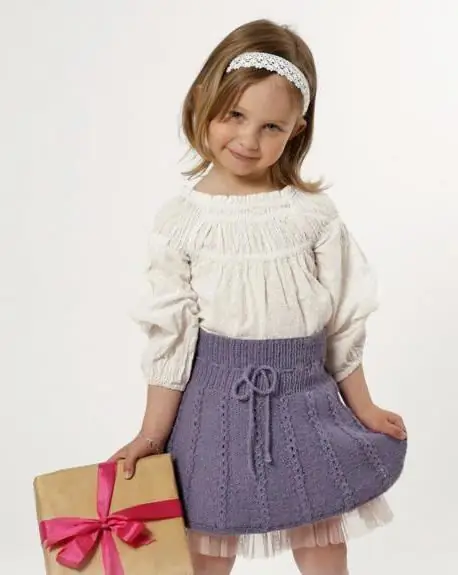
For a craftswoman who knows how to manage yarn, knitting a skirt for a girl with knitting needles (with or without a description) is not a problem. If the model is relatively simple, it can be completed in just a few days
Knitting from mohair with knitting needles. Knitting needles: schemes. We knit from mohair
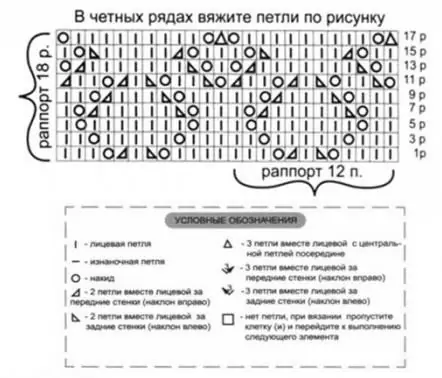
Knitting from mohair with knitting needles brings real pleasure to needlewomen, the result of which are light, beautiful things. Readers can learn about the properties of this thread and the features of working with it from this article. Also here are descriptions of the execution of mohair garments and photographs of finished products. Focusing on them, craftswomen will be able to knit beautiful warm outfits for themselves and their loved ones
Patterns for knitting berets with diagrams and descriptions. How to knit beret with knitting needles

The beret is the perfect accessory to keep your head warm during bad weather, hide your hair if it's not styled well, or just add something special to your look
How to finish a hat with knitting needles? How to knit a hat with knitting needles: diagrams, description, patterns

Knitting is an interesting and exciting process that can take you long evenings. With the help of knitting, craftsmen create truly unique works. But if you want to dress outside the box, then your task is to learn how to knit on your own. First, let's look at how to knit a simple hat
Japanese bactus needles. Openwork bactus knitting needles. How to tie a bactus? Knitting needles and our instructions will help you
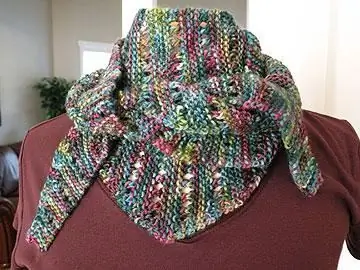
Every day such an unusual accessory as an openwork bactus becomes more and more popular. A knitted or crocheted knitted product looks not only unusual, but also very beautiful
