Table of contents:
- Author Sierra Becker becker@designhomebox.com.
- Public 2024-02-26 03:35.
- Last modified 2025-01-22 22:09.
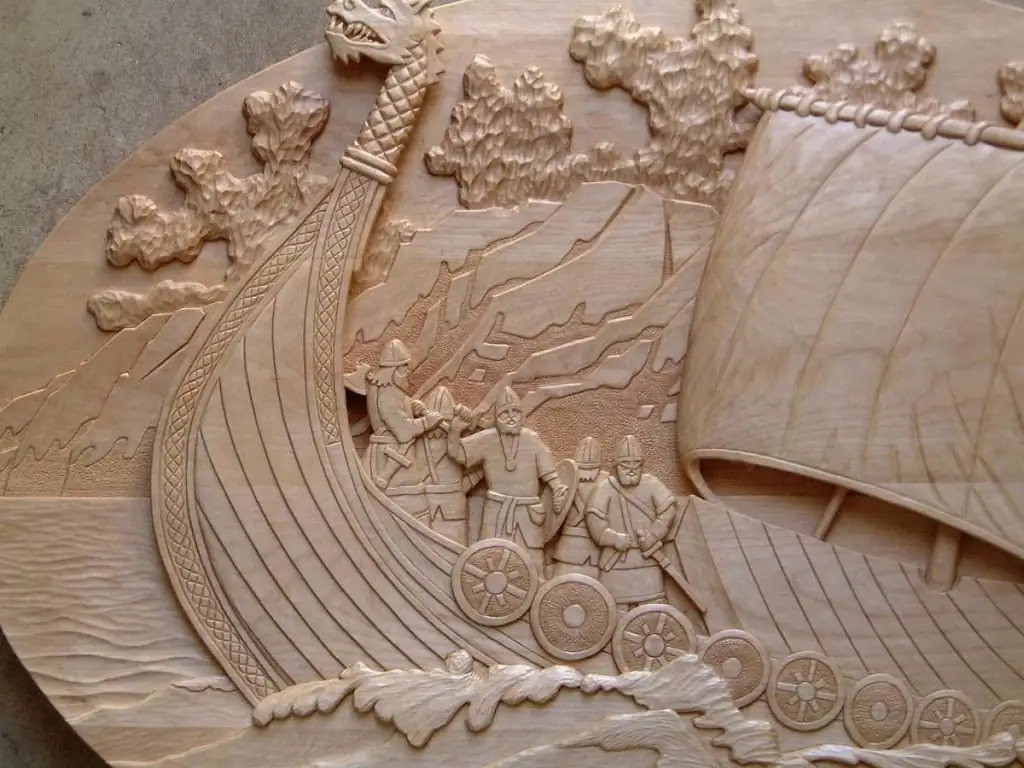
As one of the types of woodcarving, flat-relief carving appeared in the 18th century in Russia during the reign of Peter the Great. Moscow suburbs workshop.
Artists and carvers are based on sketches of flat-relief woodcarving by ancient Russian masters, who laid the foundation for Abramtsevo-Kudrinsky carving thanks to research and creative searches. The name of the new type of craft came not only from the place where the workshop was located, but also from the village from which the craftsmen came.
Features and types of flat-relief carving

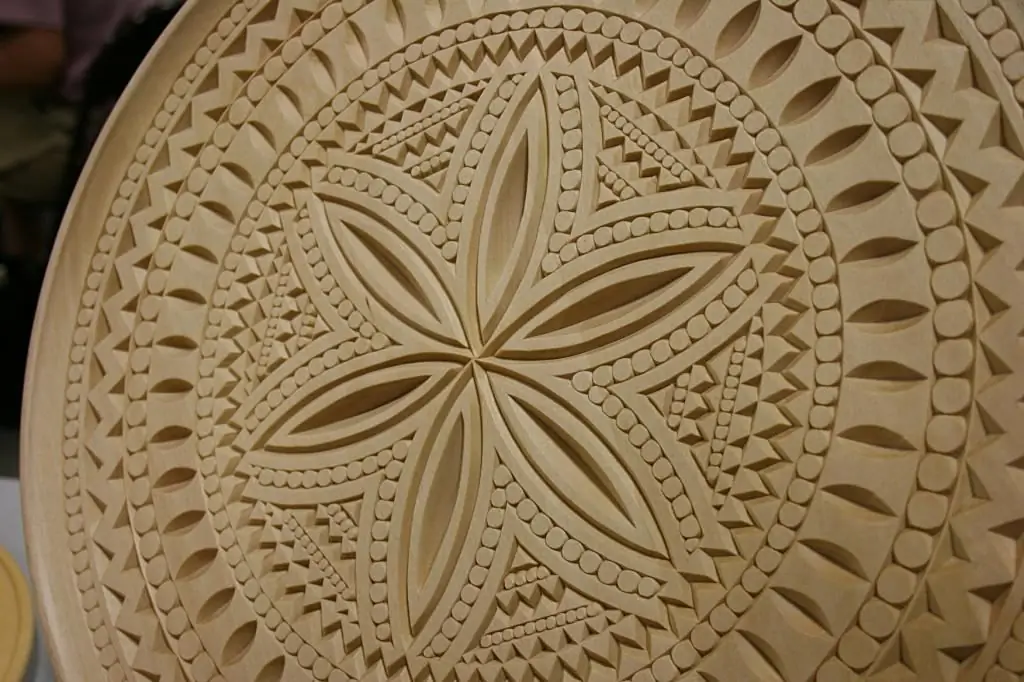
Flat-relief type wood carving differs from other types of craft in that the background is cut to a shallow depth during processing, as a result of which the pattern remains at a slight elevation, but at the level of the board.
There are several typesrelief carving:
- Abramtsevo-Kudrinskaya.
- Vornosovskaya.
- Tatyanka.
- With cushion background.
- With selected background.
- With selectable background.
- With undercut background.
The first type of flat-relief carving influenced its formation as one of the ways of decorative wood finishing and became the progenitor of other varieties.
Pillow carving
Unlike conventional flat-relief carving, cushion carving preserves the background, and the craftsman is limited to hemming the corners. The background of works in this style resembles pillows, which gave it such a name.
The technique is similar to contour carving in that grooves are cut along the contour of the pattern. But the difference lies in the fact that the edges of the sketch are subsequently rounded both from the side of the background and from the side of the ornament.
The cuts are made along the contour of the picture, after which the trimming is carried out from the side of the background, then they begin to roll the edges. You can get a similar contour by highlighting the lines of the image with a cutter, and its toe should smoothly bend around the contours and chamfer to the end. The latter is removed in two ways - both "on oneself" and "on oneself".
Vornosov carving

A type of flat-relief carving invented by Vornoskov based on traditional carving and many years of experience gained in the Abramtsevo workshop. Later becoming the leading master in the country, Vornoskov admitted that the ideas for his workborrowed from samples of old Russian woodcarving.
A distinctive feature of Vornosov's woodcarving is the so-called finger drawing - the technique of applying plant elements, the oval edges of which give them the shape of fingers.
Tatyanka
A unique variety of flat-relief carving is wood carving, recognized by many researchers as a separate art form. It appeared relatively recently - 24 years ago - and was named after the wife of the master who invented the technique.
Carving with matched background

Working in the technique of flat-relief carving with a selected background allows you to create an ornament with a clear silhouette. A flat relief with oval edges rises above the background, which can be different - bumpy, smooth, in the form of various textures.
The carving technique is performed in the same sequence as other types. First, cuts are made along the outer contour of the pattern, for which the tool is positioned vertically and immersed in the wood to a great depth. However, the depth of the incisions varies: at the sharp corners of the ornament it is minimal, at sharp turns it is maximum.
Rough sampling of the background is carried out to a depth of 3-4 millimeters, first with sloping semicircular chisels, then with flat ones. The tip of the chisel is located at an angle to the wood being processed. To facilitate work on the handle of the tool, it is easy to hit with a mallet or palm. Blade drift to the side or to a greater depth is corrected by cutting the background withopposite side. The background is gradually cut to the intended depth.
The next step is to curl up and trim the shapes of the ornament. The cutting tool is placed at a certain angle to the surface to be treated. Rolling is performed in a standard way for other types of equipment.
The final cleaning of the background begins with the processing of large areas, gradually moving to small details between the ornament. The last stage of stripping the background is the use of skins and cycles, or embossing it with punches.
Flat carving for beginners: where to start?

Flat-relief carving, despite its sophistication and complexity, is not considered the lot of only professional wood craftsmen. You don't have to spend your whole life learning to reach a serious level in a craft.
Flat-relief wood carving for beginners requires minimal skills in working with wood and the availability of the necessary tools. The first thing a beginner needs is to gain theoretical knowledge and be able to understand the tools.
No less important is the competent preparation of the workplace: for the first steps in the craft, a minimum set of tools and an ordinary table are enough. For those who plan to further develop in this direction, a full-fledged workbench will come in handy.
The choice of wood is important - the final result and the complexity of the work performed depend on it. Wood and boards are carefully prepared, since the quality of the material depends on its competent processing. The wood must bethoroughly dried and sanded. To change the color, the material is painted and varnished.
Using flat-relief carving in furniture making

The described craft technique was widely used at the end of the 19th century, as evidenced by numerous photographs. Flat-relief wood carvings have been used to decorate pieces of furniture and accessories that are highly valued by antique dealers even though they are made by contemporaries.
The most demanded flat-relief carving in the manufacture of church iconostases and the arrangement of Orthodox churches from the inside. Aesthetic photos of flat-relief woodcarving confirm the high value of a unique and exquisite craft.
Recommended:
Wood carving, contour carving: description with photo, work technology and necessary materials

Artistic woodcarving is one of the oldest techniques of decorative art. During the history of the existence of the craft, several of its varieties have appeared. One type is contour carving: an exquisite technique used when working with wood
Wood carving, house carving: description with photo, work technique and ornament patterns

Facades made in ethnic style are distinguished by bright folk craft - house carving or woodcarving. The unique craftsmanship originated centuries ago and has been greatly improved over the years. Existing work techniques allow you to create aesthetic decorative elements to decorate buildings
Tips for beginners: how to work with polymer clay. Required materials and tools, work technique

One of the popular materials for creativity is polymer clay. Jewelry, souvenirs, toys, etc. are created from it. To master the technique of working with polymer clay, you need to consider the advice of experienced craftsmen. There are many subtleties and nuances, knowledge of which will allow you to avoid serious mistakes. Next, consider which masters give advice to beginners and how to work with polymer clay
Rosary weaving: the purpose of the rosary, the technique of execution, the necessary materials and tools, step-by-step instructions for work and expert advice

Quite often in everyday life there is such a thing as "rosary". Many people do not even have a clue about what purpose this attribute has. This article discusses what history and purpose the rosary has, and also writes a way to properly weave the rosary
DIY wire tree: necessary materials and tools, technique

Sculpture in the form of a tree made of wire can be a wonderful decoration for your home. And it is very easy to make your own wire masterpiece to decorate your home, office or give it to one of your friends. And in this article we will look at how to make two different trees from wire with your own hands
