Table of contents:
- Author Sierra Becker becker@designhomebox.com.
- Public 2024-02-26 03:46.
- Last modified 2025-01-22 22:09.
To a minimum, hand sewing has been reduced by the latest technologies in the production of sewing machines. But sometimes there are cases in which it is simply impossible to do without it - connecting parts with a blind seam, basting pieces of fabric, stitching in places that are inconvenient for machine processing; decorative trim and more. Hand stitches can be either temporary or permanent.
On the finished product remain constant. They are used in the final stages of tailoring - from invisible connections on the front side of the seam sections to fastening together the ends of the elastic band that completes the hemming of the product. Temporary ones include basting and copy stitches (snares) that should be removed after the product is finished.

Fixing the thread
Before you start sewing, it is important to know how to tie a knot on a thread with a needle in order to properly fasten the ends, otherwise all the work will go down the drain. At the end of the seam, do the same, especially if it is permanent. bastingit should also be fixed firmly if the product is repeatedly tried on. On permanent seams, the securing stitches should be small and sewn from the inside out.
How to tie a knot on a thread with a needle correctly
It is worth figuring out how to tie a temporary knot when basting so that it can be easily untied later.
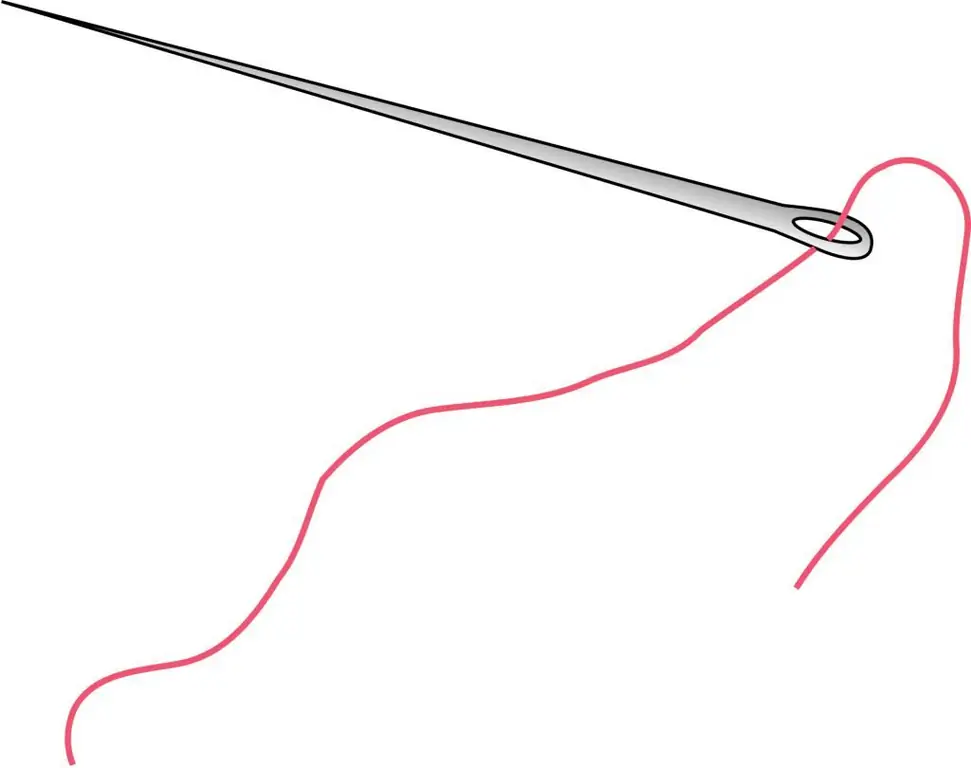
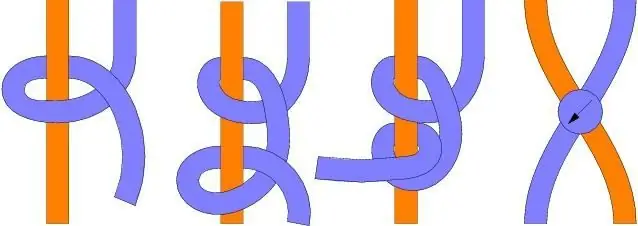
- The sewing thread is threaded through the needle. At the end, you need to form a simple loop. To do this, two threads are folded together, while the short one is located behind the loop.
- The short thread must be pulled through the loop, while the second one will be formed. But you need to do this so that the end of the short thread does not slip there. Holding the ends of the threads and the new loop, tighten the knot. In order to pull the thread, pull on the short end, the knot will untie in this way.
Rolled knot

This is another way to tie a knot on a thread with a needle. To do this, wrap the thread around your finger to make a loop. Then, as if rolling, it is necessary to remove the loop from the finger and, holding it between two fingers, pull the long end of the thread, thereby forming a knot.
Securing the thread with a knot and back stitch
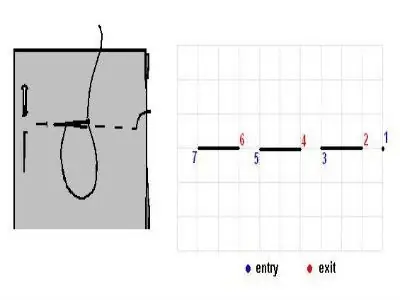
To begin with, a knot is knitted, then the needle is stuck into the fabric and removed from the knot in three millimeters. Then the thread is again stuck near the knot and a stitch is made back. Further sewing continues as needed.
Double stitch back

If the seam isstart with a double stitch back, it will be smoother and stronger than in the case of a simple knot. The needle is stuck into the fabric and the thread is removed, but in such a way that it remains in the fabric. Then a stitch is made back three millimeters and the thread is brought out at the place where the first needle insertion was. The stitch is repeated, and then everything is sewn as usual.
Reinforcement stitches
To make the end of the permanent seam strong, a small stitch is made in the opposite direction after a few threads, but so that a small loop remains. Another stitch is made in the same place and the needle is pulled through the loop of the first stitch. Pulls tight.
So, figured out how to tie a knot on a thread with a needle. For a beginner seamstress, this question is very important, since proper and high-quality sewing begins with the basics.
Recommended:
Clew knot, double clew knot: features and patterns of weaving

The clew knot is simple in execution and easy to untie, but it lives up to its name - it holds the sheet tightly, while tightening strongly, does not damage the cable
Weaving knots: scheme. How to tie a weaving knot?

The weaving knot is indispensable for hand knitting, as well as in everyday life. This knot is often called invisible, because it helps to connect two threads almost imperceptibly. It seems impossible to imagine? In this article, we will take a step-by-step look at how to tie a weaving knot
Straight knot: knitting pattern. How to tie a straight knot

The direct knot is auxiliary. They are tied with cables of identical thickness in the presence of a small traction. It is considered correct when the ends of each rope go together and in parallel, while the root ones are directed against each other. The direct knot scheme is not suitable for use in a situation of tying 2 ropes with different diameters, due to the fact that the thinner one tears under load the thick one
French knot embroidery, French knot in cross stitch

Today, the fashion for having a hobby is being revived, and maybe it has already been revived. Many learn to knit, sew, weave bouzas and other ornaments from beads, and someone is engaged in embroidery. Undoubtedly, embroidery requires a lot of strength, concentration, perseverance, and patience. Decorate your creation with French knots
Stitch "needle forward" in embroidery. Embroidery "forward with a needle" with diagrams and photos

Simple and versatile are the seams, during which the movement of the needle is directed forward. They can be used for manual work when sewing clothes or soft toys, decorating finished products, or as auxiliary techniques
