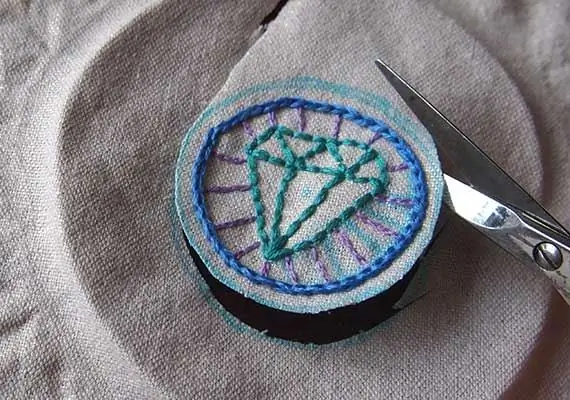
Table of contents:
- Author Sierra Becker becker@designhomebox.com.
- Public 2024-02-26 03:46.
- Last modified 2025-01-22 22:09.
How popular are various patches and decorations for clothes now, but they cost a lot for simple pieces of fabric embroidered with colored threads. This, of course, is their minus, but how cool things are transformed with them!
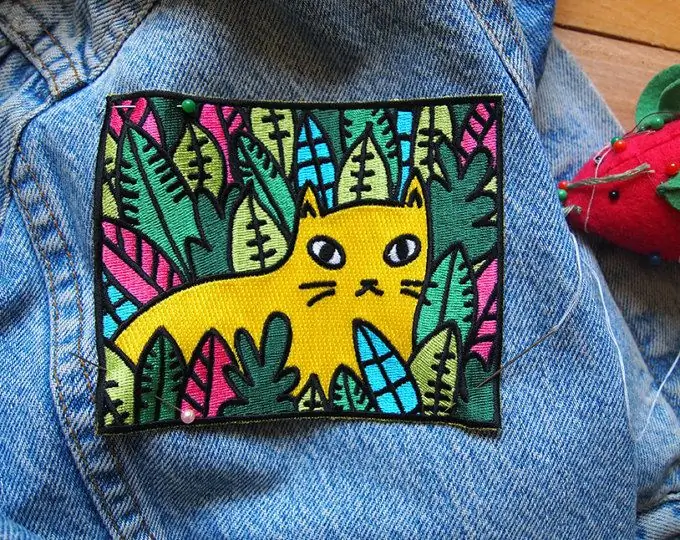
We found a solution for this problem, because today we will tell you how to make patches on clothes with your own hands. It will be very exciting, and most importantly, the result will please the eye.
Interesting views
Do-it-yourself patches on clothes are very different. From pin brooches to fabric and design ideas. After all, the most important thing is not the material used, but the idea!
Therefore, you have a huge field of choice to get the perfect patch for you. Firstly, you can change the base, since in its place there can be felt, jeans, leather and even thick cardboard.
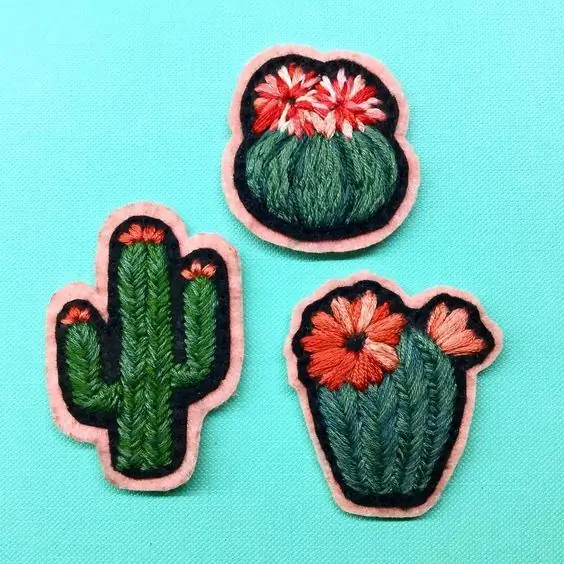
Secondly, it is the stuff of doing all the work. The patch can be made not onlyfloss threads, but also sequins, beads, beads or pieces of fabric.
In addition, the same number of variations of attaching the patch to clothing. It uses both pins and duct tape, and an option for instant manual stitching.
After we have discussed all the possible options, it's time to tell you how to make patches on clothes with your own hands.
We will use
Since we agreed to use some unnecessary materials, we will not deviate from our idea:
- We will take a dense fabric as a basis: jeans, leather or fleece, which can be found even in the collection of unnecessary items in your wardrobe.
- Use gouache or acrylic paint to design the color.
- The floss will go on top of the paint to get an even color.
Do-it-yourself patch on clothes: manufacturing features
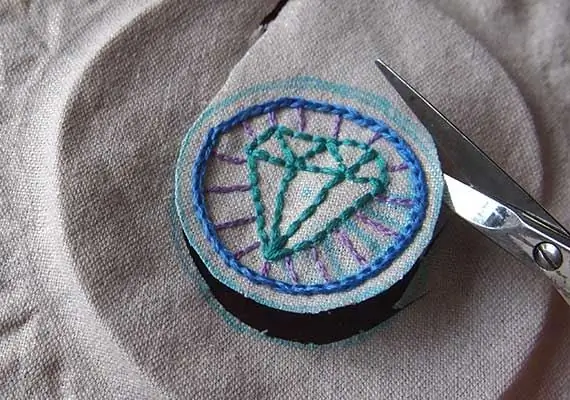
- Take the main fabric and iron it well to remove excess creases and creases. After that, it is advisable to use the hoop throughout the work to get even embroidery.
- If your fabric is very different from the color palette of the threads you plan to embroider with, then draw and color the embroidery sketch with slightly diluted gouache or acrylic paint.
- Let dry and set thoroughly with fabric base paint.
- If desired, the paint can be sprinkled with varnish for stability.
- Start satin stitch with one patch of color and then move on to the next. Stitches should be made as close as possible tothe applied paint did not even show through them. This is the only way you will get a quality product that you will not be ashamed to use in life.
- So, step by step, fill the entire patch with threads, and then complete the entire look with a contrasting color piping.
- Cut out the embroidery with a small allowance of 5-8 millimeters.
- Then, saturate the fabric edge with glue and fold it to the wrong side so that it is not visible. All the same must be done with protruding threads.
- How to make DIY patches on clothes to make them look really cool? Add some light fading or highlights in some places with layering stitches or simple paint.
Now you can decorate all your clothes, because making patches on clothes with your own hands will be very simple and fast!
Recommended:
How to make a chair with your own hands. How to make a rocking chair with your own hands

Furniture can be made not only from boards, but also from any available material. The only question is how strong, reliable and durable it will be. Consider how to make a chair with your own hands from plastic bottles, cardboard, wine corks, hoop and thread
How to make a Santa Claus costume with your own hands? How to sew a Snow Maiden costume with your own hands?

With the help of costumes, you can give the holiday the necessary atmosphere. For example, what images are associated with such a wonderful and beloved New Year holiday? Of course, with Santa Claus and the Snow Maiden. So why not give yourself an unforgettable holiday and sew costumes with your own hands?
Chest of Santa Claus with their own hands. How to make a New Year's chest with your own hands from cardboard?
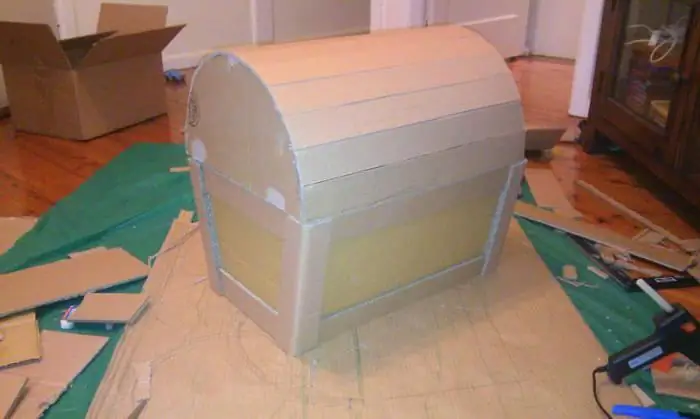
Preparing for the New Year? Do you want to make original gift wrapping or interior decoration? Make a magic box with your own hands out of cardboard! Children will especially like this idea. After all, it is much more interesting when the gifts are not just under the Christmas tree
New things from old things with your own hands. Knitting from old things. Remaking old things with your own hands
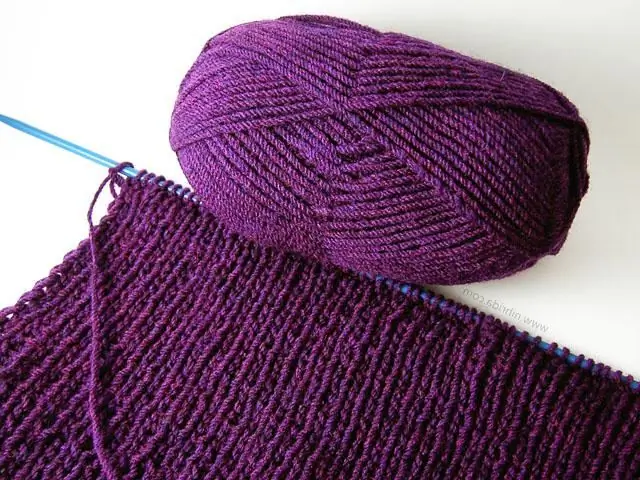
Knitting is an exciting process with which you can create new and beautiful products. For knitting, you can use threads that are obtained from old unnecessary things
Pattern of slippers with your own hands. How to sew children's house slippers with your own hands?
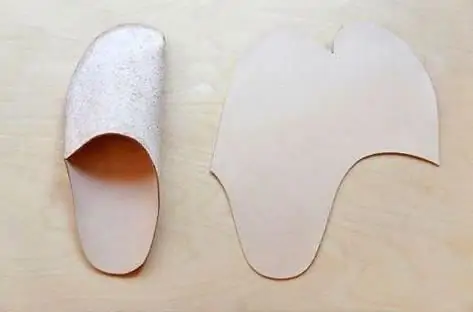
Shoes such as slippers are relevant at any time of the year. In summer, the foot in them rests from sandals, and in winter they do not allow to freeze. We suggest you make homemade slippers with your own hands. A pattern is included with every tutorial
