Table of contents:
- Author Sierra Becker becker@designhomebox.com.
- Public 2024-02-26 03:47.
- Last modified 2025-01-22 22:09.
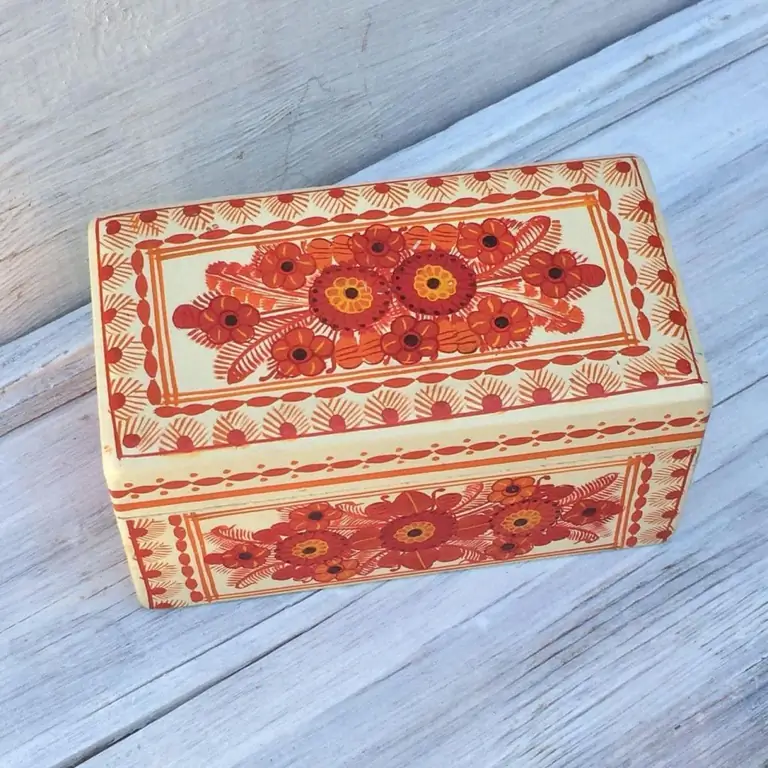
In the old days, every woman had a box for storing jewelry, letters and other things dear to her heart. Despite the fact that today this item is not so popular, for many it remains indispensable in everyday life. A beautiful box is not only practical to use, but can also be a great element of room decor. It is not necessary to buy an expensive product, an ordinary box, which is independently decorated to your taste, is quite suitable. How to decorate the box with your own hands, we will tell in this article.
Choosing technique
The size of the product is not so important. However, before trying to decorate large boxes, it is still recommended to practice on miniature items. And in order to decide which technique is easier and more interesting to work with, you need to try the design in each of them. This does not require a large consumption of material and time.
As the advantages of self-finishing the box, it is worth noting:
- Ease of decoration. The product can be anydimensions.
- There are no restrictions in the choice of this or that technique, it all depends on the imagination.
- You can make a box yourself and then arrange it.
Depending on the purpose for which the accessory will be used, the technique of how to decorate the box with your own hands is selected. Most often, decoupage, painting, paper art, quilling and shabby chic are chosen for decoration. Some of these techniques require special skill and practice.
What tools will you need?
You can decorate the product with any materials at hand: lace and artificial flowers, beads and glass, buttons, beads, coins, textiles, etc. It is worth noting that the set of tools mainly depends on how to decorate the box with your own hands you want.
Among them mostly used:
- glue;
- tassel;
- scissors;
- varnish;
- paper;
- ribbons;
- paints, etc.
Mosaic technique
A rather simple way, even for a beginner, to decorate the box with your own hands, is the mosaic technique. Details can be small or large, from materials of different shapes and textures. For decoration you will need:
- brush with rolling roller;
- scissors;
- polymer clay;
- plastic or colored glass;
- glue and varnish;
- cardboard;
- talc;
- satin ribbon.
A jewelry box decorated with glass and ribbons with your own hands will be a great gift for a younggirls.

First of all, circles are cut out of cardboard, which will form the appearance of the product. To decorate the inside of the box, it is recommended to use polymer clay of any color. You can use a bobbin to create a shape. It is carefully covered with clay, avoiding the formation of bubbles and carefully smoothing the joints. The excess is removed, and the finished forms are dried in the oven.
From the outside, the walls are treated with talcum powder, which will greatly facilitate the process of applying glass or plastic. From the latter, elements of various shapes are cut out. On the finished base, mosaic details are glued in a chaotic manner or patterns are formed. A satin ribbon is attached to the lid, forming a loop. The final stage is the final varnish coating. If the mosaic is made of glass, this step is skipped.
Mirror box
Such an object looks very unusual, on which the sun's rays are refracted and the colors of surrounding objects are reflected. How to decorate the box with your own hands (photos of some product options are presented in the article) using such elements, we will consider further.
To decorate the box you will need:
- ruler, knife;
- glue;
- brush;
- gloves;
- adhesive tape;
- plastic coated with reflective coating or mirror pieces.
On plastic, several strips are measured depending on the dimensions of the box. Details are cut so that in the future they easily fit on the surface of the product. It can be squares, triangles, etc.cover with glue and attach mirror parts. After that, the workpiece is left for several hours to dry completely. Then the inside is covered with felt. Optionally, you can make a hook for closing.
Shabby chic box
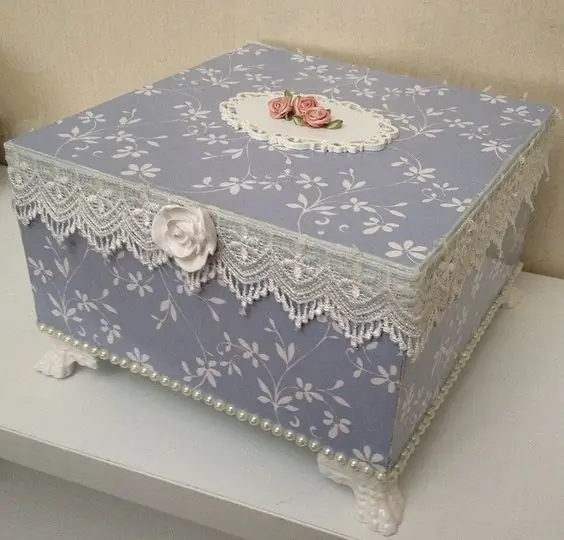
This method is considered one of the most sophisticated and feminine techniques. A box decorated in this way is perfect for storing accessories. How to decorate the box with your own hands (see photo below), consider further.

For decoration you will need:
- textiles and lace;
- dense thread;
- glue;
- beads, beads;
- beautiful box;
- foam;
- patterned sheet.
From the foam cut out a shape that will lie at the bottom of the box. With the help of a sheet with a pattern and glue, the inner and lower outer parts of the box are formed. Then proceed to the formation of a cover of paper and fabric. You can also use a ready-made foam form and sew fabric to it. The final stage is the decoration of the lid of the box with beads, beads and other elements.
Eggshell Accessory
If you have a thick paper box, you can make and decorate a cardboard box with your own hands. Making it yourself using this technique is quite simple, for this you will need:
- eggshell;
- glue;
- cardboard box;
- acrylic paint;
- tassels;
- patterned napkins.
The box is painted or pasted over with paper forcreating a background that will show through between the parts of the shell. Then PVA glue is applied in separate sections. Until the composition is dry, lay the shell. Gently press with your finger so that it cracks. Small fragments are shifted closer to each other and smeared with glue again. Then patterned napkins are applied on top and painted over with paint so that a beautiful pattern is printed on the product. After complete drying, the box can be varnished.
Product decoration with kanzashi
This is a Japanese technique for decorating headwear and accessories. How to decorate the box with your own hands with kanzashi-style ribbons, read on.

For decoration you will need:
- glue;
- satin ribbon (several colors available);
- scissors;
- needle and tweezers;
- candle;
- thread with beads or beads;
- wooden box.
Product design begins with the formation of petals using the kanzashi technique. To do this, the cut pieces of tape are folded at an angle and the edges are burned over the candle so that they stick together and the petal becomes flat. The more details you make, the more voluminous the flower will be. If the petals are of different colors, they are strung on a thread alternately. You can alternate colors. Then the ends of the thread are tied, and the petals are unfolded. Glue is applied to the lid of the box and the finished flower is attached. Its center is decorated with rhinestones, beads or beads. It is worth noting that it is not recommended to use Moment glue, since it tends to corrode the glossy finish.details.
Quilling
This technique is very popular among needlewomen. It is performed by twisting paper strips and creating fancy patterns with them. How to beautifully decorate the box with your own hands in this way, consider below.

For decorating using quilling technique you will need:
- double-sided colored paper;
- toothpicks;
- glue, brush;
- scissors.
Let's get started. Paper scissors cut strips of different widths and lengths. Then they are twisted into spirals and glued into strips. After that, columns are formed on the box. Ready-made strips are glued to them. The easiest way to twist spirals is with toothpicks. On the sides of the box, you can glue leaves made of green paper. In the same technique, the lid of the product and the bottom are decorated. The surface of the box is usually decorated with flowers, which are spirals connected in a special way. Finally, all parts are additionally glued for reliability.
Decoupage
This is an old technique, it has its roots in the French Provence. Previously, special paper with decor was produced, intended for decoupage. You can understand how to decorate a wooden box with your own hands using this technique using the following materials and tools:
- decor cut from fabric, napkins or prints;
- glue;
- brush;
- paint;
- varnish.

Firstcut out the details of the pattern with scissors and try on the future product, forming a picture. Then they are placed face down on the surface, according to the sketch, and smeared with glue on top. Then the top layer of the paper picture is carefully removed and varnished. If decoupage is performed using photographs, then the lower layers are first removed by moistening with water. In this way, you can decorate the inside of the box.
Vinyl wallpaper
Surely many people have an unnecessary piece of vinyl wallpaper lying around at home. This material is perfect for decorating a wooden box or cardboard box. The drawing can be in any subject, while it is important that it matches the size of the box. It is unlikely that anyone will like the design in the form of a half bird or a chopped pattern. The exception is an abstract pattern. This technique is not the easiest, but it allows you to make a really stylish thing. Consider how you can decorate the box with your own hands using vinyl wallpaper. For this you will need:
- glue;
- tassels;
- vinyl wallpaper;
- varnish.
The future box is measured from all sides, based on these values, a piece of wallpaper is cut. Then the parts are soaked in water, and the paper base is carefully removed. As a result, the layer will lie more evenly on the surface.
Glue is applied to the workpiece and the wallpaper is fixed on the surface of the box. After that, the product should dry well. The lid can be decorated with flowers, large beads or applied with acrylic paint. Then the box is completely covered with several layers of varnish,pre-drying the previous one.
Artificially aged products look great. To do this, the main color is made bronze, and then in places a green tint is applied with a sponge. Silver and gold caskets look solemn. At the end of the design work, the product must be varnished.
Painting, three-dimensional decor
The painting technique is ideal for creative people with artistic talent. Moreover, you can decorate the box yourself or with the help of ready-made stencils. They can be printed and cut out. Consider how to decorate a wooden box with your own hands using artistic painting. It should turn out especially beautiful.

For this you will need:
- wooden box;
- wood degreaser;
- paint;
- brushes;
- adhesive tape or glue;
- varnish.
The wooden surface is degreased from all sides and allowed to dry. Then make out a white background for color purity. After drying, apply the main color layer. If a ready-made stencil is used, it is attached to the product with tape or glue. After that, the drawing is applied with paints and allowed to dry for several hours.
For greater realism, the corners of the box are painted over as follows. The composition is applied to the sponge and wiped with a dry cloth. Then a soft haze is created in the corners.
Another option involves darkening the paint to a tone darker than the main background. After complete drying, the main color is applied over the corners. Finishedthe product is varnished.
It is quite difficult for a beginner to decorate a product with volumetric decor, this requires practice. The work is carried out using a special paste or putty. The procedure here is the same as in the painting version. The surface is degreased and the main background is applied. Then a stencil is applied and putty is applied with strokes. Without waiting for drying, the form is removed and with the help of a toothpick and a cotton swab the irregularities of the pattern are removed. After drying, the drawing can be further painted over. The final stage is varnishing and final drying.
Marine theme
This decor is very popular. It serves as a reminder of warm countries and the sea coast. Sea sand, small pebbles are suitable for decorating the box. You can decorate the box with your own hands with shells. Silhouettes of plastic fish are also suitable. For decoration you will need:
- glue;
- shells;
- varnish;
- brushes.
First of all, you need to make an approximate sketch of the box and select the required number of shells without damage (with a margin). Chop the rest into crumbs. The product is abundantly smeared with glue and sprinkled with crushed shells. After drying, the excess must be shaken off. Then proceed to the design of the pattern with pre-laid shells. You can decorate not only the lid, but also the sides of the box. At the end, the product is varnished.

A handmade box can be a wonderful gift for relatives and friends. It will decorate the interior and servean indispensable thing for storing small items.
Recommended:
How to decorate photo frames with your own hands: ideas, materials, recommendations. Photo frames on the wall
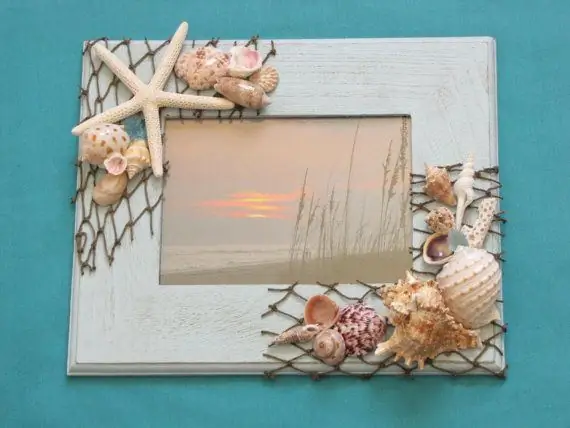
Standard wooden photo frames are the simplest solution for photo placement. Finding a frame design option suitable for an individual interior is quite difficult, so a home-made base will be the best solution. You can use already prepared. It is only important to decide how to decorate the photo frame with your own hands. For this, completely diverse tools and materials can be used
How to decorate a postcard with your own hands: original ideas
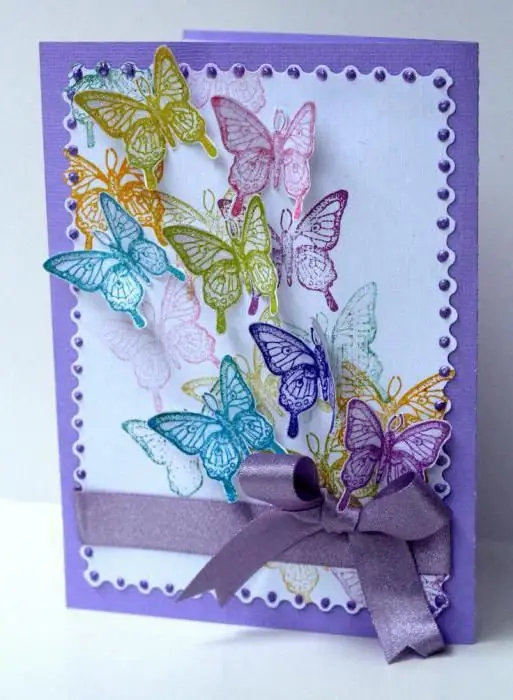
In the world there is a huge variety of postcards for every taste and every subject. But the best of them is a handmade postcard
How to decorate a glass jar with your own hands: original ideas
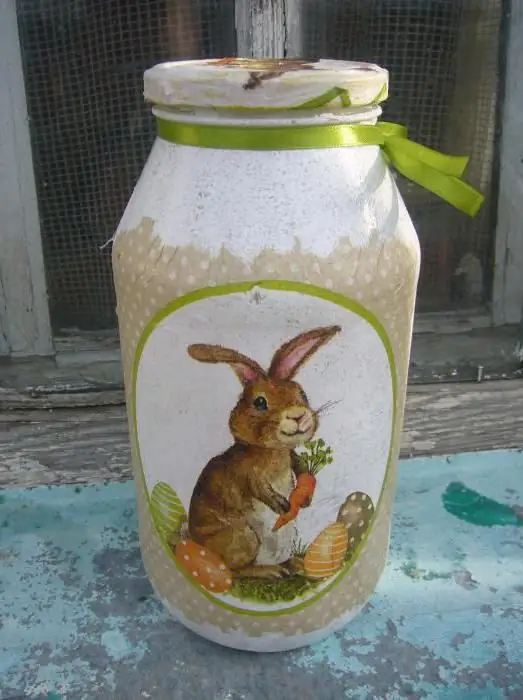
Very often, in needlework, ordinary kitchen glass jars are used for decoration. The decorated jar is universal, because it can be used not only as an item of kitchen utensils and a flower vase, but also as a universal container for storing pens, pencils and even toothbrushes in the bathroom
How to decorate a box with your own hands: original ideas and a detailed description
Anyone can decorate the box with their own hands, using elementary methods, for example, pasting with different types of paper and strengthening horizontal stripes around the entire perimeter. It is much more difficult to decorate the craft with a cloth, and sheathe the lid with flowers from satin ribbons. However, if you wish, you can learn how to decorate cardboard or tin boxes in the ways described below
Decorate the box with your own hands - interesting ideas, features and recommendations
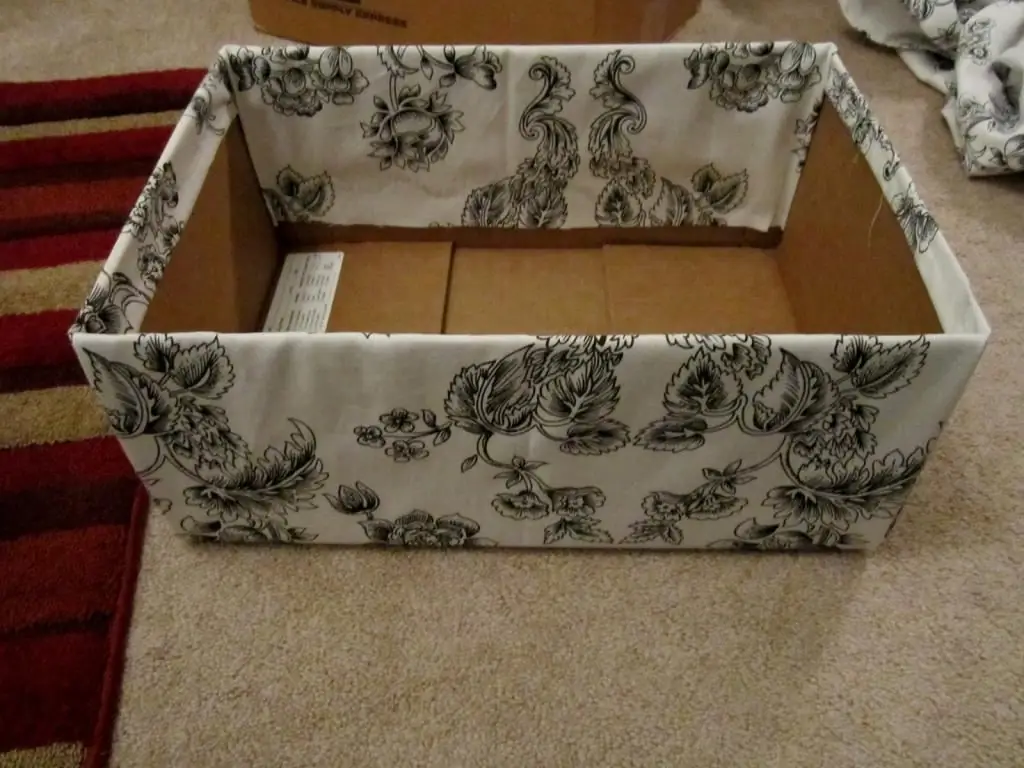
After raids on shopping centers and boutiques, pleasant memories remain, and a couple of cardboard boxes of shoes or accessories that have nowhere to put or it is a pity to store. Most of them do not have an attractive design, but are functional. In boxes of different sizes, you can put various things, a trifle, you can make excellent organizers from them. If you are a fan of beautifully presenting a gift, then an unnecessary box can help here. The main thing is to correctly decorate it
