Inhaltsverzeichnis:
- Autor Sierra Becker [email protected].
- Public 2024-02-26 04:44.
- Zuletzt bearbeitet 2025-01-22 22:11.
Beim Gang ins Dampfbad kann man auf spezielles Zubehör nicht verzichten. Einen besonderen Platz unter ihnen nimmt ein Badehut ein.
Produktmerkmale
Das ist nicht nur modisch und stylisch, sondern eine notwendige Sache, um Ihren Kopf zu schützen. Es kann im Laden gekauft werden, aber es ist interessanter, es selbst zu erstellen, da niemand ein solches Zubehör haben wird.

Ein Badehut soll das Haar, die Parietalzone, die Augen und den Hinterkopf zuverlässig schützen. Für die Schneiderei werden nur natürliche Materialien verwendet, vorzugsweise Wolle. Es erzeugt keinen "Treibhauseffekt", verhindert die Bildung von Schuppen. Der Badehut sollte der Größe Ihres Kopfes entsprechen. Das Material, aus dem das Produkt besteht, sollte beim Waschen nicht an Farbe verlieren und einlaufen.
Nähen eines Badehutes "Budenovka". Muster
So ein modisches und praktisches Accessoire kann innerhalb einer Stunde hergestellt werden. Die Schneiderei erfordert keine besonderen Fähigkeiten und Erfahrungen. Du brauchst Geduld und ein wenig Fantasie.
Messe deinen Kopf mit einem Maßband. Es sollte über die Stirn und den Scheitel gehen. Die Tiefe des Produkts wird vom Ohr bis zum Scheitel gemessen. Anzahl,was sich beim Messen herausstellen wird, muss durch sechs geteilt werden. Sie erh alten die Anzahl Keile.
Nimm einen Keil und zeichne den Umriss auf Papier nach. Du solltest am Ende ein längliches gleichschenkliges Dreieck haben. Runden Sie die Rippen ab, damit das Produkt besser auf dem Kopf sitzt. Sie erh alten ein Badehut-Musterdetail. Jeder von ihnen sollte dupliziert werden.
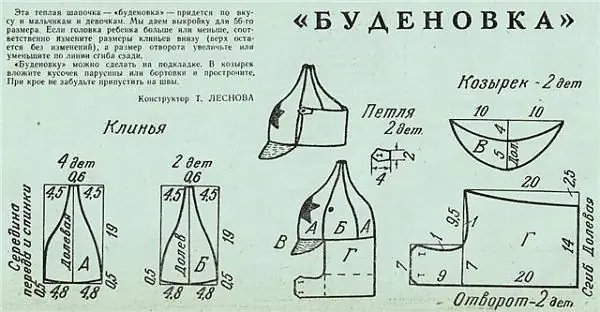
Ratschlag! Machen Sie es auf speziellem Papier für Muster - Millimeterpapier. Karton oder starre Folien können ebenfalls verwendet werden.
Auch auf Papier zeichnen:
- Visier (2 Stk.);
- Schleife (2 Stk.);
- Revers (2 Stk.).
Details ausschneiden und auf das Material übertragen.
Ratschlag! Wenn Sie einen nicht sehr dicken Stoff zum Nähen genommen haben: Leinen oder Baumwolle, kann er in zwei Hälften gef altet werden, um die Dicke des Produkts zu erhöhen. Bitte beachten Sie, dass Naturstoffe bei hoher Luftfeuchtigkeit um ca. 30-40 % schrumpfen. Damit Ihnen das Produkt mit der Zeit nicht zu klein wird, addieren Sie 1 cm zur Tiefe der Kappe und 10-15 mm an den Seiten hinzu.
Mütze nähen
Sie können das Produkt manuell oder auf einer Nähmaschine nähen. Dünne Stoffe lassen sich einfach auf der Maschine verarbeiten. Filz oder dicker Filz muss von Hand genäht werden. Löcher zum Nähen müssen mit einer Ahle gemacht werden. Als nächstes nähen Sie alle Keile. Schirm und Schlaufe annähen.
Einen Badehut filzen
Es gibt zwei Arten des Filzens: trocken und nass. Wir schauen uns den zweiten an, da der erste mehr Erfahrung und Geschick erfordert.
Du benötigst kein spezielles Werkzeug zum Arbeiten - alles ist zu Hause zu finden. Das einzigeSie müssen kaufen - das ist die Schafwolle selbst. Um dem Produkt eine Form zu geben, benötigen Sie ein Stück dichtes Linoleum oder Zellophan. Sie benötigen außerdem:
- Waschbeutel;
- Seifenlösung (1 Teil Flüssigkeit und 4 Seifen);
- Zerstäuber;
- Drei-Liter-Glas (dies ersetzt das Leerzeichen).
Arbeitsschritte
- Messen Sie Ihre Kopfmaße wie oben beschrieben. Beim Filzen sollte die Größe um 30 % erhöht werden, da Wolle immer einläuft. Am einfachsten ist es, eine fertige Strickmütze als Vorlage zu nehmen.
- Von einem ganzen Stück Wolle die dünnen Fasern trennen und in verschiedenen Richtungen auf das Muster legen. Dies ist notwendig, damit das Material besser haftet. Haben Sie beim Verlegen von Wolle keine Angst, über die Ränder der Schablone hinauszugehen. Alles Überflüssige kommt dann zum Vorschein. Es ist notwendig, sehr fest zu verlegen, damit auf keinen Fall Lücken entstehen. Versuchen Sie, die Wollmenge über die gesamte Fläche gleich zu h alten.
- Betrachte das zukünftige Produkt im Licht. Wenn es Löcher gibt, müssen sie geschlossen werden. Die Dicke des zukünftigen Filzes sollte überall gleich sein.
- Breite die Luftpolsterfolie aus. Legen Sie das Werkstück in einen Wäschesack und legen Sie es auf eine Folie. Mit einer Sprühflasche mit Seifenwasser bedecken.
- Auf das Werkstück tupfen, bis ein stabiler Schaum entsteht. Gehe mit einem Nudelholz darauf.
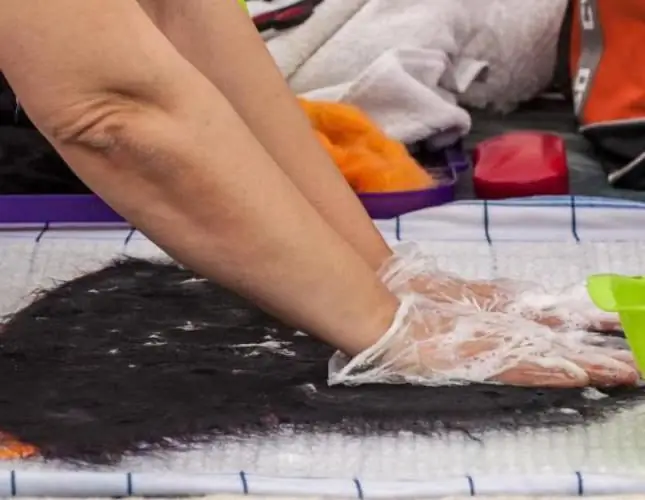
- Entfernen Sie die Folie. Drehen Sie das Werkstück um und legen Sie es auf die Schablone. Stecken Sie den Überschuss unter das Muster. Runter drücken.
- Schaum aufschlagen und gut aufschäumen. Kneten Sie es mit Ihren Händen, bis es nicht mehr auseinanderfällt. Faser, sondern wird zu einer festen Leinwand.
- Setzen Sie den zukünftigen Hut auf einen Rohling und glätten Sie die Kanten. Trocknen lassen.
- Fülle eine Schüssel mit k altem Wasser. Spülen Sie den Artikel aus. Lassen Sie nun das k alte Wasser ab und fügen Sie heißes Wasser hinzu. Flüssigkeit mit unterschiedlichen Temperaturen mehrmals abwechseln. Drücken Sie den Überschuss aus. Nicht verdrehen. Bringen Sie es zu einem Rohling oder einer Flasche zurück. Formen Sie den Badehut und lassen Sie ihn fern von Zentralheizung und direkter Sonneneinstrahlung trocknen.
- Nachdem das Produkt trocken ist, alles überschüssige abschneiden und einen Helm bilden. Dekorieren Sie es mit bunten Wollstücken und Filzdekorationen.
Wollarten zum Filzen
Bevor du Wolle kaufst, musst du ihre Sorten kennen. Um Badehüte mit Ihren eigenen Händen herzustellen, können Sie Folgendes verwenden:
- Kardiert. Sein zweiter Name ist "Wollwolle". Produkte daraus sind ziemlich dick. Gut für Anfänger, da es sehr leicht zu rollen ist. Sowohl zum Nass- als auch zum Trockenfilzen geeignet.
- Splitter. Dies ist ein gekämmtes Garn. Es hat keine harten Haare. Unlackiert und daher günstiger als farbige Pendants. Eine ausgezeichnete Wahl zum Filzen von Badehüten.
- Farbige gekämmte Wolle. Hochwertiges und teuer aussehendes Material. Es hat dünne unidirektionale Fasern. Wird oft verwendet, um Badehüte zu trimmen.
- Merinowolle. Elite-Material. Wird bei der Herstellung dünner Dinge verwendet. Sie machen teure Designerhüte daraus.
Mit Wolle zu arbeiten ist pure Freude. Naturmaterialangenehm im Griff, umweltfreundlich und lässt Raum für Fantasie. Ein Produkt daraus zu stricken ist schneller als aus Garn zu stricken oder ein ähnliches aus Stoff zu nähen.
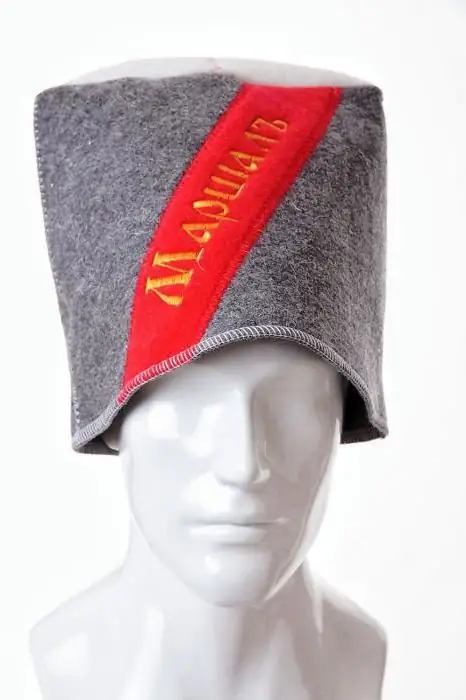
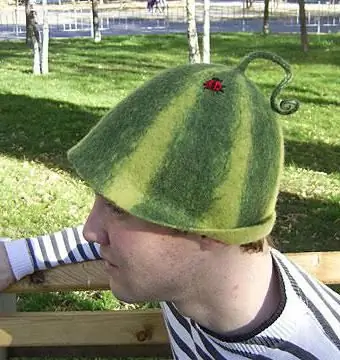
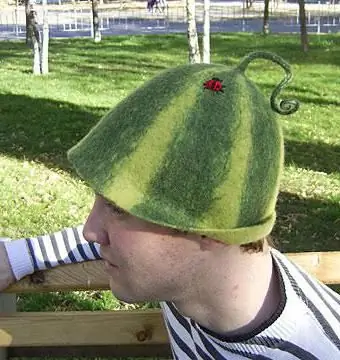
Badehüte filzen oder nähen können verschiedene Formen haben. Beliebt sind zum Beispiel Produkte in Form von Wassermelone, Kürbis, Marienkäfer.
Empfohlen:
Einen Pullover stricken: Muster, Muster, Beschreibung
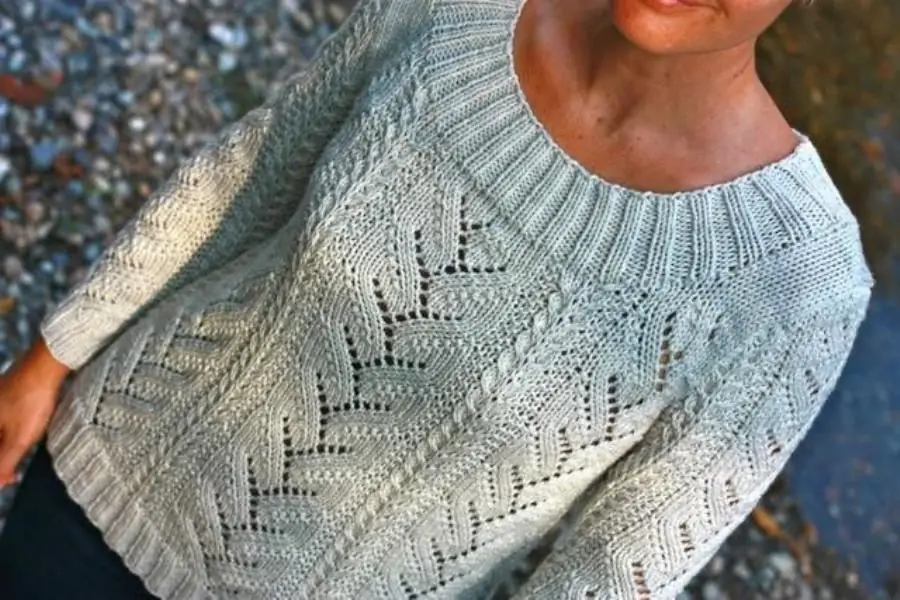
Einer der praktischsten DIY-Artikel ist der Strickpullover. Dieses Ding repräsentiert nicht nur die Verkörperung moderner Modetrends, es gibt Raum für die Fantasie der Handwerkerin. Beim Erstellen eines Pullovers können Sie mit der Dicke und Art des Fadens sowie mit Mustern und Werkzeugen experimentieren, um die Arbeit zu erledigen
Mausmuster mit detaillierter Beschreibung der Schneiderei
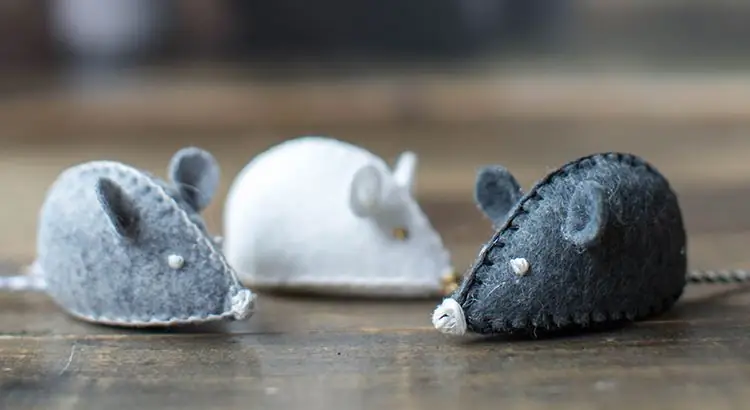
In dem Artikel betrachten wir ein einfaches Muster einer Maus zum Nähen von Spielzeug mit einer detaillierten Beschreibung der Arbeit. Für sie können Sie Filzplatten in allen Grautönen verwenden, die Ohren eines Nagetiers werden oft rosa gemacht. Stoffnähoptionen sehen auch gut aus, es ist ratsam, Baumwolle oder Leinen zu verwenden, deren Stoff sich nicht dehnt und bequem zu nähen ist
Overallmuster für ein Neugeborenes: Konstruktion, Modellierung, Schneiderei
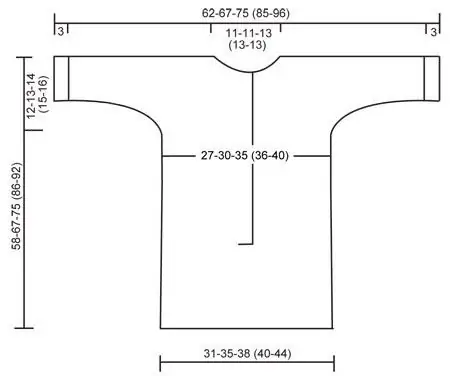
In diesem Artikel werden das Muster des Overalls für ein Neugeborenes, die Phasen seiner Konstruktion und Tipps für sein Design besprochen, dank denen das Produkt originell und bequem für das Kind ist
Tilda-Katze: Muster, Materialien, Schneiderei
Tilda-Spielzeuge sind seit einigen Jahren sehr beliebt. Menschen, Engel und sogar Tiere werden in diesem Stil hergestellt. Heute laden wir Sie ein, herauszufinden, wie eine Tildekatze hergestellt wird, ein Muster dafür benötigt wird oder nicht und auch, wie Sie ein Spielzeug diversifizieren können
Do-it-yourself-Gardinen für die Küche: Design, Muster, Stoffauswahl, Schneiderei
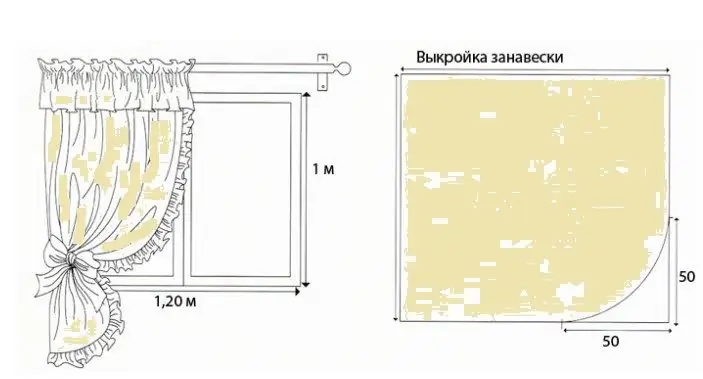
Um das Interieur Ihrer Küche attraktiv und originell zu gest alten, ist es nicht notwendig, die Tapete und die Möbel auszutauschen. Es reicht aus, das Küchenfenster mit einem schönen Vorhang zu dekorieren, und das Aussehen Ihrer Küche ändert sich. Die Auswahl an Vorhängen in Geschäften und Salons ist groß, aber wenn Handarbeit Ihr Hobby ist, warum machen Sie dann nicht mit Ihren eigenen Händen Vorhänge für die Küche? Und wie das geht, erfahren Sie sowohl in der Meisterklasse als auch in den Ratschlägen der Designer, die Sie in diesem Artikel finden
