Table of contents:
- Author Sierra Becker becker@designhomebox.com.
- Public 2024-02-26 03:46.
- Last modified 2025-01-22 22:09.
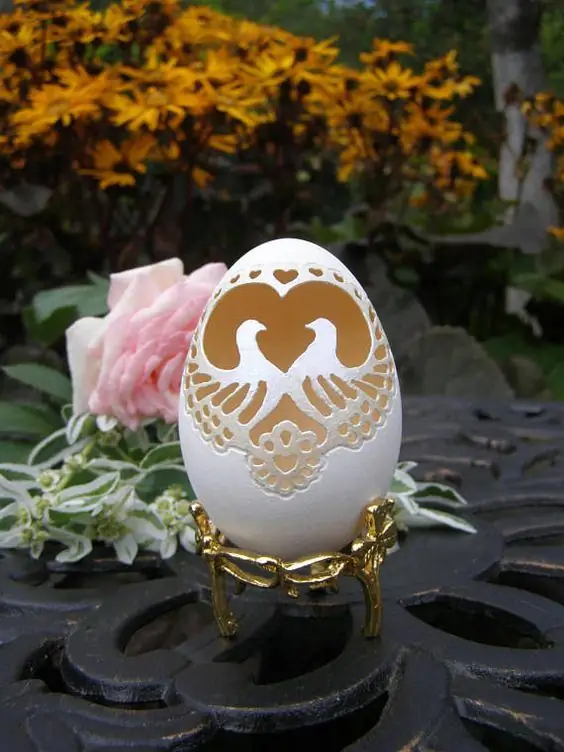
Many admire the work of masters who create delicate lace patterns from ordinary chicken or ostrich eggs. It seems that it is impossible for a novice amateur to do this, and many are afraid to even try themselves in such creativity. In fact, this is not at all the case. The main thing is to know some of the subtleties of the preparatory work, buy the necessary tools and have patience and diligence. The eggshell carving technology consists of several stages, knowing which you can try to create a simple craft first. Let's take a closer look at the basics of craftsmanship and when people began to engage in this type of creativity.
The history of this art
Eggshell carving is considered an ancient art, such creativity was especially developed in ancient China. People brought a carved egg as a gift for weddings or birthdays. At first, chicken eggs were simply dyed red with natural paints, then they learned to make carved patterns on the shell. Until now, the country's museums keep specimens that have survived from the reign of the Ming and Qing dynasties. These are masterpiecesmasters of the 14th-17th centuries, striking in their beauty and uniqueness. Crafts were decorated with gold threads, precious stones, beads.

In many cultures, the egg was considered a symbol of fertility, it was used in many sacraments and folk rituals. Nowadays, many craftsmen are fond of eggshell carving, there are carving schools, exhibitions and competitions of works in museums are organized. The aerobatics of such carving is the ability of the master not only to create patterns and drawings on the shell, but also to process the surface, creating relief images.
In the article we will tell the reader how to work with an egg correctly so that it does not break, how to pre-process it and what tools for eggshell carving you will need to purchase. You will learn all the subtleties of this applied art. For beginners, we offer to perform simple work with simple patterns.
Preparing eggs for work
Raw eggs must be thoroughly washed before work and the internal contents removed. To do this, it is necessary to make a hole in the shell from the side of the blunt part of the egg with a needle or a thin drill. In this case, the rod must pierce the protein, the yolk must not be touched, it must remain intact. Then the contents are taken out over the bowl with a syringe, if it is not at home, then it's okay, there is another quick way to get rid of the insides. It is necessary to make another one opposite the first hole and, putting it to your mouth, blow it slightly. Then the egg must be thoroughly washed by injecting water with a syringe inside several times. Tothe whole shell has been cleaned, you can cover the holes from the bottom and top with your fingers and shake the shell in your hand.

To make the eggshell carving look neat, you need to remove the inner thin film. When cutting pieces of shell, the film creates sloppy tatters along the edges of the cuts, resulting in work with jagged edges. What should be done, because the film cannot be removed through small holes? A solution of water and "Whiteness" will cope with this problem, having stirred the mixture in a glass jar in a ratio of 1: 1, you need to lower an empty egg there and leave it for a while. The film of a raw egg dissolves in about half an hour, but in some cases the process may be delayed, but not more than 4 hours. Visually look at the appearance of the egg, if you see that the film has peeled off, then remove the workpiece and rinse additionally several times with a syringe with plain water.
Tools for the job
If you decide to try your hand and creativity in eggshell carving, you must first purchase a drill and a set of drills for it. You will also need a magnifying glass, and it is even better to have a magnifying glass that is worn on elastic bands on the head. This will help to consider the small details of the selected pattern and will not take your hands. To draw a sketch, paper and a simple pencil must be present. When cutting large sections of the shell, the craftsmen use a sharply sharpened knife or even a scalpel (if possible). Preliminary preparation of eggs is carried out using a syringe. The product is first decorated with sandpaper, then some additionally paint with paints. For shine, the final work is opened with acrylic varnish. So it looks more spectacular and lasts longer.

Do not forget to cover the surface of the table with a soft base before starting work. You can use a thin sheet of foam rubber so that the craft does not break if accidentally dropped. Be sure to wear protective goggles to protect your eyes, as fine dust flies in the air when working with a drill. Also have a small brush ready to brush the waste material off the surface of the egg.
Surface treatment
Experienced craftsmen who make complex ornaments when carving eggshells specially keep the peeled shells in special solutions for several hours. This helps to increase the strength of the material and whiten the surface. Often this is done with a relief pattern.

Since our article is intended for beginners in eggshell carving, this process can be skipped. It will be enough to thoroughly wash and dry the shell both outside and inside.
Drawing
At the first samples, you can prepare the egg and drill holes with a bur in strips or circles. Then try to draw a simple drawing with a soft graphite pencil.

You need to cut along the contours with a small bur, moving it smoothly along the line. hold an eggit is necessary firmly, but without pressure, so as not to crush the product. After each strip, gently brush off the dust with a stiff brush so that the line is clearly visible. Then work can be continued further.
Advice for beginners
For convenience when working, those places in the figure that need to be cut out are better to be painted with a red pencil.
It is better to make the jumpers between the holes thicker so that the fragile shell does not break off in a thin place.

To make the surface of the craft shine, you can cover it with oil or rub it with felt.
It is better to store the product on a stand or hang it on a ribbon.
Now you know how to make such wonderful carved eggs. Be sure to try to prove yourself in this art form! Good luck!
Recommended:
Wood carving, contour carving: description with photo, work technology and necessary materials
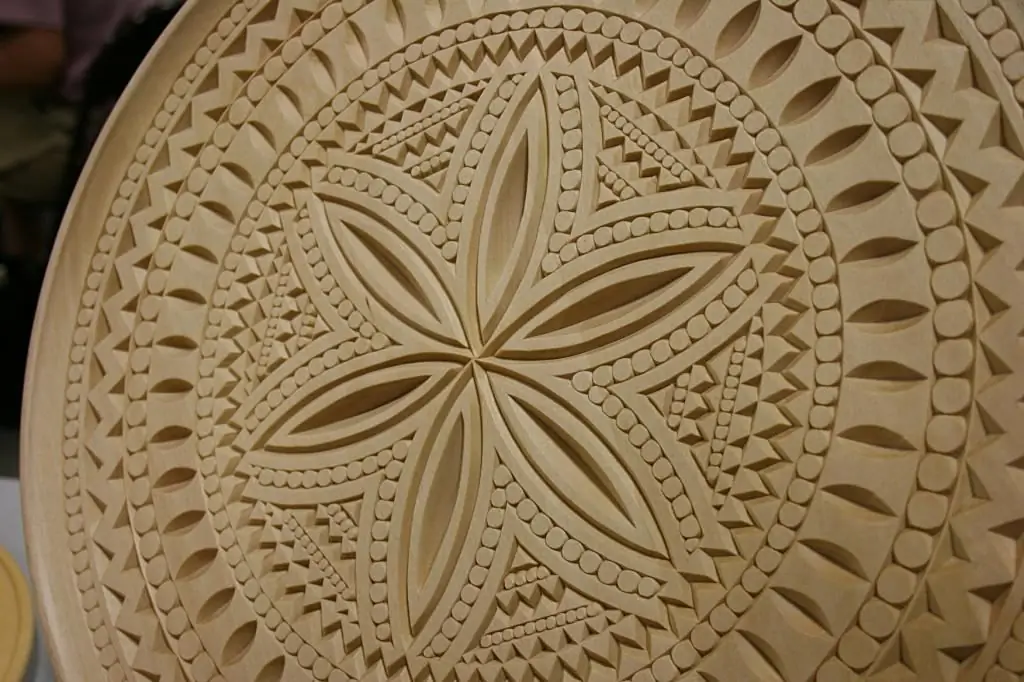
Artistic woodcarving is one of the oldest techniques of decorative art. During the history of the existence of the craft, several of its varieties have appeared. One type is contour carving: an exquisite technique used when working with wood
Wood carving, flat-relief carving: description with photo, sketches, necessary tools and work technique
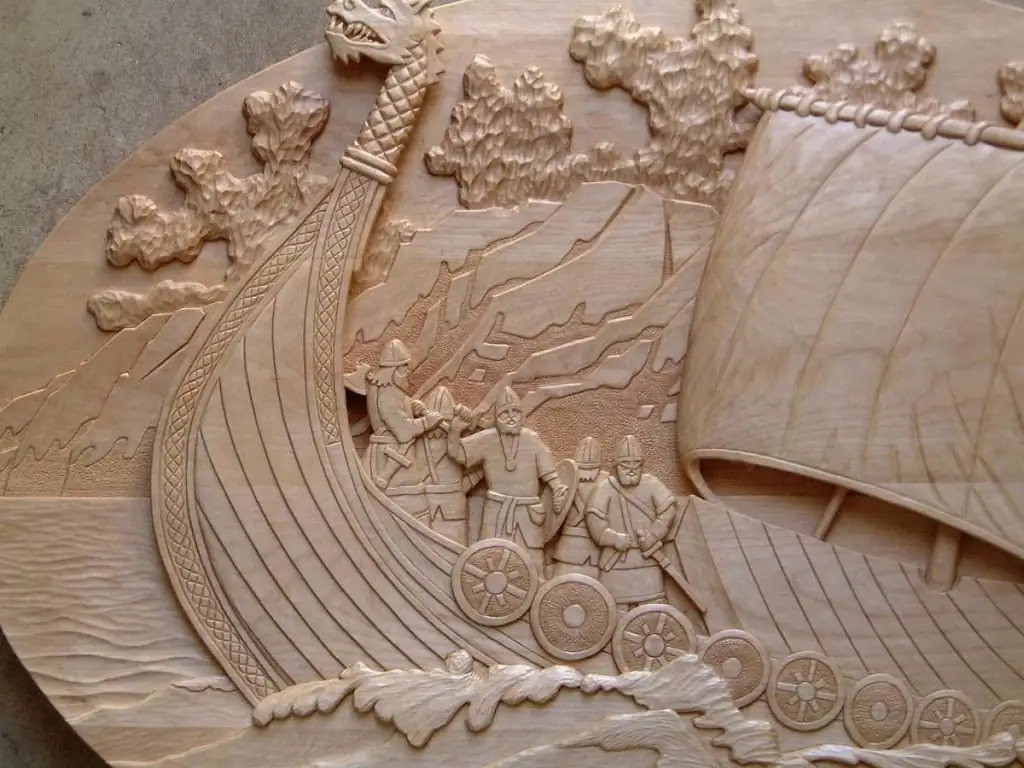
Flat-relief carving is an exquisite and unique woodcarving technique that comes from the 18th century. Types and methods of performing techniques, necessary tools and sketches of ornaments. The history of the appearance of the craft of woodcarving in flat-relief technology
Wood carving, house carving: description with photo, work technique and ornament patterns
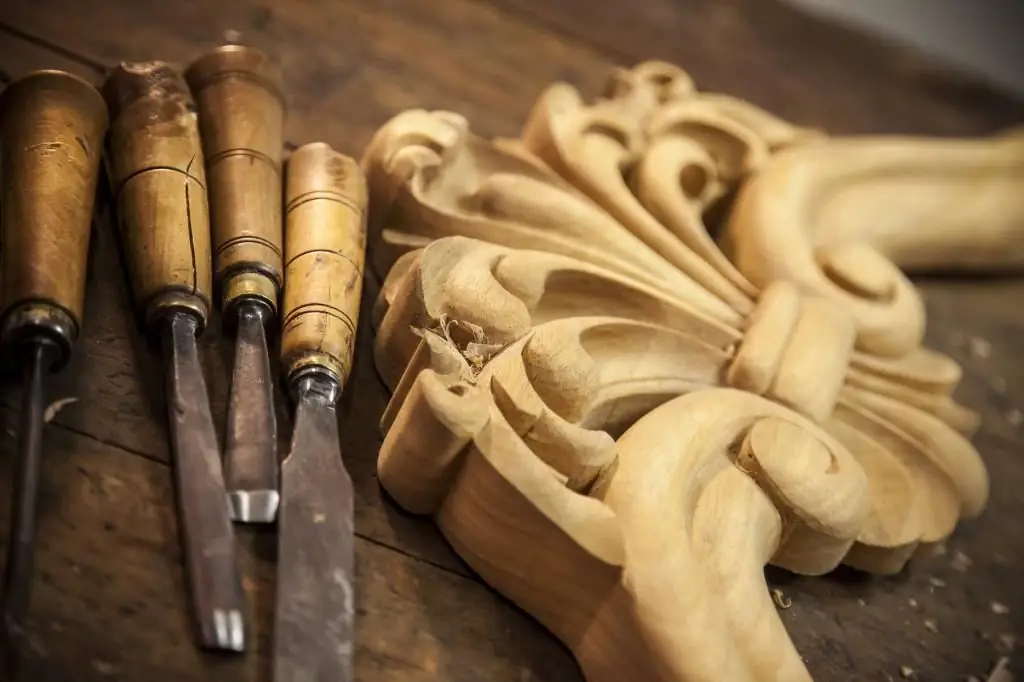
Facades made in ethnic style are distinguished by bright folk craft - house carving or woodcarving. The unique craftsmanship originated centuries ago and has been greatly improved over the years. Existing work techniques allow you to create aesthetic decorative elements to decorate buildings
Wood carving for beginners: techniques, templates, tools
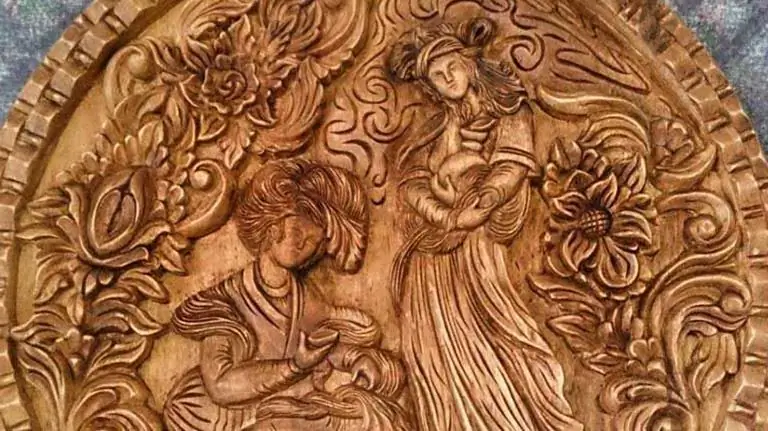
Woodcarving for beginners can seem quite complicated. However, almost anyone can, of course, learn how to design various kinds of products in this way. For high-quality woodcarving, you need to pick up good tools and master certain techniques
Stone carving: training, tools and technologies
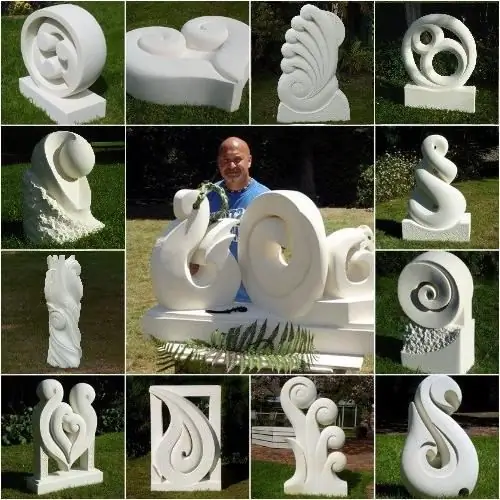
For a long time, the cherished dream of man is the conquest of stone. An example is the Egyptian pyramids. But even now the demand for natural material is great. The stone is a raw material for various industries, such as jewelry or construction, because it has incredible strength and amazing beauty. But this is not the limit of its use. There is such an art form as stone carving
