Table of contents:
- Author Sierra Becker becker@designhomebox.com.
- Public 2024-02-26 03:46.
- Last modified 2025-01-22 22:09.
One of the most interesting and useful hobbies is sculpting pictures and figurines from various plastic materials. In the good old days, people made dishes and toys from clay, but today it has been replaced by new, more modern materials. Plasticine, s alt dough, plastic, foamiran - this is not a complete list of them. But today we will talk about such a relatively new material as velvet plastic. In addition, we will even try to make it ourselves.
What is this
For a long time, such a wonderful material as plastic has entered the life of needlewomen and artists. This wonderful mass is very similar to ordinary plasticine, has bright colors and is easy to knead and mold. Its distinctive feature is that after complete drying, the figures made of plastic become solid, as if they were made of plastic. Plastic has one significant inconvenience in work - in order for it to freeze, it must be heat-treated: baked in the oven or cooked. This is not always convenient.
Velvet plastic, or, as it is also called, velvet clay, has no such drawback. This is a very light plastic mass, pleasant to the touch. It dries on its own in the air and hardens. No heat or special hardeners needed.
Modeling velvet plastic is a very pleasant and not difficult task. You just need to practice a little. The material has wonderful qualities:
- dries outdoors;
- non-toxic;
- does not cause allergies;
- retains its shape after drying and does not crack;
- does not have a strong chemical smell;
- has a variety of vibrant colors;
- mixes well;
- Easily sticks to itself and any rough surfaces;
- cuts well with stacks and a clerical knife;
- can be dyed with different colors;
- preserves mold imprints, easy to decorate;
- varnished.
Tools
If you decide to work with velvet plastic, you will need tools. In principle, the set is not much different from what is used when sculpting from ordinary plasticine.
You will need:
- stacks;
- silicone brushes;
- needles of various sizes;
- foil;
- molds of different sizes and textures;
- scissors;
- glass or rolling pin for rolling out the mass;
- pliers;
- copper or steel wire of different diameters;
- various small items to apply texture: nibs, pen caps and so on.
Getting Started
Before starting work, you need to draw a sketch of the future animal. This is very important, it helps to correctly assess the anatomical features and work out many details in advance.
If you need a wire for the basis of a future animal, approach its choice with all responsibility. For example, it definitely should not be aluminum. This wire is too thick and loose. With numerous bends, it simply breaks. It will be very frustrating if the almost finished work has to be redone because of this moment.
Also, the wire must be stainless, so that the product will please you for a long time and not be covered with ugly rusty spots. And of course, the thickness … The basic rule is: "The larger the model, the thicker the wire." Too thick is also not worth taking, it will bend with effort.
Creating a skeleton
If you decide to use velvet plastic to create an animal, first of all, you need to make a skeleton. To do this, cut three pieces of wire. From the first, a ridge is formed, from the nose to the tip of the tail. From the other two we make paws. In order for your animal to be stable and the bindings not to fall apart, the paws must be formed in pairs. The right side is formed from one piece of wire: front paw + back. From the second piece - the left side. Now all three frames are fastened together, simply twisted with thinner wire. Animal legscan be slightly moved apart for stability.
Building "meat"
The next step in the formation of the skeleton of a figurine made of velvet plastic is wrapping the wire with foil. The body of the animal is formed from it. To do this, small pieces of foil are stuck on the wire frame in the right places. So that the foil does not “crawl”, its ends are tightly wrapped around the wire. Thus, the body of the animal, head, paws and tail are formed.
You should end up with a foil sculpture on a wire frame.
Decorate the product
Now it's time to work with the plastic itself. We separate small parts from the main piece and coat the entire figure with them, smearing the mass over the foil. The color in this case is absolutely not important, because this layer is draft and it will be almost invisible.
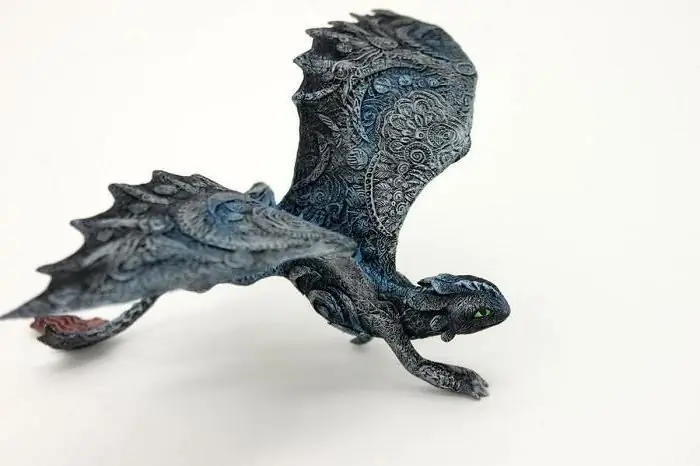
After the whole figure is covered with plastic and already looks like a future fairy-tale dragon or bear, it is left to dry. So that the figurine does not break during further processing, it must dry well. Depending on the size of the product, this may take about a day or even more.
When the product is completely dry, you can proceed to decorating. To do this, you can use a variety of techniques and tools. To make the print clear and beautiful, small pieces of plastic of the desired color are smeared over the workpiece. Now it is very easy to squeeze out or draw the desired pattern on a fresh layer.
Because velvet plastic is very delicate and thinmaterial, then simply gorgeous feathers, villi, scales and other small details are obtained from it. This work, of course, is very long and painstaking, but the result is worth it. Each feather or hair is made separately, after which it is glued to the workpiece. It is noteworthy that glue is not needed at all for this, just smear the edge with wet hands.
All small details like scales, feathers or wool are attached to the figure from the bottom up. That is, the top row slightly overlaps the previous one. This allows you to achieve the most natural composition.
The finished work is thoroughly dried in the open air and, if necessary, painted. For coloring, you can use almost all types of paints: acrylic, watercolor, colored pencils or gel pens. The only thing that experienced craftsmen do not recommend for coloring is gouache. It dries very poorly on plastic and still remains sticky. After complete drying, the product can be coated with a transparent varnish. This will give it a kind of sheen and extra strength.
Where to learn
If you still hesitate to use velvet plastic for creativity, master classes will help dispel your doubts. We have included one of them in this article. Even if you could not find a suitable master class dedicated to working with velvet plastic, you can use the modeling lessons from plasticine. There are quite a few similarities between these substances.
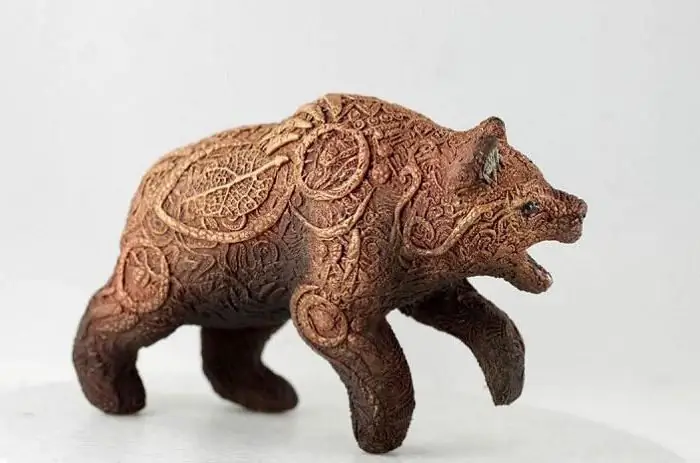
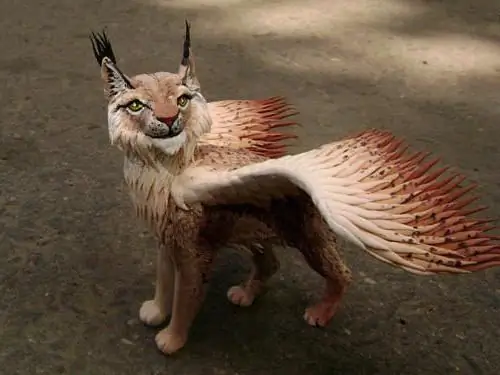
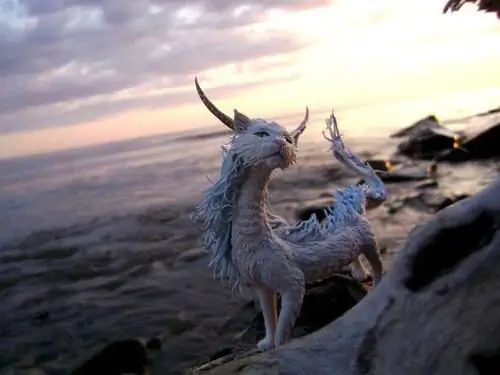
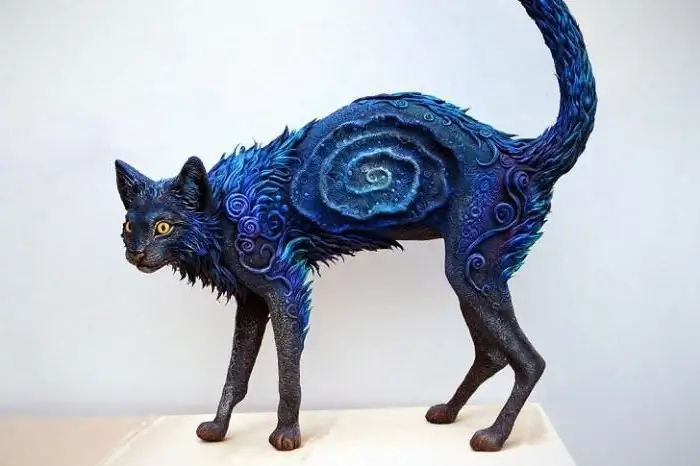
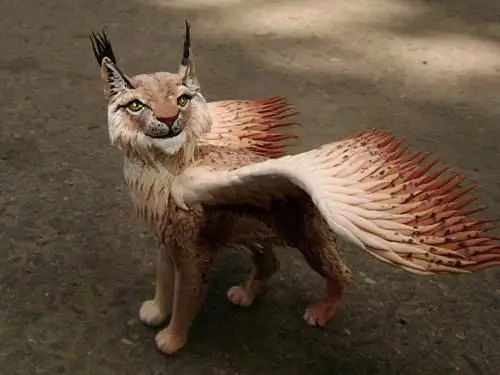
Almost all work using a substance such asvelvet plastic, photos of which are presented in this article, was performed by Moscow artist Evgeny Khontor. The master has been using this material in his works since 2006 and has perfectly mastered the techniques of working with it.
Where to buy
Since velvet plastic is a fairly new material on the Russian market, you can not find it in every needlework store. The most popular plastic is TM TUKZAR, which is supplied by Diamond. The plastic of this brand is considered the leader in terms of price-quality ratio.
In the stores of the Orange Elephant retail chain you can buy A-glue modeling mass, and in online stores you can find plastic from Modena.
Approximate price of velvet plastic - 2 rubles per 1 gram. That is, a jar of 50 g will cost at least 100 rubles. In general, not cheap.
How to make self-hardening plastic yourself
Since the price in stores bites quite strongly, many needlewomen are interested in the question of whether it is possible to make velvet plastic with their own hands.
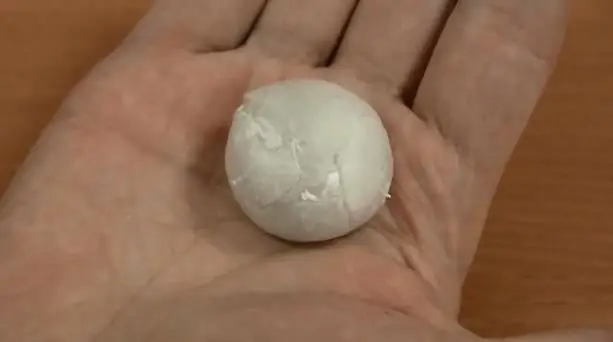
It turns out you can. Only here there is one nuance. Homemade plastic can be quite toxic, so it's definitely not a good idea to give it to small children to play with.
So, in order to make velvet plastic, you will need:
- small glass or metal jar;
- acetone or nail polish remover;
- polystyrene foam - packaging from household appliances;
- metalspoon or spatula for stirring.
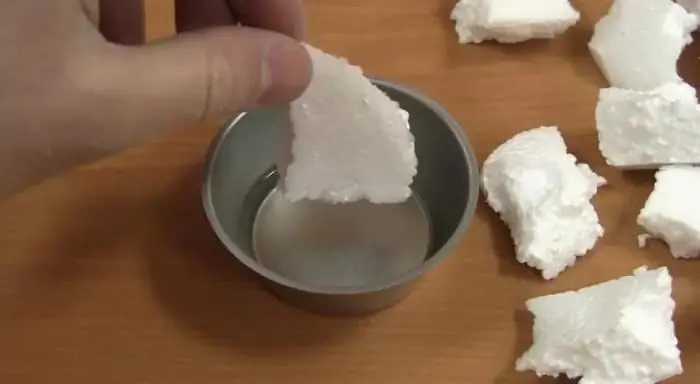
Pour a small amount of acetone into the container, and break the foam into small pieces. Gradually lower the parts of the foam into the solvent and mix well. A chemical reaction occurs, as a result of which the foam is melted and mixed with acetone.
Repeat the process until the foam ceases to dissolve, we act on the principle of "how much we take." The result is a viscous viscous mass. Now you need to wait a few minutes until the remaining solvent vapors evaporate. Remember, acetone is highly toxic. Therefore, try not to inhale its vapors while working and be sure to take care of eye protection.
To remove excess moisture from the mass, knead it into a small cake and wrap a small piece of Styrofoam in it. Postpone for a while. The mass will dissolve and absorb it. Repeat the operation until the pieces no longer dissolve. Now you can add the dye of the desired color, for example food, and knead well.
Homemade velvet plastic is ready. The approximate time of its complete solidification is 20-30 hours, depending on the size of the piece. If you have not had time to use it during this time, put a piece in water for 4-5 days. It will become soft again. The general properties of this homemade plastic are very similar to store-bought plastic, although they are not exactly identical.
Recommended:
What can be made from wax: interesting ideas, technique and examples with photos
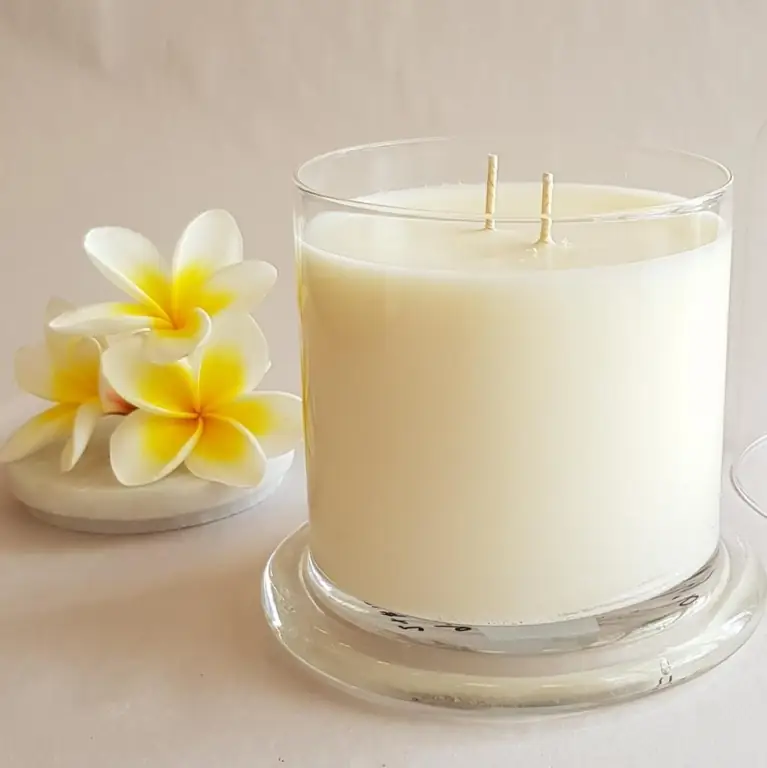
When there are a lot of candle ends left, the question arises of what can be made from wax. It turns out that in addition to using the material to create new candles, it is suitable for other purposes. If you know the secrets and features of the use of wax, then its scope will expand significantly
What can be made from a glass bottle? Interesting ideas for home and garden
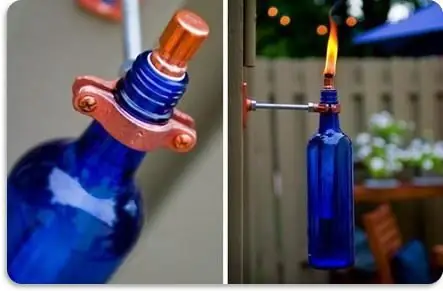
Usually a large amount of garbage accumulates in the country house or in the pantry. For example, glass bottles from juice, soda, alcoholic beverages. If you show a little imagination, you can give them a second life. This article is for those who are wondering what can be made from a glass bottle
What can be made from caps? Crafts from caps from plastic bottles with their own hands
Plastic bottle caps can be an excellent material for needlework, if you collect the right amount for a certain craft and connect them correctly
Unusual New Year's toy made of plastic cups. How to make a snowman out of plastic cups
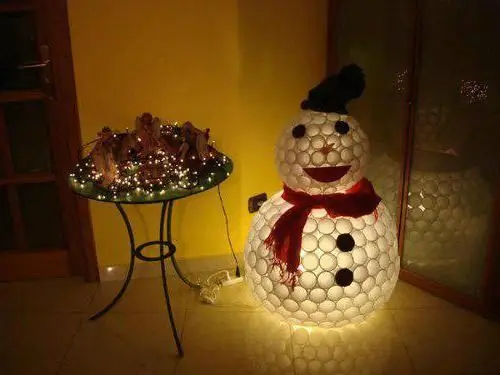
Fabulous and amazing New Year's holiday is loved by both adults and children. At this time, everyone is waiting for something amazing and magical. It is impossible to imagine the New Year without an elegant Christmas tree and fragrant tangerines, without Santa Claus, the Snow Maiden and, of course, the Snowman. On the eve of the holiday, many begin to make all kinds of interesting crafts, in order to then decorate their own home or office with them
What can be made from sawdust and shavings?
With access to large quantities of wood waste, for example, from furniture production or a carpentry workshop, an enterprising owner wonders what can be made from sawdust. The answer will depend on how he wants to use them. In the presence of artistic talents, sawdust and shavings can be an excellent material for the realization of creative ideas. And if you have a private house, cottage or livestock farm, then wood waste will be an excellent help
