Table of contents:
- Author Sierra Becker becker@designhomebox.com.
- Public 2024-02-26 03:46.
- Last modified 2025-01-22 22:09.
Professional knitted product gives out details: even fabric, inconspicuous seams, carefully measured armhole line, finished neckline. Skills for their implementation do not come immediately - you need to connect more than a dozen things. Therefore, it is recommended to start learning the art of making wardrobe items with simple-cut products that do not require complex calculation of loops. The scarf is knitted in several evenings, you just need to choose a pattern and buy yarn.
Destination
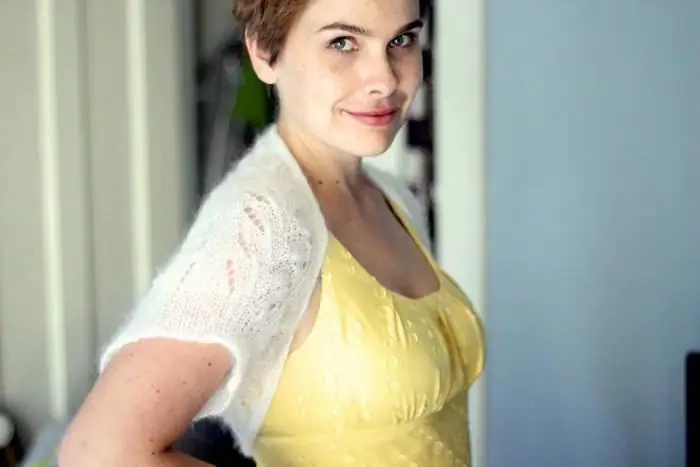
Before you start needlework, you need to figure out what kind of wardrobe item it is. Shrag is a small cape, in fact, consisting only of sleeves. Use it over open dresses or tops.
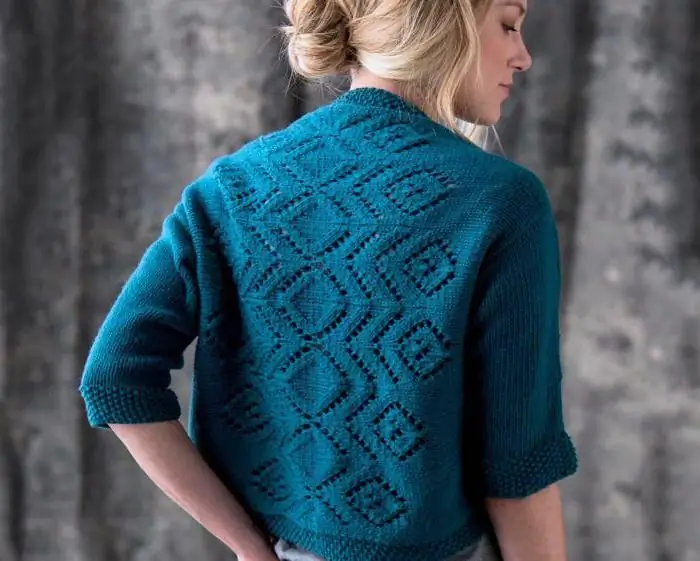
Cape jacket has three functions:
- decorate the outfit. Often the accessory is used for evening outings and wedding dresses. An openwork scarf with knitting needles will emphasize the solemnity of the toilet, make the image complete;
- protect from the cold. Of course, you can not compare a light cape and a winter sweater. But on a cool summer evening, a scarf draped over the shoulders will be quite out of place;
- diversify your wardrobe. The product is being manufacturedquickly, does not require special skills, therefore, by tying several jackets and alternating them with each other, you can create completely different looks with basic things.
The difference between a shrag and other types of capes, cardigans, jackets and boleros is knitting in one piece.
Preparation
To make a scarf with knitting needles, you will need:
- threads (thin cotton yarn is suitable for a summer cape, warm options are knitted from wool or half-wool);
- knitting needles for the thickness of the yarn and thinner (half a size smaller) for cuffs.
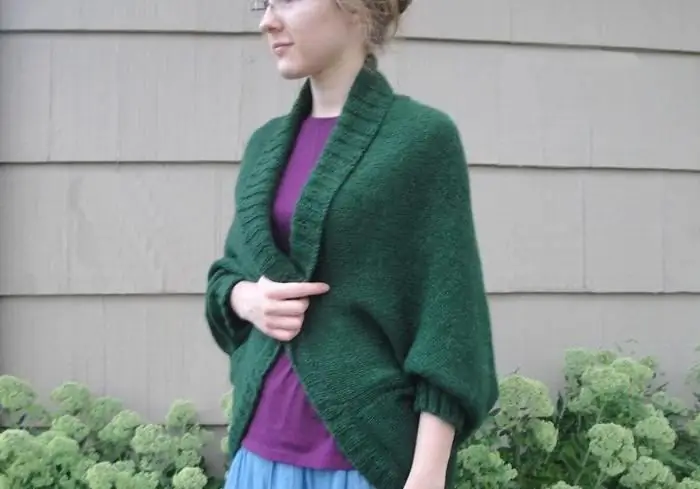
Before proceeding to the choice of pattern, it is necessary to consider the knitting feature of the product. When finished, the cape is a rectangle, the long sides of which are sewn along the edges, while the center remains free - this is how the sleeves are formed.
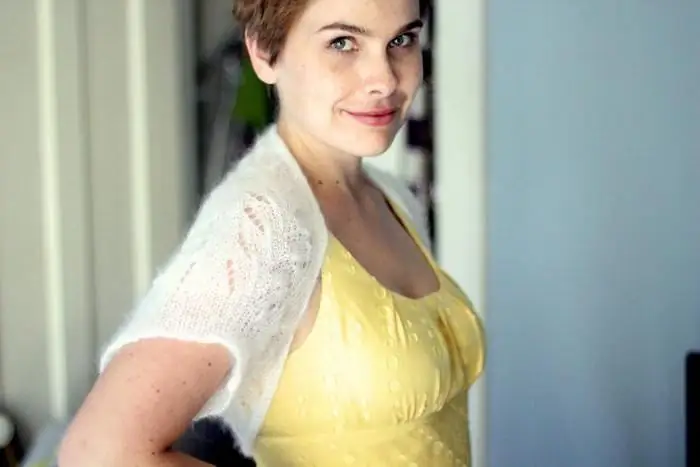
To knit a scarf with knitting needles in one piece, you need to decide on the size. By measuring the width of the back and adding the length of the sleeves, the height of the canvas is obtained. The second size is formed from the circumference of the arm at the top. A few centimeters are added to the resulting figure for a free fit. If desired, the cape is knitted wide - in this case, the value of the second size is increased by two to three times.
Choosing pattern
The pattern for the product is suitable for anyone, it all depends on the preferences of the craftswoman. A knitted scarf knitted with an openwork pattern is an option for a summer day. Thicker patterns, such as braids, are an alternative for cool autumn.
Front or wrong side surface is also suitable for a cape. At the same time, it is worthpay attention to the quality of the yarn. The threads should be smooth and uniform in thickness. If there is no confidence in the quality factor of the material, then its flaws will be hidden by the color of the yarn. For example, on the threads of sectional dyeing, defects and irregularities are less noticeable.
Based on the size of the product for the selected pattern and yarn, you need to count the number of loops. This is done in the standard way by knitting the sample.
Knitting principle
After the necessary preparations are made, you can knit the scarf with knitting needles. Product description (regardless of model) consists of four simple steps.
- Knit cuff (optional). The cuff, as a rule, is made with an “elastic band” pattern: about 2-5 cm are knitted in height. The number of loops for the lapel is determined by the circumference of the arm.
- Increment of loops for the main fabric and its manufacture. This stage is the longest. Gradually, you will memorize the pattern, so the last rows will contact "automatically".
- Reduce loops and make the second cuff symmetrical to the first lapel.
- Fastening the edges of the fabric along the long side, starting from the cuffs.
Shrug cape is ready! You can start knitting the next thing for the wardrobe.
Recommended:
Beautiful and original skirts for girls with knitting needles (with descriptions and diagrams). How to knit a skirt for a girl with knitting needles (with a description)
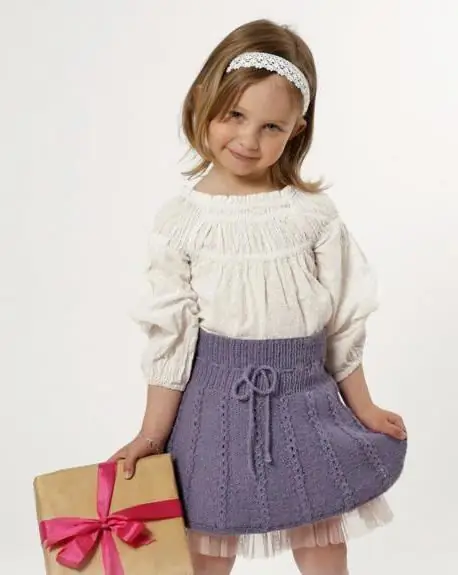
For a craftswoman who knows how to manage yarn, knitting a skirt for a girl with knitting needles (with or without a description) is not a problem. If the model is relatively simple, it can be completed in just a few days
Knitting from mohair with knitting needles. Knitting needles: schemes. We knit from mohair
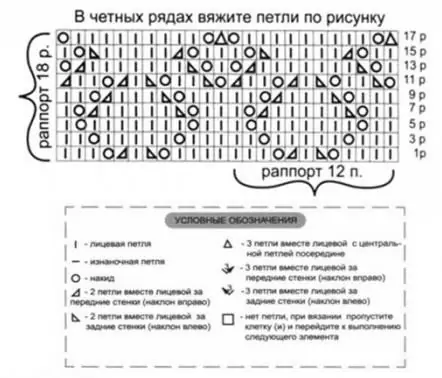
Knitting from mohair with knitting needles brings real pleasure to needlewomen, the result of which are light, beautiful things. Readers can learn about the properties of this thread and the features of working with it from this article. Also here are descriptions of the execution of mohair garments and photographs of finished products. Focusing on them, craftswomen will be able to knit beautiful warm outfits for themselves and their loved ones
Hat with knitting needles: scheme, description. Knitting hats with knitting needles

If you do not have the patience to knit large and bulky work, then choose a small and simple thing to start. One of the most popular activities for needlewomen is knitting hats with knitting needles. Schemes, description and end result will depend on who the model is created for
Knitting - knitting sleeves. Knitting sleeves on top with knitting needles. Crochet sleeves
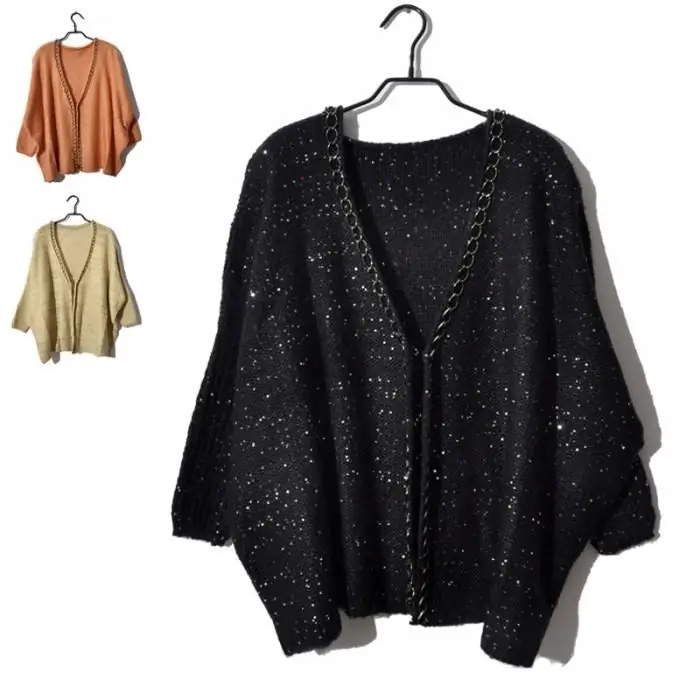
The sleeve has always been considered the most difficult place in knitting, but in fact there are many options from which you can choose the simplest and most suitable
Japanese bactus needles. Openwork bactus knitting needles. How to tie a bactus? Knitting needles and our instructions will help you
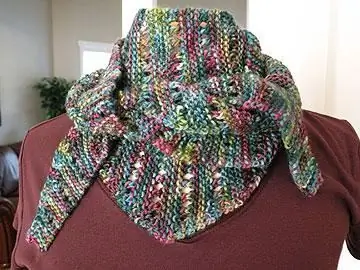
Every day such an unusual accessory as an openwork bactus becomes more and more popular. A knitted or crocheted knitted product looks not only unusual, but also very beautiful
