Table of contents:
- Author Sierra Becker becker@designhomebox.com.
- Public 2024-02-26 03:46.
- Last modified 2025-01-22 22:09.
Fleece is a synthetic fabric that is widely used to make warm clothing. Due to the fact that this material is easy to care for, it weighs little and does not cause allergies, clothes and blankets made from it are popular in children's everyday life. It also makes amazing toys and other crafts.
Fleece Octopus Materials
Cute and fun fleece crafts can be made even without sewing and patterns. For this you will need:
- small pieces of black, white and gray fleece;
- 2 meters of ribbon;
- old tennis ball;
- 20 x 20cm pink polka dot fleece;
- 40 x 40 cm piece of blue fleece;
- strong threads;
- scissors;
- fabric glue.
Creating an octopus
To begin with, we make the torso of the toy by placing the ball in the center of the blue piece of fabric and tightly rewinding it with threads. After that, the threads should be unwound, the ball removed, and the fabric straightened. You'll need a trail of thread left so you don't overdo the cuts.
Now from each corner of the spreadfabrics need to be cut in a square measuring 12 x 12 cm. You should get a part in the shape of a cross, on each side of which you need to make 6 more cuts. Try to keep the cuts from reaching the contours left by the thread by 2-2.2 cm.
Put the tennis ball back in the center of the part and tie it with a thread. We braid the cut strips into pigtails, forming the legs of a fleece craft. We tie ribbons to them from below.
It remains to make the face of the octopus. Cut out two circles from white, gray and black fleece. White should be the largest and black should be the smallest. Glue the circles to the head of the toy in turn: first a white circle, then gray and black.
Embroider a smile with red threads and tie a polka-dot fleece scarf on her head.
Pig
Do-it-yourself fleece pig is sure to please the child. And for its manufacture you will need the following materials:
- fleece (pink, yellow, crimson);
- white flannel fabric with colorful pattern;
- holofiber or synthetic winterizer;
- threads (white, black, pink and yellow);
- pig pattern;
- sewing needle and scissors;
- small black beads.
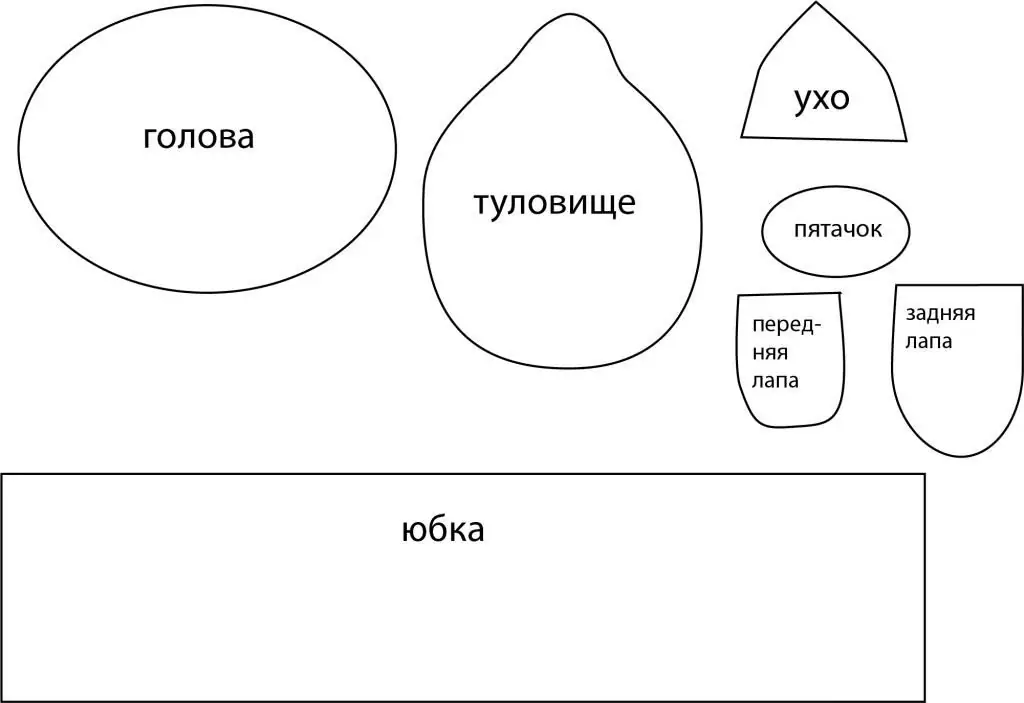
First you need to draw or print a toy template and cut out the necessary details from paper. Then the pig pattern needs to be cut out of fleece, making small allowances.
We make the head, ears and paws pink, the torso yellow, and the piglet raspberry. Cut out the skirt for the toy fromflannel.
In total, you need to cut two parts for the head, skirt and torso, and four each for the ears, front and hind legs. Only one piece is needed per patch.
Take the two pieces of the head, fold them right side in and sew them together, leaving a small opening for the stuffing. In the same way, we fasten all other parts of the fleece craft, except for the skirt.
The prepared elements of the pig are turned inside out and filled with holofiber or padding polyester. The ears do not need to be stuffed, just tuck in the edges left at the bottom and sew.
The details of the skirt must be folded with the right side inward and sewn along the edges with white threads. Then we tuck the skirt up and down and stitch it. Then we turn the part inside out and sew it from one edge so that it can be pulled off and put on the toy.
Now the fleece craft needs to be assembled. First we connect the head and torso, then we attach the legs and ears. We sew a piglet to the muzzle of the pig and black beads in place of the eyes. We embroider the nostrils and mouth with black thread, and put a skirt on the finished toy.
Tilda fleece: materials
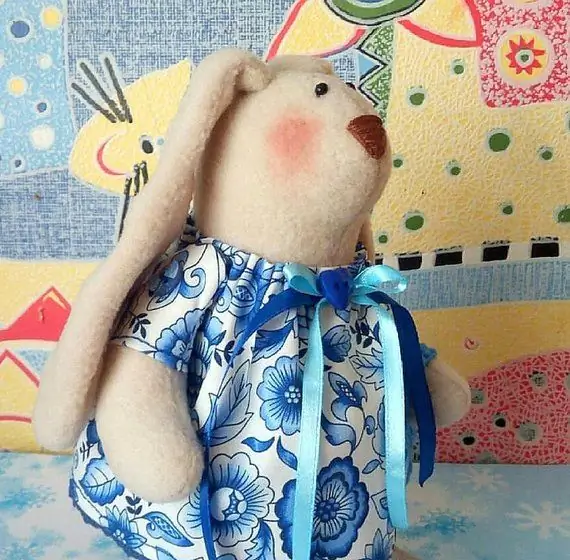
Tilda is a rag doll created by Norwegian Tone Finnanger. Tild's most recognizable features are tiny dotted eyes and rosy cheeks. Often Tildas are female dolls, but there are other variations. For example, you can sew a Tilda - a fleece bunny.
For this you will need:
- fleece (white and blue polka dots);
- pattern;
- scissors;
- baking paper;
- holofiber;
- sewing machine;
- black eye beads.
Tilda Bunny: master class
Do the following:
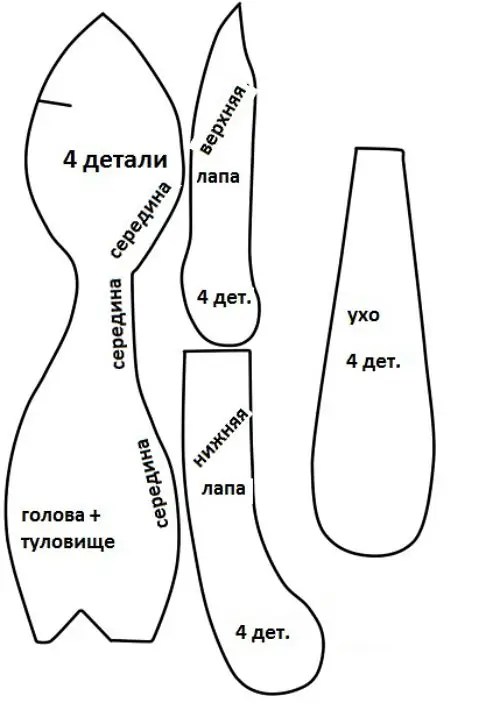
- Circle the pattern and cut out the necessary parts of the toy from the fleece with allowances of 0.5 cm.
- Fold the ears and paws right sides inward, sew on a typewriter, leaving holes for the filler.
- Sew the two parts of the calf along the middle seam. Also don't forget to sew the darts. We turn the prepared part on the front side.
- Cut out 6 ear pieces from baking paper, sew them to the ear blanks in three layers. After that, carefully turn the pieces inside out.
- Inverted ears are sewn again on a typewriter.
- Now turn all the blanks of the legs inside out and fill them with holofiber, but not completely.
- On the front of the body you need to pin and sew on the ears, stepping back from the middle seam by 1.5 cm.
- Immediately under the neck, sew the upper legs to the body, and sew the lower legs from below, at a distance of 0.5 cm from the middle seam.
- We take the second part of the body, apply it with the front side to the first part so that the ears and paws are inside, and sew the parts together. You need to leave a hole at the bottom so that the blank of a soft toy made of fleece can be turned inside out.
- After you have sewn and turned the craft inside out, fill it with holofiber and sew the hole by hand.
- Glue the eyes to the muzzle and embroider the nose.
Snowman Materials Needed
To make your own DIY fleece snowman, you will need:
- white and blue fleece;
- two small black beads;
- big red nose bead;
- white and blue threads;
- two buttons;
- synthetic winterizer;
- scissors.
How to sew a snowman?
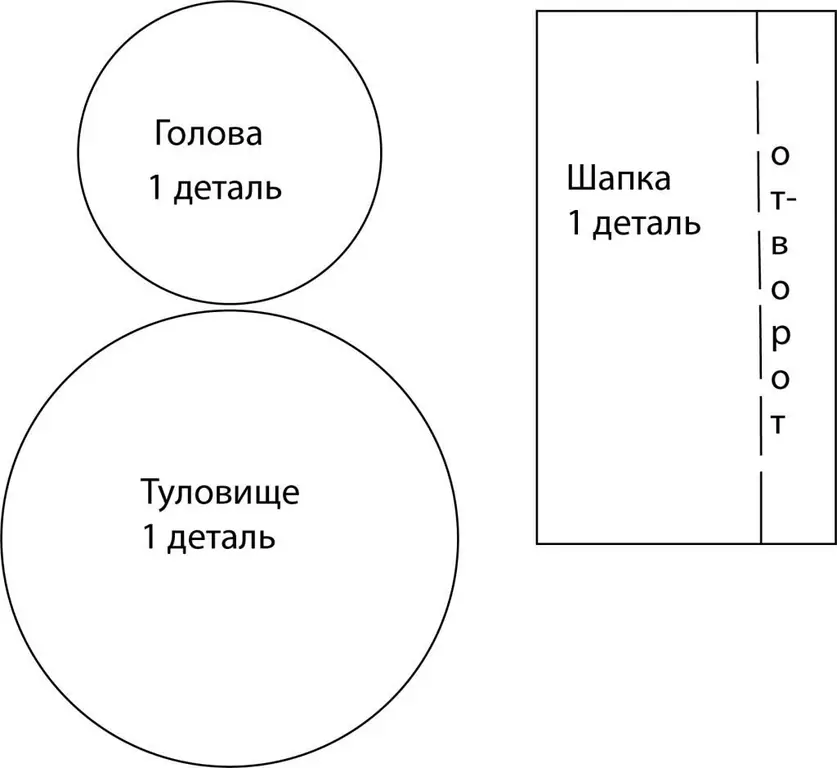
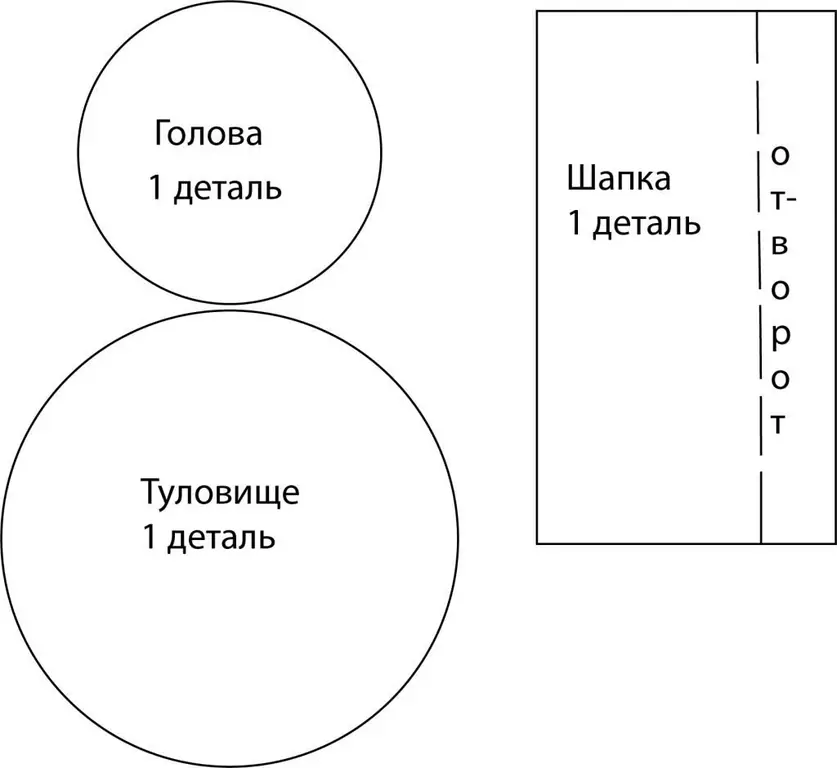
The pattern consists of two circles of different diameters and a rectangle for the cap. You can draw such a snowman template yourself and cut it out of paper. Then, using a pattern, cut a smaller circle from the white fleece, and the second circle from the blue rectangle. Also cut off a small strip of blue fleece to make a scarf.
We make long stitches along the edges of both circles, put a synthetic winterizer in them and tighten the thread. You should end up with two balls.
Cut small strips along the edges of the scarf, making a fringe.
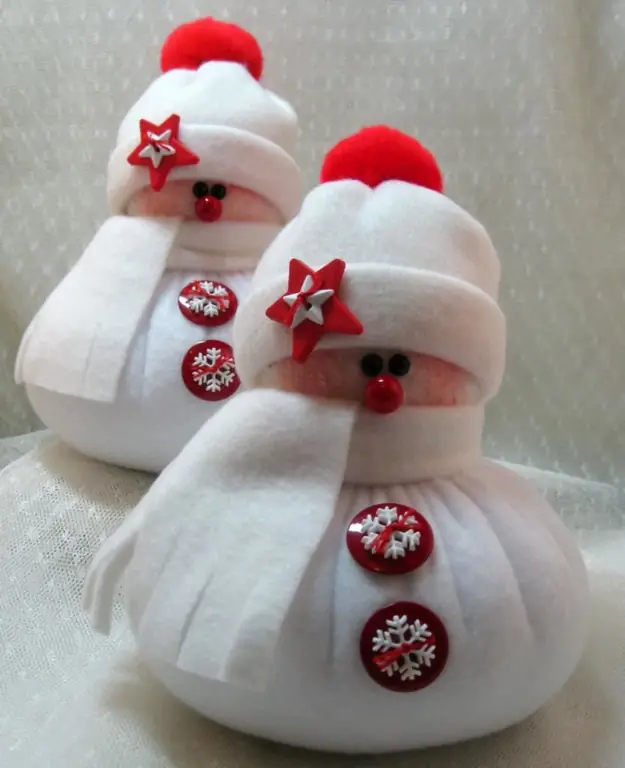
Fold the part for the hat in half and sew. We tuck the cap from below, and rewind it with thread or cord from above.
Sew a white ball to a blue one and decorate the bottom one with two buttons.
We put a hat on the snowman and tie a scarf, and sew beads on the muzzle.
Christmas hat
Fleece is perfect for making a fun New Year's cap. You will need red and white fleece, matching thread colors and a pom-pom.
First you need to measure the circumference of your head to determine the required amount of fleece. For example, the circumference of the head will be 58 cm, and the height of the cap is 50see We draw on paper a pattern in the form of a triangle standing on a rectangle. The total height of the figure should be 50 cm, the rectangle should be 8 cm high and 29 cm wide (half the circumference of the head).
According to the pattern from red fleece, we cut out two such details, and from white we make only two rectangles 29 x 8.
Fold the pieces right sides inward and sew along the edges. We sew a white strip to the lower part of the red cap so that it can then be turned right side up. We turn off the white strip and sew it on top of the hat. At the end we sew on a pompom, which can be made from tinsel.
Fleece appliqué
It is quite easy to make such an application. All you need is a pattern and colorful fleece. For example, if you want to embroider a beautiful owl on a pillow according to the pattern below, then first you need to cut out all the details separately, and then assemble the future appliqué in stages.
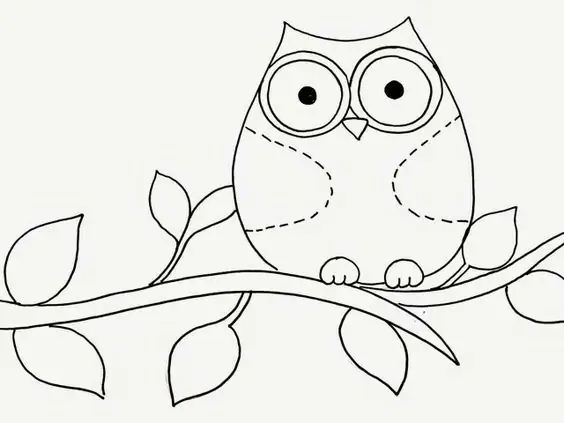
You will need to cut out 6 circles for the eyes (2 large, 2 medium and 2 small), one body, beak, 2 legs, 2 wings, two parts of a branch and a few leaves.
First you need to collect the eyes of an owl, sewing the mugs on top of each other in turn, starting from the largest and ending with the smallest. Then you need to sew the eyes to the head. After that, we sew the beak, wings and paws. Then we sew a twig and leaves to the pillow, and attach an owl on top of them.
Pillow cat
To make this fleece craft you will need bright fabric, scissors, thread, small piecesred and white material, synthetic winterizer or holofiber and pattern.
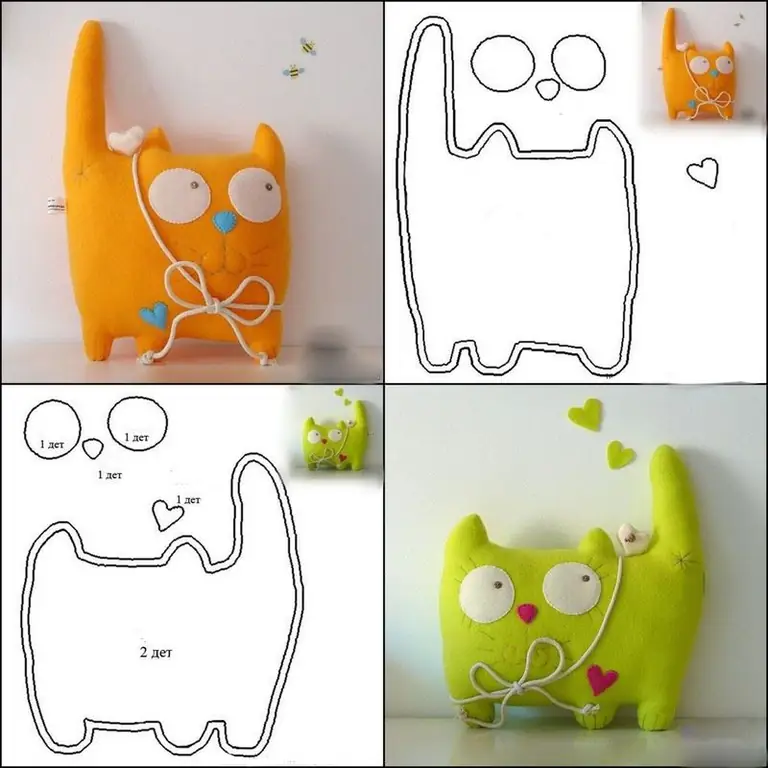
Apply the pattern cut out of paper to the fabric and cut out two parts of the body. We put the parts together with the right sides inward and sew, leaving a small area. We turn the craft inside out and stuff it with synthetic winterizer. The amount of filling for the pillow depends on your preferences. The main thing is that it should be stuffed evenly.
Cut out a nose and a heart from red fabric, and two eyes from white fabric. We sew the eyes and nose to the muzzle of the cat, and the heart - from below to the body. We embroider the mouth, pupils, mustaches and eyelashes with threads.
Dog toy
To make a wicker dog toy, you only need three strips of fabric in different colors, measuring 7 x 30 cm.
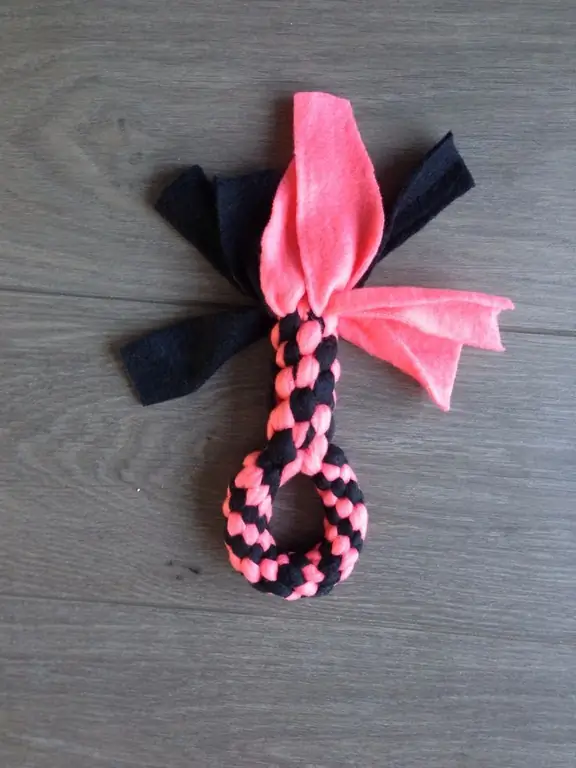
Strips need to be folded together and tied in the middle with a thread or cord. On both sides of this place we weave the fabric into a tight pigtail to the middle of the length. For convenience, it is worth fixing the second half of the pigtail with something heavy.
Fold the woven braid in half and braid the remaining edges into one pigtail. At the end, we tie the edges of the braid into a tight knot, and your toy is ready.
Fleece flowers
You can make a cute decoration for a hairpin, headband or doll with this material. All you need is a strip of fleece fabric 56 x 2.5 cm and a needle and thread.
Roll up the strip of fabric and pin it at the bottom. With red thread, sew the flower from the bottom, as shown in the image, passing the needle through all the layers of the rose.
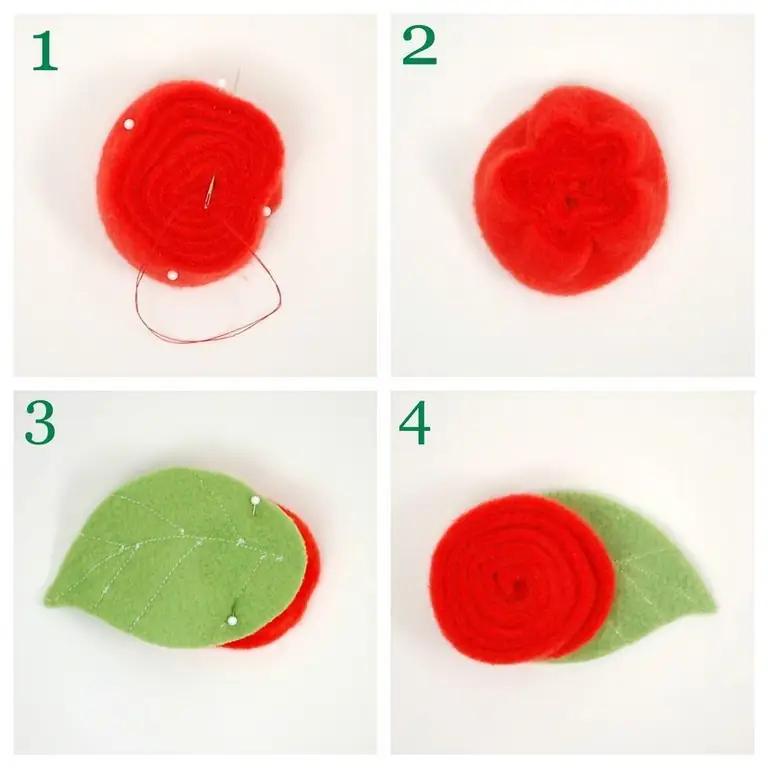
Cut out a leaf from the green fabric and attach it under the flower. The first should be large enough to completely cover the bottom of the flower. If desired, veins can be embroidered on it.
If you make several of these flowers, you can attach them to the hoop. Or you can glue a fleece rose to a pin or hairpin.
Fabric flowers are also easy to make in another way: just cut out a few flower parts and sew them in the middle. You can decorate the craft with beads or ribbons, as you like.
Recommended:
Beautiful do-it-yourself dolls: ideas, patterns, tips for making
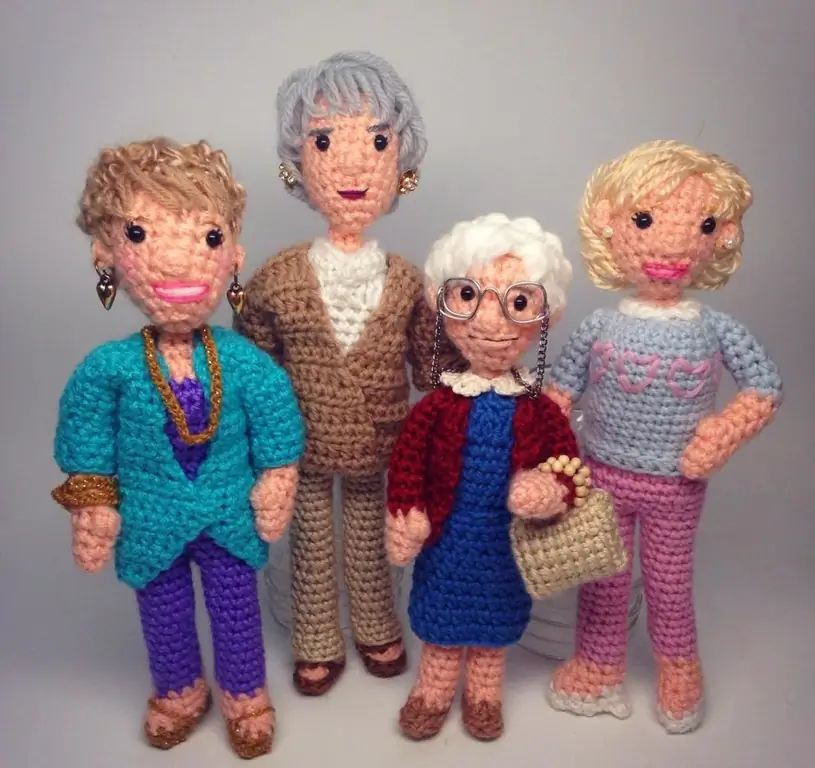
What you need to make a beautiful doll with your own hands. Amigurumi, attic doll, Bigfoot, Pumpkinhead, Tilda. Interior dolls. Sewing instructions for a Waldorf doll with a pattern. Video in which the author makes a doll in mixed media. Tips from experienced craftsmen on making beautiful handmade dolls
Making postcards with your own hands: technology, master class. Making an Easter card. Making a postcard for May 9
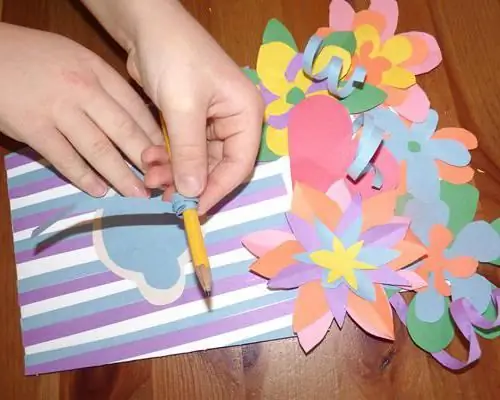
A postcard is an element with which we try to convey to a person our feelings, our mood, our festive state. Big and small, in the shape of hearts and funny animals, strict and elegant, comical and exciting - a postcard sometimes becomes much more important than the gift to which it is attached. And, of course, made with your own hands, it will bring even more joy
DIY ragdolls: photos, patterns, interesting ideas and a guide for making
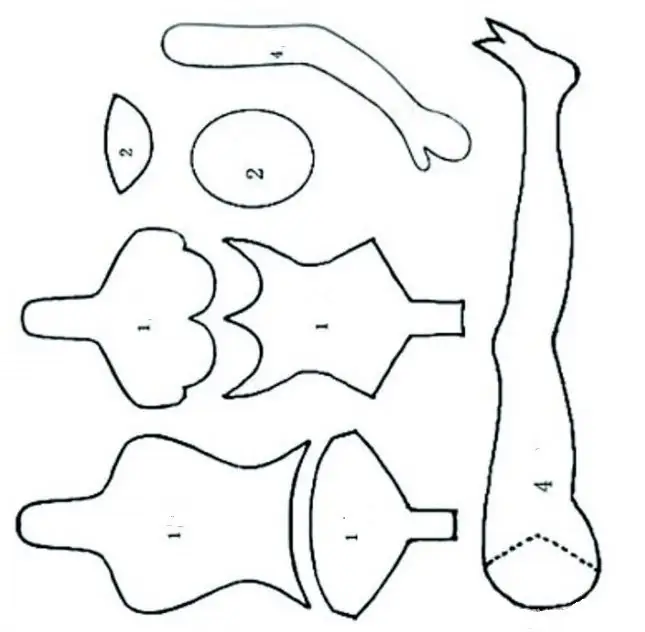
Unlike plastic dolls, textile beauties are usually not meant to be played with. Their goal is to decorate the house and bring good luck to their owner, who turned the house into a cozy and beautiful place. These dolls have gained popularity all over the world. In the article we will offer a master class on making a textile rag doll with your own hands from a pattern to a finished product
Knit patterns with patterns. Samples of patterns and patterns for knitting
What makes a knitted thing irresistible? Of course, the patterns with which she acquired her appearance. Knitting patterns today number in the hundreds, and thanks to the ability of knitters around the world to share new developments using modern technology, their number is increasing
Making crafts from stones: ideas and photos
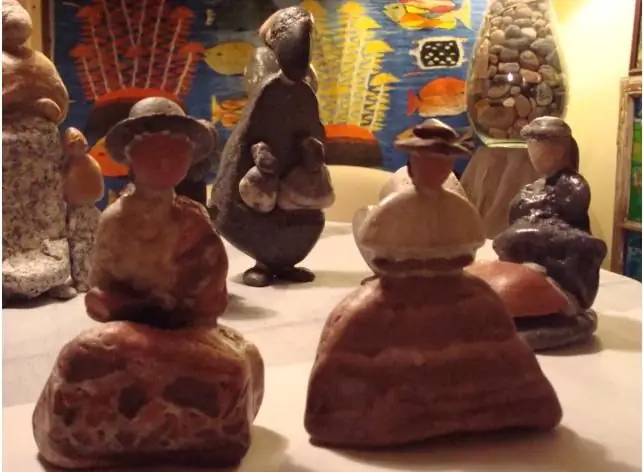
In the article, we will consider several options for crafts made of stone and seashells, which is necessary to create such compositions, step-by-step instructions for each work are given
