Table of contents:
- Author Sierra Becker becker@designhomebox.com.
- Public 2024-02-26 03:45.
- Last modified 2025-01-22 22:09.
All girls remember bright woven bracelets from childhood. Such baubles-pigtails were most often woven in the camp and left to each other as a keepsake. Since the boho style came into fashion, baubles have gained popularity again, this time with older girls. In this article you will find a detailed diagram for making a do-it-yourself pigtail baubles.

Colour and material choices
Baubles-pigtails can be woven in three ways:
- Take floss strands of different colors.
- Combine threads of different shades of the same color.
- Make a border, best of all with a color that contrasts with the rest of the colors.
Mouline braid baubles look best: they are bright, pleasant to wear, durable, have a wide range of colors, are quite dense, are sold in almost any store for creativity - the pluses are endless. If, for some reason, you cannot buy floss, then take thin yarn or ordinary sewing threads folded three to four times.

Simple DIY bauble
In order to weave a simple bauble-pigtail, it is not necessary to have any supernatural skills: it is quite enough just to be able to weave braids from hair. Such an accessory will become a real decoration of the image and a bright and unusual detail in boho-style clothes, goes well with denim items, as well as with romantic embroidered dresses.
So, weave a bauble-pigtail as follows:
- We take 12 threads of one meter each. When weaving baubles with edging, you will need two threads of three different colors, and six threads of the color of the piping.
- Now divide all the threads into strands: edging thread, two main color threads, edging thread again. You should have three such strands.
- Now "mix" the first and second strands: take the first thread from the first strand, the first from the second strand, the second from the first strand, the second from the second strand and so on. Line them up on a flat surface such as a table.
- Secure the weave with tape.
- Now put the third strand aside and start weaving the first two strands: tie their threads in pairs with knots to the right.
- Repeat the procedure, but this time remove the extreme threads and do not touch them. Also, do not touch the third strand.

- For the third row, set aside two extreme threads and tie from the third to the sixth thread.
- For the last row, knot to the right only the fifth and sixth threads. If you've done everythingright, you should get a triangle.
- Now start tying the triangle with the last strand: alternately tie the knots to the left of the threads of the first strand.
- Then set the first strand aside and start braiding the second strand with the threads of the third.
- Repeat tying alternately with knots to the left, then to the right. You should get a braid, but if the pattern is broken, then dissolve the last threads and try again.

Weave the braid until it is the desired length. Then knot in an even row to close the weave
It is important to remember that the extreme threads need to be tied looser so that the edge is rounded.
What can be done with this technique
Having mastered this simple weaving, you can weave not only an interesting bauble-pigtail, but also a spectacular belt for a light summer dress, if you take longer threads, you can also make an interesting decor for a summer hat by gluing such a braided braid instead of a ribbon. It will also be interesting to look at a wicker handle on a small summer beach bag. Get creative and don't stop with the ideas in this article!
Recommended:
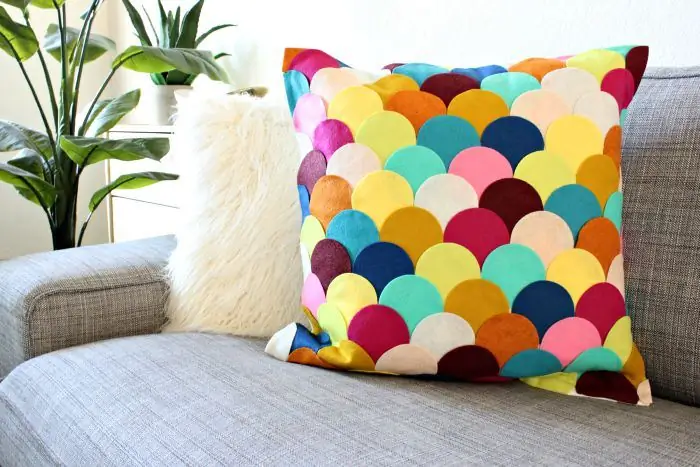
DIY felt pillows: ideas, patterns, manufacturing steps

Pillows have long been used not only for sleeping, but as interior decor. They can be scattered on the sofa, near the fireplace, laid out on chairs. Many people think of the word “pillow” in their head with a picture of an ordinary square or rectangular thing stuffed with filler and with a pillowcase on top. But that hasn't been the case for a long time. In the same article, we will talk about completely different pillows, beautiful and stylish decor elements
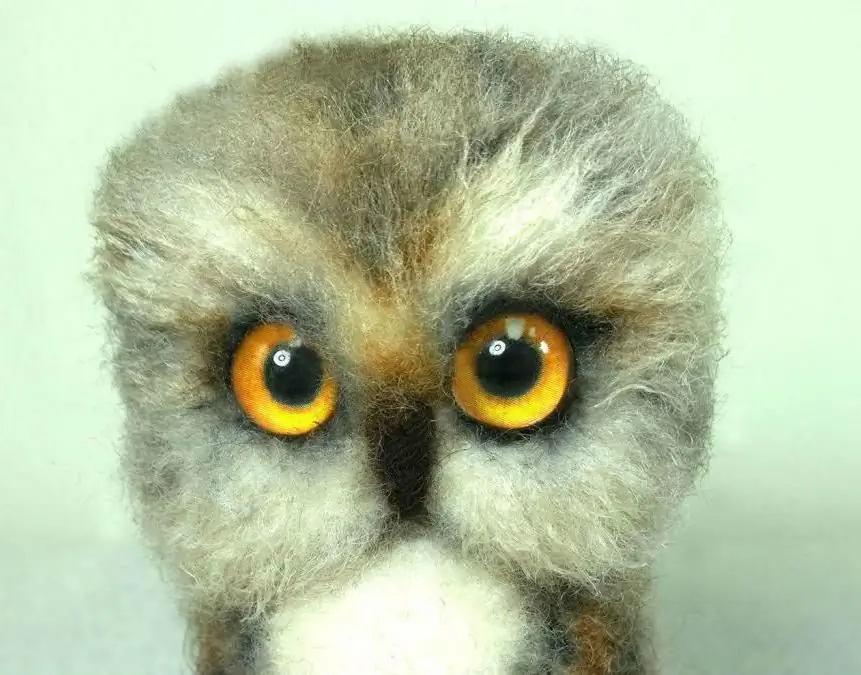
DIY eyelets for toys: interesting ideas and manufacturing features

Handmade toys are in great demand among both children and adults. Masters and craftswomen put their soul into the characters they create, so every detail is important. They say that the eyes are the mirror of the soul. This correct remark can be applied with the same success to toys or dolls. How to make eyes with your own hands, this article will help you figure it out. Properly selected eyes will give the product the right mood and character. Therefore, considerable time is devoted to their selection
DIY magazine rack: ideas, manufacturing steps, design

Many are faced with one awkward problem - newspapers, papers, receipts lying everywhere, they can be stored on the refrigerator, where they are safely forgotten, and they gather dust until the next general cleaning. To create harmony in the room, you can build a newspaper rack with your own hands, which will serve as a special place where all the periodicals in the house will be located
DIY jewelry box decor: ideas, techniques and tips

Preparation and processing of the box before decorating. A list of interesting techniques and ideas for decorating boxes with a brief description of the implementation features and a list of necessary tools. Tips and tricks on various techniques for decorating boxes with your own hands. Ideas for New Year's decoration of boxes
Do-it-yourself jewelry: original ideas, manufacturing techniques

If you want to do something well, do it yourself. Jewelry made at home will be many times different from the store, and for the better. You will definitely be sure of the quality of the material and the observance of the production technology. And also, accessories that you made yourself will cheer you up. Look for ideas for making unique jewelry below
