Table of contents:
- Author Sierra Becker becker@designhomebox.com.
- Public 2024-02-26 03:45.
- Last modified 2025-01-22 22:09.
Many women, and even some men, love to do needlework. This is not only a hobby, but also a great opportunity to give your loved ones an original gift. There are a lot of varieties of needlework. One of these are paintings made from s alt dough. How to make such a product?
Beautiful picture - kneaded the dough, picked up the plot
First of all, you need to prepare the dough (one glass of s alt and flour, plus the required amount of water for density). However, there are other compositions, but this one is the simplest.
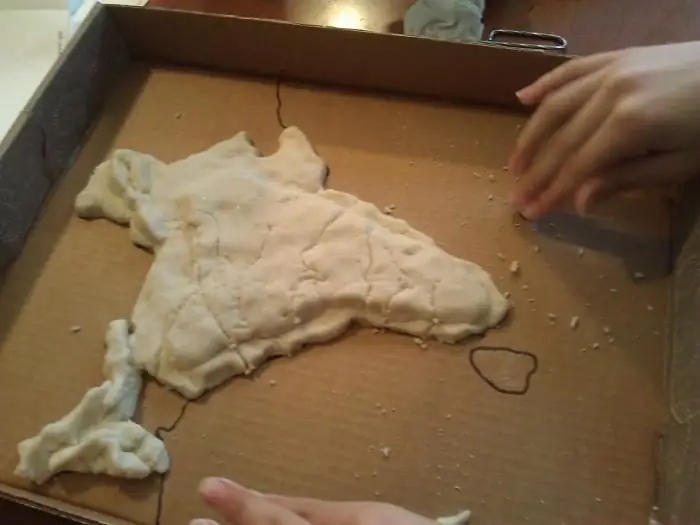
After that, you need to choose the plot of the picture. It can be vases with flowers, and angels, and animals. In a word, any picture can be made from the dough.
How to cut the pattern along the contour without ruining the future product
So, the required picture is selected. To begin with, the outline of the drawing must be printed, after that - cut it out (very carefully along the outline). Next, a board or cardboard is taken, wrapped in foil. Next, the dough is rolled out - its thickness should not be more than a centimeter. The picture is attached to it. How to make an outlinedrawing? It is enough just to leave point marks with a needle, piercing every detail of the picture.
It remains only to decide how to crop the picture along the contour. The easiest way, of course, is to cut along with the workpiece. Although, this is not required. Self-confident craftsmen will be able to cut out the pattern by removing the stencils, focusing only on the dots left by the needle.
Don't forget about voluminous details as well. Modeled from dough, they are glued to the finished pattern with ordinary water.
Drying product
As soon as everything is ready, it remains to start drying the product. Someone does it outdoors for two or three weeks, and someone - in the oven. The main thing that you should not forget about when drying in the oven is the swelling of the dough and the bending of the future crafts. Set the temperature to approximately 70 degrees. The figurine will bake for about nine to ten hours.
Product painting
As soon as the figurine hardens and dries, it can be brought into proper form. It needs to be painted, but before that, the product will also need to be covered with PVA glue. The surface, accordingly, becomes smoother, smoother, and the paint is not absorbed into the dough so much that it was necessary to cover the base with another layer.
Also, glue fills the dots from the needle, outlining the outline of the pattern that will be applied to the product. It is desirable to put them closer to each other. As a result, drawing the same outline of the drawing will be much easier. Paint the productyou can ten minutes after the glue dries.
After that, it remains only to choose a suitable frame. The picture will look great! By the way, you can buy such a frame ready-made, or you can also make it yourself.
An example of a picture for a gift to a woman
So, you have decided to make a gift with your own hands for your girlfriend, sister, girlfriend, mother, aunt, grandmother… A picture with a bouquet of flowers from s alt dough would be a good option. He will delight his owner for many years, because he will never wither. By the way, you can slightly deviate from the above basic needlework recommendations and make the picture a little different.
To begin with, the chipboard is pasted over with colored paper, on which, after that, the contour of the drawing is applied with a pencil - daisies. Next, the stems and petals are laid.
The dough for the stalk is pre-dyed green, rolled out like a sausage and transferred to a base smeared with glue. After that, leaflets are made (they need to be rolled into a ball, from which a “droplet” is then fashioned). The veins on the leaves are made with a cutter.
After that, petals are created. The white dough is rolled into a sausage. She, in turn, is cut into several parts (along the length of the petal). The lower edges of each of them roll down, the rest is flattened. The petals are stacked in two rows.
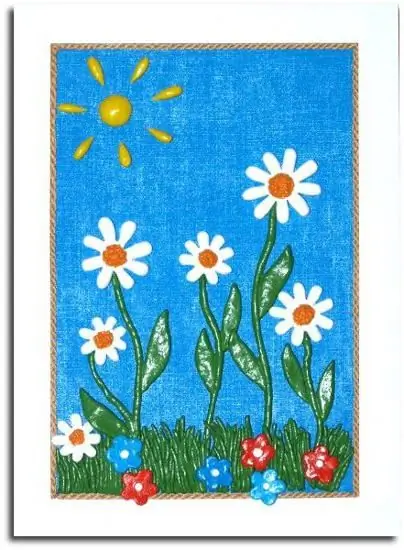
To create the middle, you need to color the dough yellow in advance, and then push it through a strainer. After all elementswill be glued to the base, the edges of the petals can be slightly shaded with blue gouache. Before placing a picture in a frame, the product is varnished.
Such a gift will help express a lot of emotions and feelings for a woman. But most importantly, a handmade thing is the most unexpected and pleasant surprise.
Recommended:
Wood carving, contour carving: description with photo, work technology and necessary materials
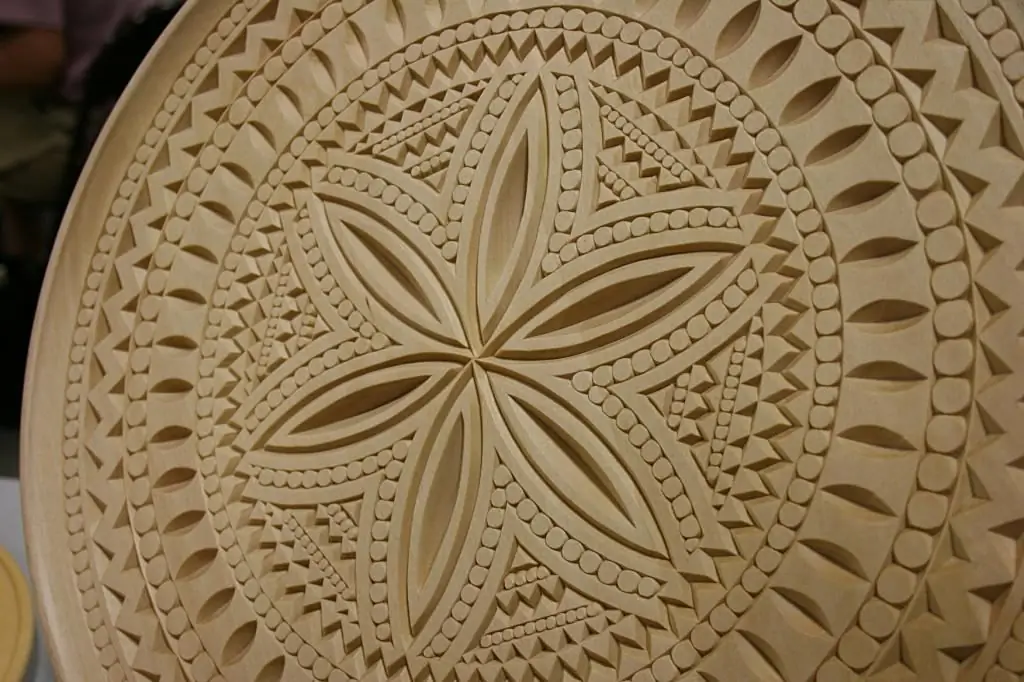
Artistic woodcarving is one of the oldest techniques of decorative art. During the history of the existence of the craft, several of its varieties have appeared. One type is contour carving: an exquisite technique used when working with wood
How to take a beautiful picture of yourself: the best poses

The article describes how to take a beautiful picture of yourself, and how to make a selfie really attractive to others. The most important poses and selfie tips can be found in the article
How beautiful to take a picture on the avu for a social network?
How beautiful to take a picture on the ava (avatar)? This question arises for many girls, and not only for them, young people also will not refuse a good photo on a page on social networks
Rhinestone embroidery: how to make a picture for a beginner
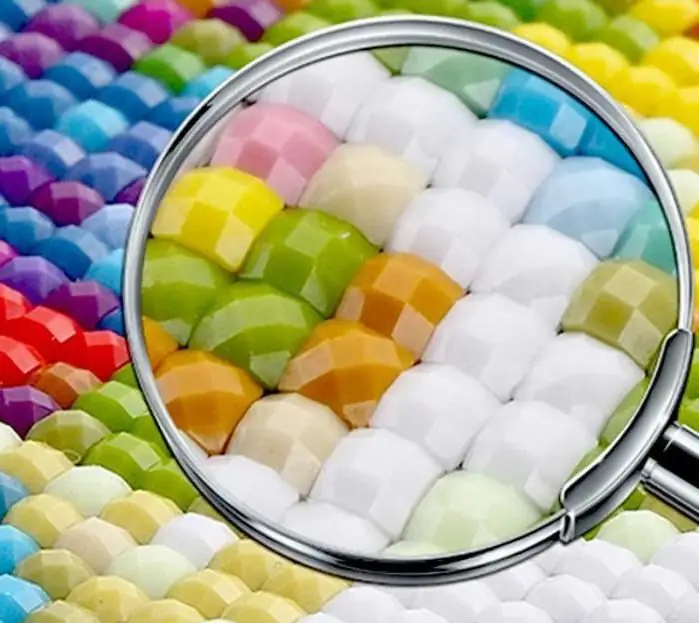
Did you like rhinestone embroidery? Don't know how to make it? Read tips and tricks for beginners. Following the instructions, you can create your masterpiece
How to embroider a picture with ribbons. How to make pictures from ribbons with your own hands
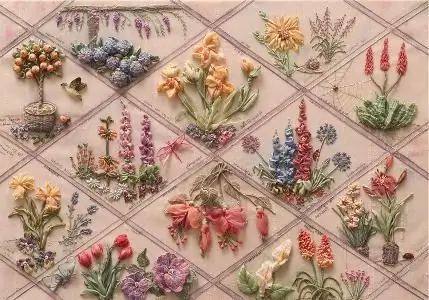
The article offers a description of the method of embroidering pictures with various ribbons - satin, silk. This type of needlework is quite simple, and the products come out of amazing beauty. The material describes the basic stitches and the necessary materials
