Table of contents:
- Author Sierra Becker becker@designhomebox.com.
- Public 2024-02-26 03:45.
- Last modified 2025-01-22 22:09.
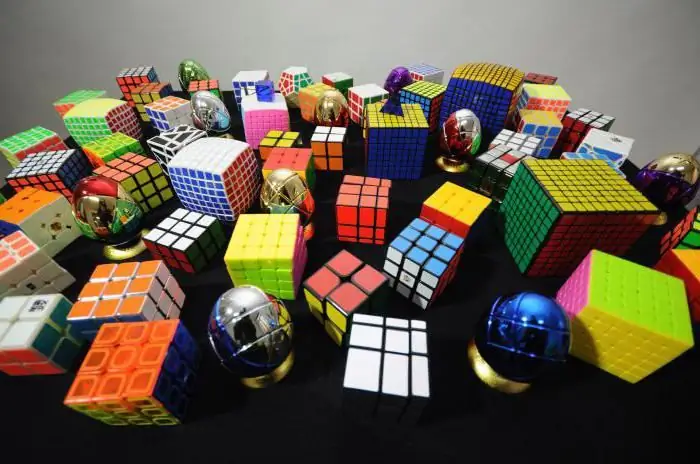
Probably, the Rubik's Cube became the very first puzzle that gained immense popularity in the world. Until now, all new modifications of this game are being released in the form of balls, eggs, dodecahedrons and much more. This is despite the fact that Meffert's pyramid was invented before the famous cube.

Collecting such puzzles today is possible not only by the colors of the faces, but also by observing the correct shape of the figure. In any case, such an activity helps not only to pass the time, but also to develop logical thinking.
Features of the pyramid
How to assemble a pyramid? The algorithm of actions in this case differs from working with a cube, but the principle remains the same. It is necessary to collect each of the four sides of the figure of a certain color. For this, the Meffet pyramid has 14 elements. All of them are able to rotate individually along the axis, but, unlike the famous cube, not at a right angle.
Interesting fact
Interested in the question of how to assemble a Rubik's pyramid? Do you know what actually came up with thispuzzle inventor Uwe Meffert from Germany? It happened back in 1972, and at that time the inventor even managed to assemble several modifications of the puzzle, only now he quickly lost interest in it and abandoned it until better times. They came a few years later, when the Rubik's cube began to gain popularity in the world.
Instruction: how to assemble a pyramid. First step
Before starting work, you should decide which color will be collected first and on which side of the figure it will be placed.

Initially, you need to build the borders of the color side. To do this, put your finger on one of the vertices on the side that meets the requirements listed above. After that, the same is done with other vertices. Small tetrahedra should be rotated to match, most importantly, do not be afraid that this will destroy the other sides of the figure.
Before you teach your friend or child to assemble a pyramid, you need to independently understand all the intricacies of the process. To proceed to the next stage, diamonds should be formed on the first face to be assembled, which are a combination of two triangles of the same desired color. They should move away from every corner. At this stage, only 3 triangles of a different color should remain on the face of the tetrahedron. Now you need to fill them too.
Advice: to simplify the task, you should decide in advance on the color to be collected. Elements with it should not be on the opposite side of the pyramid.
Step Two
Before you assemble the pyramid finally, you should evenly fill with flowers and its remaining faces. This is exactly the second stage of the assembly. In order for all operations to be successful, you need to learn how to move the puzzle elements from the edge to the top, while not destroying the diamonds built earlier on the edges of the figure. You should also be able to bring parts of the sides of the figure to the initial position so that you can form rhombuses from them on the other sides of the pyramid.
Final stage
After the 2 sides of the Meffert figure are assembled, its base should be assembled. All actions with permutation of elements are carried out in a similar way.

In fact, the question of how to assemble a pyramid does not always have only one answer. The more popular Rubik's cube makes it possible to form various patterns on its sides, you can do the same with a tetrahedron. Of course, in this case there will be much fewer options for arranging multi-colored elements, but you can try to assemble something of your own, individual. Otherwise, you can find a lot of pictures on the net with patterns on the sides of the pyramid and try to bring them to life on your own. Of course, it's easier to start experimenting after you have mastered the instructions for standard side filling.
Good luck to everyone in your endeavors and the development of your thinking!
Recommended:
Do-it-yourself St. George ribbon: simple recommendations for beginner craftswomen

The hand-made St. George ribbon is not only a national symbol of patriotism, but also an adornment worthy of respect. To create your masterpiece using the kanzashi technique, you will need a minimum set of materials, a great desire and a few recommendations described below
How to assemble a paper airplane with your own hands?

Paper airplanes are a toy that everyone had in their childhood. But not all of her flight was long: most of the aircraft crashed. How to assemble a paper airplane so that it really flies?
The biggest puzzles: how many pieces, how to assemble. Difficult puzzles

Collecting puzzles is a lot of fun, and the biggest puzzles are doubly so. It can become an exciting hobby and interesting pastime for one person, as well as for the whole family or company
Original and simple plasticine crafts - interesting ideas and recommendations

Making simple plasticine crafts is an exciting activity not only for kids, but also for their parents. Plasticine is the best material for the manifestation of the imagination and capabilities of children, with its help you can make incredibly beautiful and original things
Pyramid - sweep. Development of the pyramid for gluing. Paper reamers

The surface of a polyhedral figure unfolded on a plane is called its development. The method of converting flat objects into volumetric polyhedra and certain knowledge from geometry will help to create a layout. It is not easy to make reamers from paper or cardboard. You will need the ability to make drawings according to given dimensions
