Table of contents:
- Author Sierra Becker becker@designhomebox.com.
- Public 2024-02-26 03:40.
- Last modified 2025-06-01 05:43.
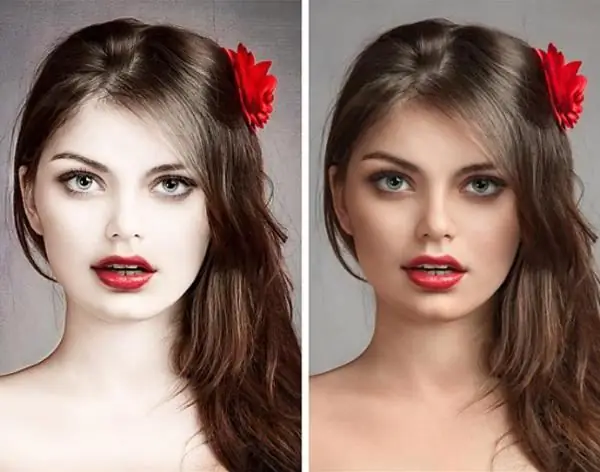
Even a professional photographer can't always get the perfect picture without flaws. In order to get a successful photo, you need not only special skills in working with equipment and talent, but also experience in using various programs for processing photographic materials. The environment, background features and appearance of the model are rarely perfect, so the photo is usually retouched in a photo editor.
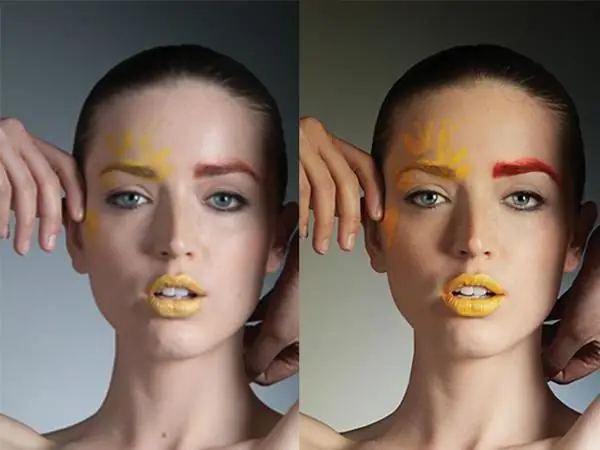
There are many such programs with a variety of functions: from simple color correction to a complete set of tools that allow you to professionally edit your photos. The most popular of them is Adobe Photoshop, in which retouching is available even to novice users and usually does not cause much difficulty. Thanks to a wide range of different filters and tools that are easy to learn, even a novice photographer can easily get a high-quality image without spending a lot of time and effort.
How to prepare for Adobe Photoshop
What is retouching in the program and how to start it? Retouching means enhancing, correcting imperfections, and correcting an image. Before you start processing a photo in any photo editor, it is highly advisable to make a copy of it. To make the process easier, you can make a copy of the layer and hide it, so that if a mistake is made, you can restore the original image or compare the original and final result as you work. It will be easier to retouch a photo if you enlarge the image several times - this will make small defects in the frame visible, after which the picture will look better. The easiest way to do this is to use the keyboard shortcut and "+". You can reduce the photo using "Image" and "-".

What are the "actions" in Adobe Photoshop for
Retouching tutorials and Adobe Photoshop tutorials are widely distributed and available. What is retouching with "actions"? There are many free classes and videos that allow you to master the program step by step, starting with the basics and gradually moving towards mastering professional skills. The existence of so-called "actions" or recorded actions in Adobe Photoshop greatly facilitates the process of processing photos, allowing you to do more work in a certain period of time without manually repeating the same operations. They help to create various effects, change the size of photos, their color characteristics and other parameters. You can create "actions" yourself or download ready-made ones on the Internet and install them into the program.
Features of retouching in Adobe Photoshop
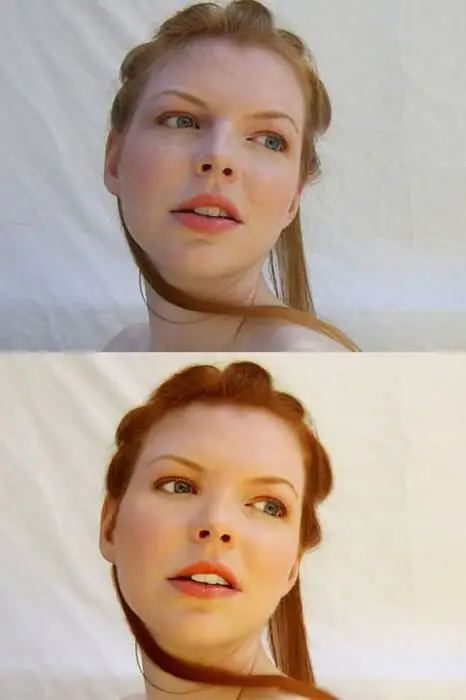
Beginning photographers often hear requests from their clients to correct the flaws in their appearance. The face of the model most often becomes the object of retouching. In order to remove minor skin defects, such as inflammation, acne marks or scars, two tools are most often used: a “stamp” and a “patch”. In the first case, when you hover over the sample and hold down the "Image" key, a portion of the photo is captured, which can then be moved to the problem area and covered. When using a “patch”, the cursor highlights the area on the photo that needs to be retouched, and then, while holding the right mouse button, you should “drag” the area to where there are no defects. In the second case, it is possible to make a correction more thoroughly, since the edges of the area are slightly blurred and look more natural than when using the "stamp".
Blur retouching
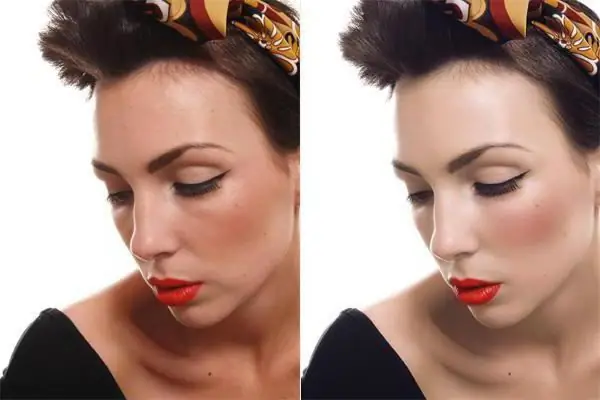
Face and body retouching lessons are of interest to many, as this is one of the most sought-after elements of professional photo processing. Sometimes skin imperfections are difficult to remove using only a “stamp” or “patch”. If you need to process large areas, sometimes it is better to use another method: highlighting problem areas with transfer to a new layer and blurring them with a special filter.

How to use blur properly
Usually, the forehead, chin, cheeks are selected, the nose is captured a little and with the help of “Gaussian blur” they choose the optimal radius and admire the result. Sometimes the blur is too strong - then you can undo the action and use the filter again with different settings. The effect of retouching becomes noticeable immediately. This method allows you to get clean, radiant skin of the face, but you should not be too zealous using blurring - the face can become too smooth and look unnatural. The effect of retouching should not be too noticeable. Sometimes it's better to keep minor skin imperfections to keep the face looking natural.
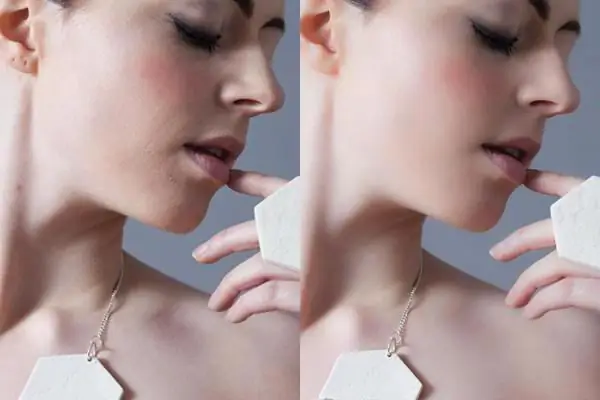
The Spot Healing Brush is an easy way to fix minor imperfections
Using the Spot Healing Brush tool allows you to quickly hide minor imperfections in your appearance, such as pimples or wrinkles. Simply select the appropriate icon on the toolbar and click on the area to be corrected. But this method has its limitations: it cannot be used on dark areas, near the eyebrows, or along the hairline. It is advisable to choose the size of the brush corresponding to the zone that needs to be adjusted. Understanding what retouching with a “healing brush” is and how to use it in the usual way is quite simple.
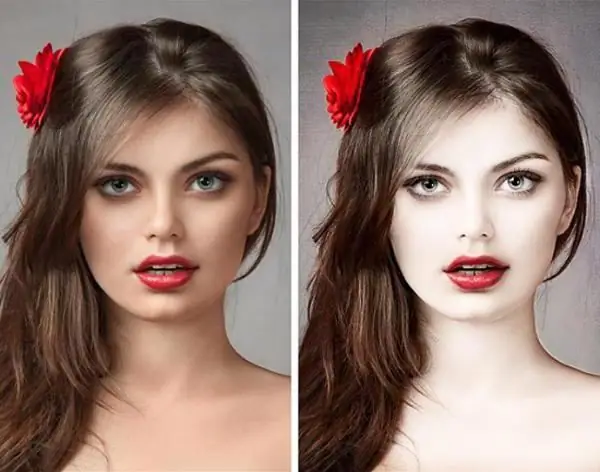
But this tool has several additional parameters that significantly increase its areaapplications. There are different blending modes that allow you to lighten or darken, change the color and brightness of the selected area. "Replace" is a special tool that is useful when working with soft brushes. It allows you to partially preserve the detail on the border.
Frequency decomposition method
What is frequency decomposition retouching? This is a method of image processing, in which the photograph is decomposed into 2-3 frequencies. The tone and structure of the skin is separated into separate layers, as a result of which the structure of the skin is preserved and looks natural. For processing, you can record an "action" in order to use it later, retouching similar portraits. First you need to create two duplicates of the layer - the top one is called "texture", and the middle one is called "tone". At the first stage, the top layer is turned off, and the tone layer is blurred with a filter until all skin imperfections disappear. Usually it is enough to use a size of 20 pixels. Then, moving to the texture layer and making it visible, you need to select the "Image" item in the menu, after which - "External Channel". In the drop-down menu of layers, "Tone" is selected, and in blending modes - "Subtraction", the scale must be set to 2, the shift - 128. Now you need to click "OK", and in the layer window select the blending mode "Linear light". Layers "Texture" and "Tone" need to be combined into a group. To do this, just use the keyboard shortcut Ctrl + G. After that, you can work on the "Tone" layer, aligning the skin color with the "healing brush". The structure of the skin will not change.
There are othersHow to retouch photos in Adobe Photoshop. They are easy enough to learn from online lessons and using various manuals.
Recommended:
How to prepare for a photo shoot: useful tips. Ideas for a photo shoot in the studio and on the street
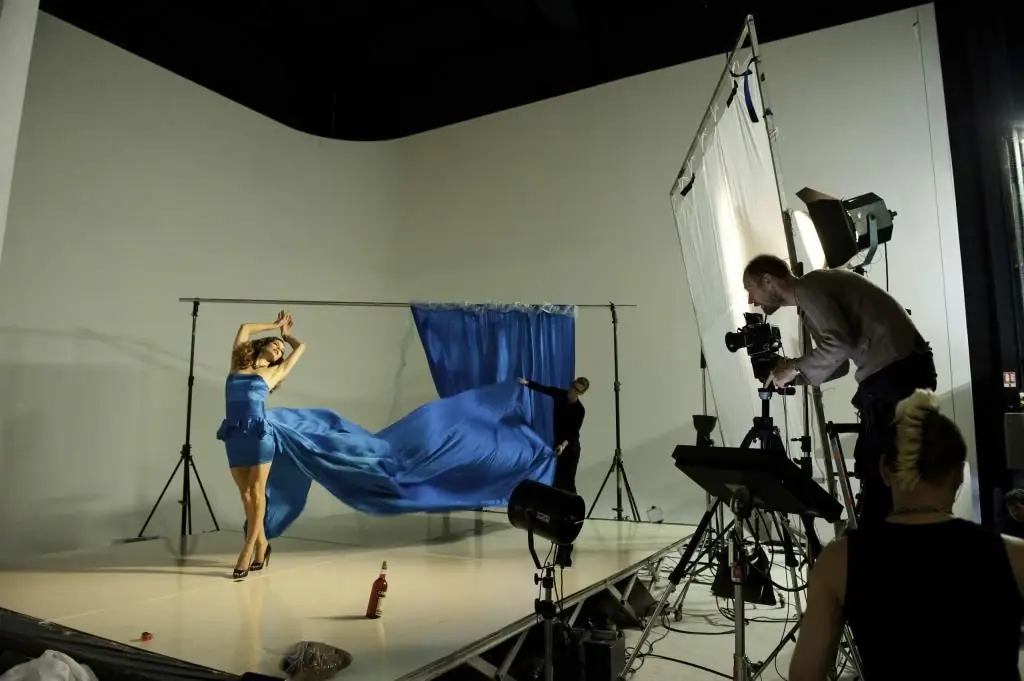
Photo shoot is a highly anticipated event for both the model and the photographer. The result of the whole event depends on how competently the shooting will be carried out. In order for everything to go smoothly and not be disappointed later, it is very important to know in advance how to prepare for a photo shoot. This article will be devoted to this
How to decorate photo frames with your own hands: ideas, materials, recommendations. Photo frames on the wall

Standard wooden photo frames are the simplest solution for photo placement. Finding a frame design option suitable for an individual interior is quite difficult, so a home-made base will be the best solution. You can use already prepared. It is only important to decide how to decorate the photo frame with your own hands. For this, completely diverse tools and materials can be used
The effect of an old photo: how to make vintage photos, the choice of a program for working with photos, the necessary photo editors, filters for processing
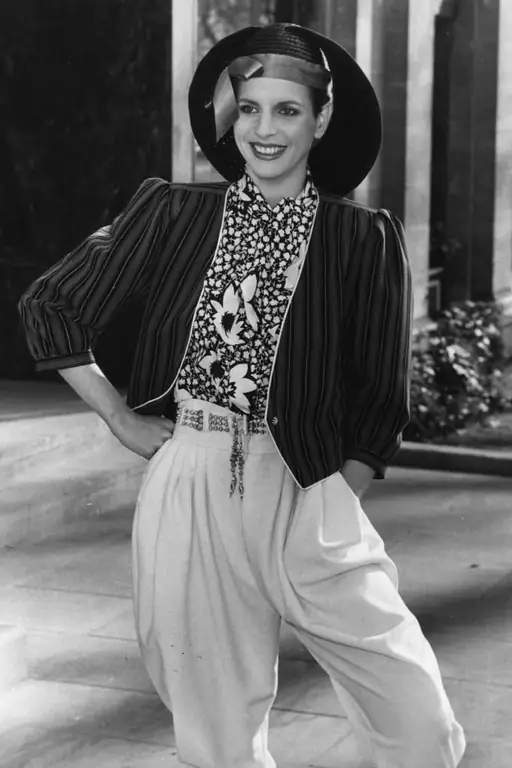
How to make the effect of an old photo in a picture? What it is? Why are vintage photos so popular? Basic principles of processing such photos. A selection of applications for smartphones and computers for retro image processing
How to take a good photo: choice of location, pose, background, device quality, photo editing programs and photography tips

In the life of every person there are many events that you want to remember for a long time, which is why we love photographing them so much. However, it often happens that our photos come out unsuccessful and they are even embarrassing to print. In order for the photos to turn out beautiful, you need to master several important rules, the main of which are the golden ratio and composition
Themes for photo shoots. The theme of the photo shoot for a girl. Theme for a photo shoot at home

In obtaining high-quality interesting shots, not only professional equipment is important, but also a creative approach to the process. Themes for photo shoots are endless! It takes a flight of fancy and some courage
