Table of contents:
- Author Sierra Becker becker@designhomebox.com.
- Public 2024-02-26 03:40.
- Last modified 2025-01-22 22:09.
For a master who seeks to promote his profile on a social network, it is quite obvious that competent advertising is a real marketing engine. Without beautiful photographs, it is impossible to attract customers.
Learn how to beautifully photograph nails, and many bloggers aspire. Today, there are many style and beauty experts who write about trends and interesting techniques, new techniques and unusual materials.
Beautiful nail photos can also make money. You can not only use them to advertise your own services, but also sell them on photo hosting sites.
Overview of common mistakes
Before we learn how to photograph properly, let's take a quick look at the list of do's and don'ts.
The biggest mistake is negligence. Extra items that are not related to manicure, dust and a poorly polished surface - this is what should not be in the photo.
Professionals do not recommend composing a composition in such a way that equipment enters the frame: a lamp, an extractor hood, a dry heat. Not a place in the staged frame and bottles withprofessional fluids.
Blurred photos are unforgivable. This happens if you take a picture while holding the camera or phone on the weight. A dusty or foggy lens is another way to hopelessly ruin a shot.
Common mistakes are related to hand position. The pose should not be tense, forced.
Light works wonders
Light in photography is the foundation of the basics. Properly selected lighting allows you to make an exquisite photo of discreet nails, which can even be used for advertising on billboards.
The main rule of beautiful nail photography is that the light should not be yellow. It gives the skin an unpleasant shade, the hands look old and tired, small natural folds turn into wrinkles. Materials, even the best, also lose: the saturation of shades is lost, the top seems dull, burnt out.

Remember: most incandescent bulbs produce yellow light.
To shoot a manicure, you can use the same lamp that the master uses to illuminate the workplace in the process. The vast majority of such professional lighting devices give exactly white diffused light. It is advisable not to point the lamp at the nails themselves, but at the reflector (it can easily be made from foil; even a sheet of glossy white paper will do).
More is not better
Important question: how many fingers should be in the frame? Some masters are sure that all 10. But such photos look inorganic. Especially it concernsframes in which the fingers are intertwined. In this case, it is difficult to understand the idea and follow the logic.
To show how the cuticle is processed, whether there is an even highlight, how the butt is designed, it is enough to have 4 or even 2 nails in the frame.
You can put one hand in front and focus the camera on it, and leave the other visible in the distance, but slightly blurry.
Position of hands
Speaking of how to photograph nails correctly, special attention should be paid to the position in which the brushes will be. The more natural the pose, the better.
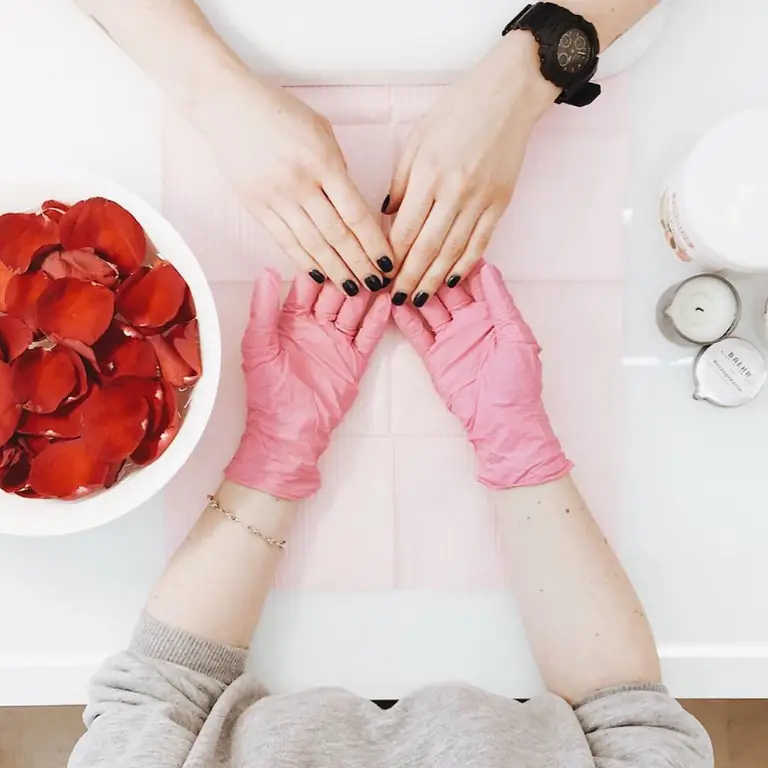
Hands look good with fingers touching a wall or table. The hand lying palm down looks boring and uninteresting. You can put it on the back side and slightly bend your fingers, turning your nails towards the camera.
Background for the frame
Today, there are a huge number of great photophones on sale, which are quite cheap. Backgrounds imitating textured boards, cork, matting are very popular.
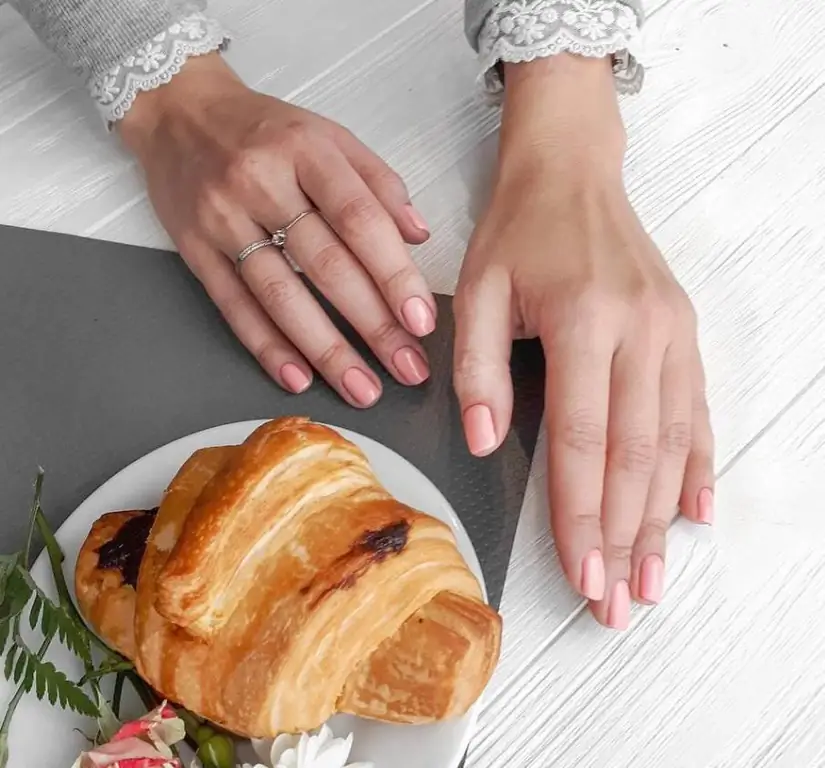
The surface can be anything, even black. however, there should be no motley spots. Choose backgrounds with uniform hues.
Answering the question on what background to photograph nails, some advise ordering a special name sheet with an anagram or initials of the master from the printing house. You can also print addresses of pages in social networks and advertising for a beauty salon. But shots taken against such backgrounds look like commercial advertising, and not an artistic work in whichtalent.
Decorative elements to create a composition
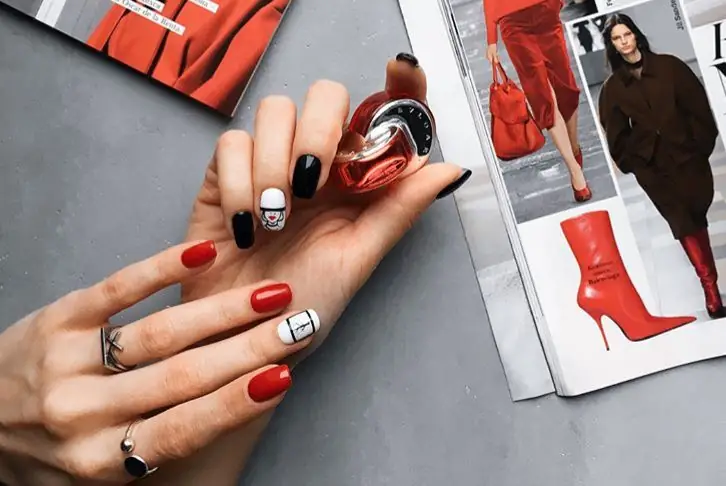
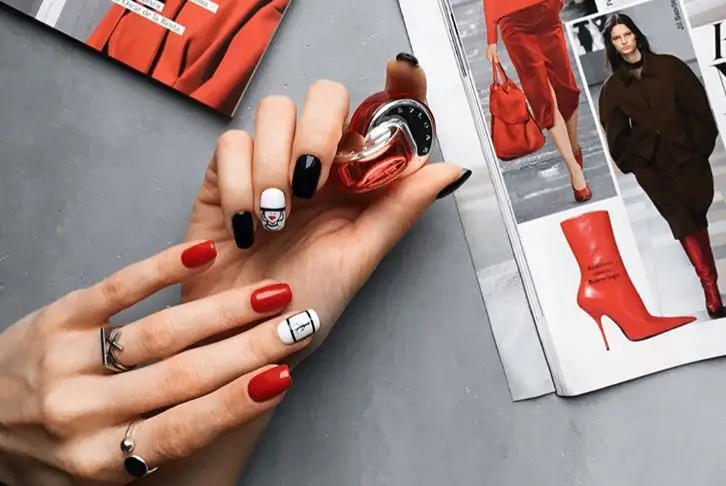
To keep your hands from looking boring, add interesting elements to the composition. Pick up a colorful tea cup, sunglasses, a bottle of perfume. It's great if the additional decor resonates with the plot chosen for the nail design. For example, if mischievous Moomin trolls are depicted on the nails, you can take a picture of the brush on the open book of Tove Jansson. And for shooting nails decorated with sweets, you can add caramels to the frame.
Here are some ideas:
- Opened tins of Montpensier.
- Green and dried leaves, chestnuts, nuts.
- Cosmetics and perfume bottles.
- Refined, crystalline sugar sticks.
- Jelly and chocolates, marmalade, marshmallows.
- Vials with used varnishes (this will give you an opportunity to show what materials you are working with).
- Small figurines that match the theme.
- Live and artificial flowers, physalis.
- Candied fruits in a beautiful glass container.
- Feathers (pheasant, peacock, guinea fowl).
- Craft soap.
Old calendars, pop art posters, handmade notebooks, sketchbooks, fashion magazines - all this can become not only a colorful addition, but also a background.
Cigarettes, even the most elegant and thin ones, and bottles of alcohol are a bad idea. But a glass with a beautiful ruby wine or a tall glass with a cocktail can fit into the frame.
All this is just an addition. The details listed above should not draw emphasis on themselves. The center of the frame and its main element are nails.
Thinking about how to photograph nails correctly, you can use exclusive ideas. A good shot can even include a day old chick, a huge squash, or a leather whip. The main thing is to be able to critically evaluate the result. Irony is acceptable, but dark humor should not be.
Perfect highlights
Smooth identical highlights are a sign of mastery. It is they who say that the master made the perfect alignment of the nail plates.
But not everyone knows how to photograph nails with highlights. To get them, you need to use not reflected light, but direct. Ring-shaped reflections require a lamp in the form of a ring with small diode bulbs.
Of course, beautiful highlights will not work if the alignment is not perfect. Errors with this arrangement of light will be clearly visible.
Artistic outdoor photography
Let's take a look at how to properly photograph nails in natural light. Nature itself throws up wonderful stories: a textured tree trunk, a pile of leaves, a chalk rock. Use the full potential of the beauty around you.
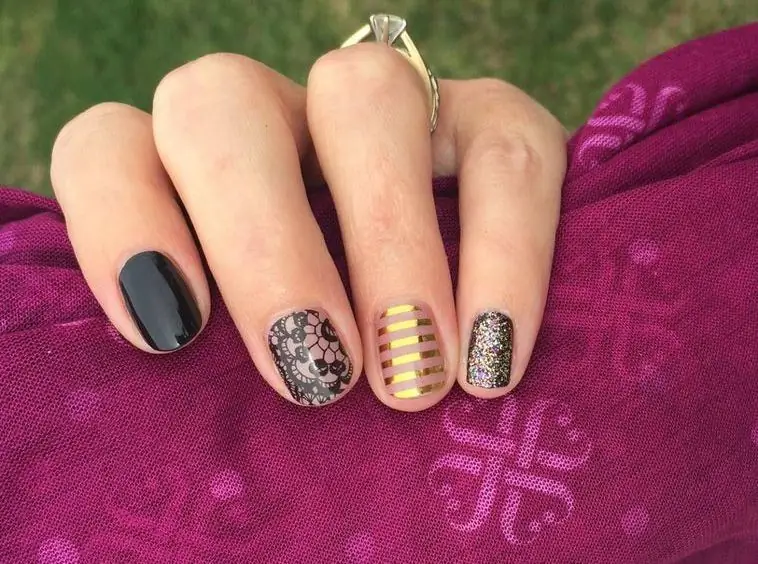
You can shoot either before 11 pm or after 5 pm in summer. In the off-season and in winter, when the sun does not shine so intensely, good shots will be obtained at any time of the day.
About technology
Some people think the more expensive the camera, the better the photos will be. With professionalcameras need to be able to work. If you don’t have the necessary skills, but you have the technique, select the “Auto” mode, but do not forget to turn off the flash. As a last resort, you can soften the harshness of the flash light with a regular white yogurt cup: just put it on the flash. It will scatter the rays a little.
In our time, people are more often interested in how to take pictures of nails on the phone. Applications created specifically for subject and macro photography can be useful. In the settings, choose the maximum photo quality, the "Still life" or "Macro" mode. If provided by the software, experiment with aperture and shutter speed.
Useful Acquisitions
There is a special lamp for photography, made in the form of a ring. It's usually used for selfies, but it's also great for nail shots.
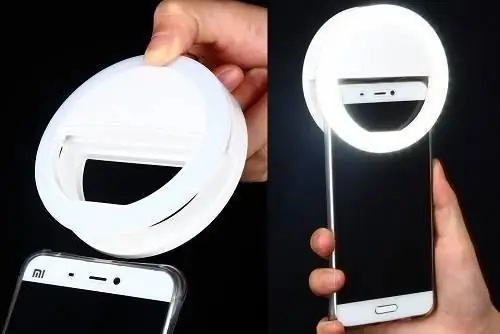
A tripod will be a very useful purchase. Then you will have less and less questions about how to properly photograph nails on your phone. A tripod will eliminate the problem of hand-shake, so the pictures will be clearer.
Why hashtags are needed
The more interesting the photos, the more people will want to subscribe to your page. Come up with interesting ideas, beat everyone's favorite plots of films and books. Pay attention to trends and the latest beauty news.
How does it work? For example, the recent marriage of Prince Harry was used by marketers of many brands in their advertising campaigns. Come up with and execute designs related to the UK,monarchy or Windsor (for these purposes, you can even invite a model). Write a short post about the royal wedding and attach a photo. Now the most important thing is to add hashtags. They will bring to your page a lot of people who are interested in the latest news. Some of them will become subscribers, and some will use your services.
A very good idea would be to shoot women's hands in men's. Even the props are not needed - you just need to put an elegant female brush with a beautiful manicure in a strong male palm (you will need the help of a male friend). The choice of hashtags is very wide: love, mylove, lovenail and more.
When you go to interesting places, take pictures of your own hands (add hashtags related to this place).
If most of your shots are focused on nails, take a short series of shots that show the owners of the manicure. A few examples: a laughing girl covering her mouth with her palm, a brave horsewoman stroking a horse's mane, an athlete rubbing her forehead with her palm. All these stories are interesting and spectacular, they want to be considered. Although it will be impossible to see the manicure to the smallest detail, your clients will definitely pay attention to the hands of models. What hashtags to add to these posts? Here the choice is even wider: just describe everything that got into the frame, not forgetting about your own brand.
Post-processing
The main rule of a successful photo is to shoot 7 times, but publish once. Take multiple shots and choose the best one to post.
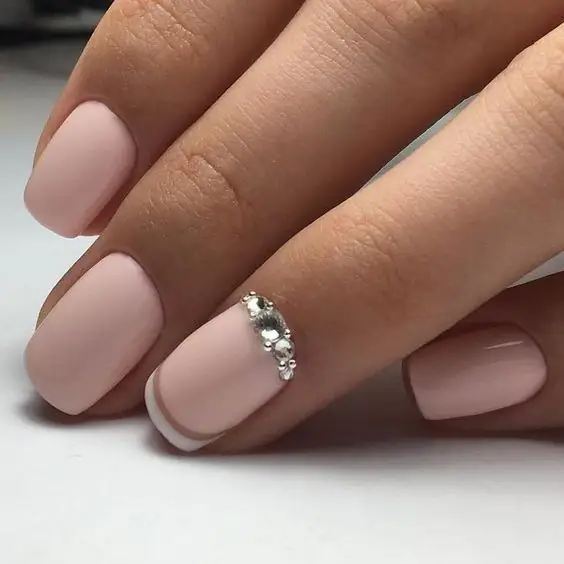
It is acceptable to use "Photoshop". With it, you can correct a collapsed horizon, crop an extra background, and remove small errors.
Never try to fix your own manicure-related sins with graphic editors. Do not touch the cuticle, highlights and ends. This will not bring good results. By deceiving a client, you raise your own bar, declare a level that you have not yet reached. If they come to you for a service that you do not know how to provide, scandals cannot be avoided.
As you can see, there is nothing complicated in the art of photography. As with learning the art of nail art, it's all about practice. Train, learn new things. Over time, you will certainly get a good result.
Recommended:
How to win at backgammon, or the secrets of a successful game

Backgammon is becoming an increasingly popular game, which millions of people are fond of, regardless of their social or material status and position. Many are interested in the question: are there methods and ways of playing the game that guarantee a 100% win? In this article, we will try to answer it
Poker: basics, game rules, card combinations, layout rules and poker strategy features
An interesting variation of poker is "Texas Hold'em". The game assumes the presence of two cards in hand and five community cards used by all players to collect a successful combination. We will talk about the combinations a little later, but for now let's look at the basics of playing poker, which are necessary for beginner players
How to photograph children at home, at school and outdoors? Children's photo session
The question of how to photograph children is of interest to many parents, since in order to get really bright and original pictures, you need to properly plan, prepare and conduct a photo session
Learning how to win at poker. How to play poker the right way: tips and tricks for a successful game
At first glance, it may seem that poker is a rather difficult game to understand. However, this is not quite true. It only takes a few minutes to understand the basics and learn all sorts of strategies. But assimilation of information is half the battle. It will take years to automatically hone your own skills and make poker a stable source of income
How to play dominoes correctly? How to play dominoes with a computer? Domino rules
No, we can't hear joyful cries from our yards: "Double! Fish!" Bones do not knock on the table, and the "goats" are no longer the same. But, surprisingly, dominoes still live, only its habitat is a computer. How to play dominoes with him? Yes, almost exactly the same as before
