Table of contents:
- Author Sierra Becker becker@designhomebox.com.
- Public 2024-02-26 03:47.
- Last modified 2025-01-22 22:09.
Knitting is a fashionable craft that has not lost its fans so far. Creating intricate patterns with two needles is almost magic. The herringbone pattern is one of the most common and interesting. Simple and concise, it will appeal to many. And even those who hold knitting needles in their hands quite recently can master it.
Description of herringbone pattern
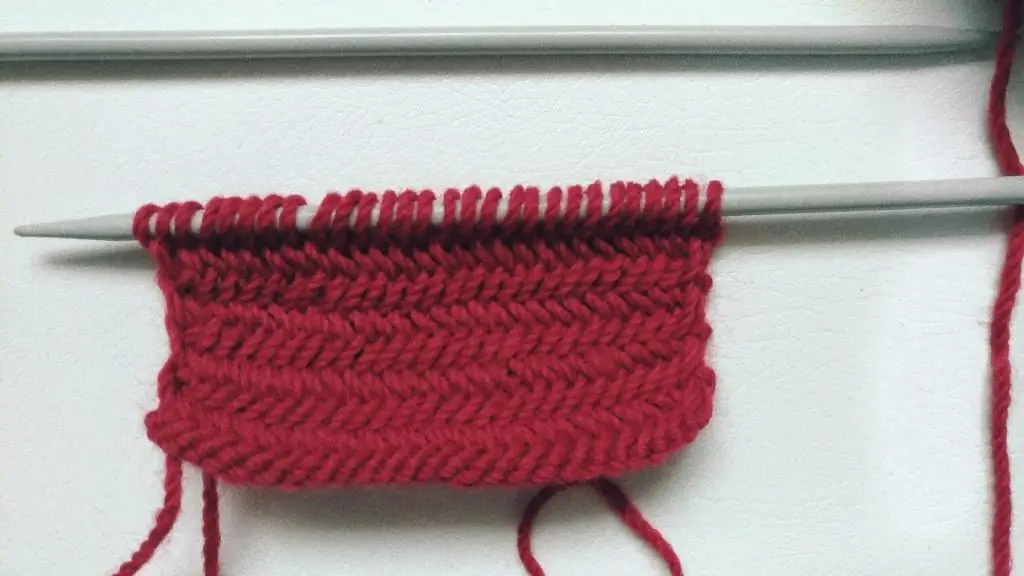
It is not difficult to knit the named pattern (its other name is "Spikelet") with knitting needles. This is a very dense, smooth one-sided pattern. It looks like small diagonal stitches, resembling a Christmas tree with its arrangement. The fabric knitted in this way will be very dense, moderately elastic, and will retain its shape well after washing.
Most often, this is knitted from rather thick woolen threads, without tightening the loops too much. With this method of knitting with the Herringbone pattern, the fabric will turn out to be more textured and voluminous. "Spikelet" is perfect for knitting a snood or a tight pullover. It looks quite simple and concise, so it is often used for knitting men's things.
First row
In order to knit the herringbone pattern with knitting needles, you can dialany number of loops. This will not affect the appearance of the pattern in any way. To make a sample, you can dial about 15-20 loops (if the fabric is knitted from a thick enough yarn). After the required number of loops has been cast on, you can proceed to the first row:
- The first edge stitch is not knitted, but simply shifted to the right needle.
- Then, with the right knitting needle, you need to pry the next two loops behind the back wall at the same time and knit them as a front one.

- The first knitted stitch must be dropped from the left needle and the second one left. And repeat the previous action again.
- The remaining stitch is knit together with the next one.

- One of the knitted loops is dropped from the left needle, and the other remains.
- This action must be performed until the very end of the row.

The loop that remains last is knitted as the front
First row of Herringbone pattern done!

Second row
The second row almost completely repeats the first, only instead of front loops it is necessary to knit purl:
- The first edge stitch is shifted from the left needle to the right, not knitted.
- Then you can proceed to the pattern itself. It is necessary to insert the right knitting needle immediately under the next two loops and knit them together as a purl.

- The last knitted stitch is discarded and the other one remains on the left needle.
- Then you need to hook the two extreme loops on the left needle with the right knitting needle at the same time and tie them in the wrong way.

- One of the knitted stitches is discarded and the other remains on the left needle again.
- And this action must be repeated until the very end of the row.

- The last stitch left on the left needle is knitted as a purl.
- Next, you should continue to alternate the way of knitting the first and second row.

After about 6-7 rows are knitted using this alternation, it will already be possible to evaluate how the pattern looks. It should be even.
To make the fabric even and neat, you need to monitor the tension of the thread. The thread should be tensioned evenly, the loops being pulled out should be made the same size. The loops should not be too tight, but they should not be too loose either. Otherwise, the herringbone pattern knitted in this way will turn out to be either too dense or loose. And the loops of the same size and tension will form into an even canvas.

This is such a beautiful and at the same time simple pattern you can create. After carefully reading the instructions, even beginners will cope with the task.
Recommended:
Beautiful and original skirts for girls with knitting needles (with descriptions and diagrams). How to knit a skirt for a girl with knitting needles (with a description)
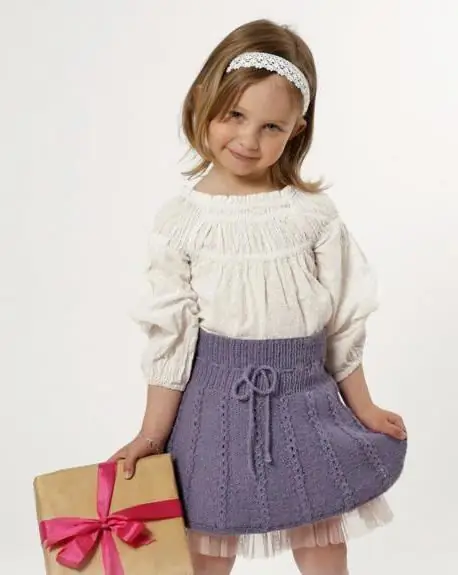
For a craftswoman who knows how to manage yarn, knitting a skirt for a girl with knitting needles (with or without a description) is not a problem. If the model is relatively simple, it can be completed in just a few days
Knitting from mohair with knitting needles. Knitting needles: schemes. We knit from mohair
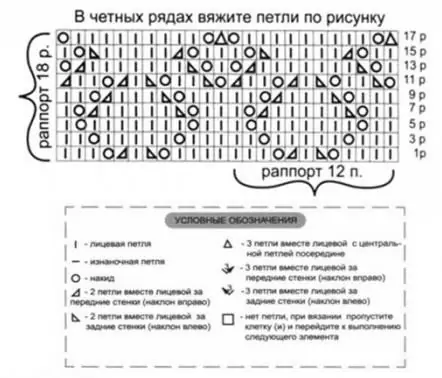
Knitting from mohair with knitting needles brings real pleasure to needlewomen, the result of which are light, beautiful things. Readers can learn about the properties of this thread and the features of working with it from this article. Also here are descriptions of the execution of mohair garments and photographs of finished products. Focusing on them, craftswomen will be able to knit beautiful warm outfits for themselves and their loved ones
Hat with knitting needles: scheme, description. Knitting hats with knitting needles

If you do not have the patience to knit large and bulky work, then choose a small and simple thing to start. One of the most popular activities for needlewomen is knitting hats with knitting needles. Schemes, description and end result will depend on who the model is created for
How to finish a hat with knitting needles? How to knit a hat with knitting needles: diagrams, description, patterns
Knitting is an interesting and exciting process that can take you long evenings. With the help of knitting, craftsmen create truly unique works. But if you want to dress outside the box, then your task is to learn how to knit on your own. First, let's look at how to knit a simple hat
Japanese bactus needles. Openwork bactus knitting needles. How to tie a bactus? Knitting needles and our instructions will help you
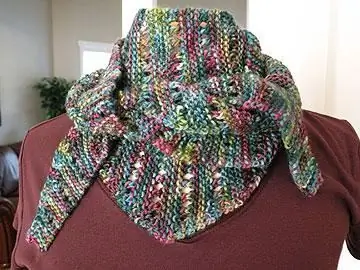
Every day such an unusual accessory as an openwork bactus becomes more and more popular. A knitted or crocheted knitted product looks not only unusual, but also very beautiful
