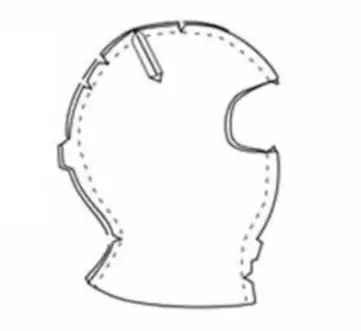
Table of contents:
- Author Sierra Becker becker@designhomebox.com.
- Public 2024-02-26 03:46.
- Last modified 2025-01-22 22:09.
Modern fashion offers a huge number of different types of clothing. Many models are equipped with decorative or highly functional collars and hoods. Most needlewomen who have a sewing machine would like to try ennobling their clothes with such a cute detail. However, not everyone knows how to sew a hood. The pattern seems very complicated, and the work is almost impossible. In reality, this is not at all the case - we will try to help with this issue in this article.
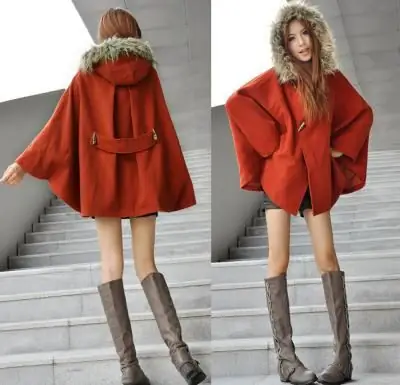
Collar-hood pattern
Most models are a continuation of the top of the product. Thus, any hood can be sewn, a pattern made of fur, knitwear, leather or any other material is built in approximately the same way. The main difference will always be in the seam allowances and the depth of the product. The pattern of the hood-collar will differ in shape and volume. Everything is clear with the size: there arelarge, medium, small and purely decorative mini tops. But in terms of shape, there are a huge number of variations of the hood: suitable features for the product are selected in accordance with the model and style of clothing. The main rule when cutting a hood-collar is that the neck, as well as the sections of the shelf, will coincide with the fit line. We will consider the simplest option, having mastered it, it will be quite easy to modify it for any style and fabric.
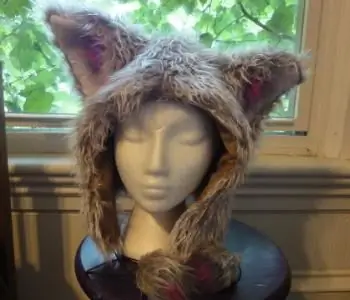
Building a Pattern: Beginning
In order to draw the correct scheme, you need to prepare a sharply sharpened but soft pencil, eraser, ruler and graph paper. Instead of a special, already lined base, you can take the remains of wallpaper or a newspaper, but you will need to monitor the correct construction and evenness of all drawings. By the way, the pattern of a children's hood is no different from an adult, which means you can use the same construction scheme:
- Mark the point "O" and build a right angle from it.
- To find the correct position where the hood will be sewn into the neck, from the received point "O" you need to lay the segment "O-KO". It will be equal to four or five centimeters - this value directly depends on the rise of the hood itself. For overweight or stooped people, five centimeters should be taken.
Getting started, at the next stage of creating a pattern, you need to take into account the model of clothes.
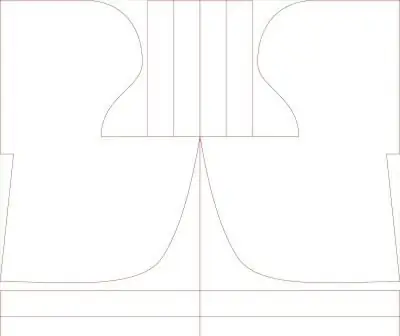
Improve the fit of the part
The fur hood pattern willrequire much less effort. Shaggy fabrics look good in voluminous products and do not require special taps. However, in our universal pattern, we will consider the creation of a branch: from the “KO” point obtained in the previous step, we need to set aside a value that will be between zero and one centimeter. It is this figure that will show whether the hood has a tap in the center in the neck area. For a spectacular rounding of the head, such a withdrawal is better to do. At the end of the resulting segment, put the point "K".
Further construction of the hood
From the obtained point "K" we make a notch on the horizontal, which goes from the point "O". This will be the "K1" point. To make such a mark along the stitching line, you need to use a radius that will be equal to the maximum width of the hood. To do this, you need to measure the length of the neck on the main drawing of the product or on the finished garment, to which a new part is sewn.
Deciphering this formula:
- The width of the hood is equal to the sum of the values of the length of the neck on the back + the same indicator on the front + tuck opening + Ppos.
- Usually, the solution of the "tuck" element has a value of one and a half centimeters to three.
- Fpos (fit allowance is constant for all sizes) is between 5 mm and one centimeter.
Points K1 and K2
When creating a hood, the pattern should be as simple as possible, but clear. If the first attempt succeeds, you can transfer the drawing to an old oilcloth or a piece of fabric that does not crumble along the edge in order to use it inthe future. We continue to work:
- You need to draw a line between the points "K" and "K1". From the resulting segment, you need to lay the line "K-K2". It will be equal to the length of the neck already calculated above + the sum of Ppos with the tuck solution, divided by two.
- From the new point "K2" we build a perpendicular going up to the line "KK1", where you need to set aside one or one and a half centimeters and put a new mark "K21".
- The stitching line will pass through the marks "K", "K21" and "K1".
- On the perpendicular, which has a base at the point "K2", you need to set aside the length of the future tuck. Usually its length is in the range between eight and twelve centimeters. From the point "K21" to the right and to the left we measure half of the solution of our tuck. This is a fairly simple, but obligatory moment, very important for further cutting.
Decoration of the sides of the darts
Recall that the fur hood pattern may not have any additional fitting lines. But tucks will still come in handy both when wearing and when building. To get everything right, you need to know several indicators, including:
- The height of the hood is the segment "KO" and "K3". It will be equal to Vk + one to five centimeters and equal to Vgol + one to five centimeters. Deciphering the formula: Vk is the height of the hood, Vgol is the height of the head.
- From the “K3” mark to the right, you need to set aside a segment equal to the following indicator: Divide the goal by three, add five to nine centimeters and mark “K4”. The head in this formula is the girthheads.
- From the mark "K3" you need to draw a bisector in the direction to the right and down, it will be equal to three and a half - six centimeters. At the resulting point, put the mark "K31".
- From “K4” along the perpendicular, downwards, we measure a segment of 0-2 centimeters and get the mark “K41”.
Designing future cuts
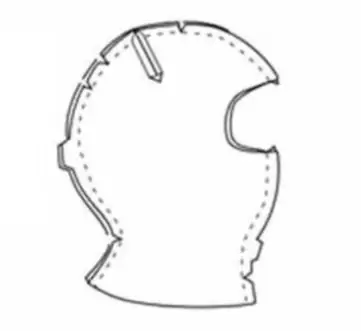
Before you sew the hood, you need to build a few more lines on the drawing. The occipital and upper sections of this model should pass through the marks "K41", "K31" and "K". In turn, the front edge must be drawn with a smooth line that will connect the marks "K1" and "K41". Next comes the crucial time for cutting the product: you must remember to add allowances for future seams and not accidentally cut out the space inside the tucks. They are always sewn together by simply folding the fabric in half - nothing needs to be cut! You need to stitch using the same threads with which the entire product is sewn, and the seam and needle are selected depending on the type of fabric. If you choose a material that will not fray around the edges, you can sew the hood with the seams out. Such models will look good on teenage clothes and jackets for guys.
Another form of hood
There are a huge number of types of similar parts. Some will look good on any model of clothing, others are suitable only for tracksuits and windbreakers. The hood-collar pattern that we reviewed is considered universal, suitable for children's clothes, fur and knitwear. Butthere are also other models, let's study some of them.
Hood-helmet. The peculiarity of this model will be in the cut of its front part. It is designed in an unusual way, based on the purpose of this part. The hood-helmet should protect the face from any bad weather and harsh wind. To construct this model, a special slope will be created in front, which will identify this type of top part. The total number of darts that are made along the neck line may differ in different versions. But those that we built above will definitely be. Design abilities in this model can be shown when making the upper cut or front part.

Hood for women's coat
Since the volume of the classic model used for stylish ladies' clothing is large enough, it can be used for sewing into large fur coats and down jackets. Every wardrobe needs a hood like this. Its pattern is based on the scheme of the neck of the product. The main charm of such a drawing is that the shape of the sewing line of the part itself into the neck and the main line of the neck will pass along the same line. For the competent and quick construction of such a hood, you will need ready-made patterns for the back and front of the future product. The tuck of the shoulder cut must be transferred to the neckline, and both patterns are combined along the line of the shoulder cuts.
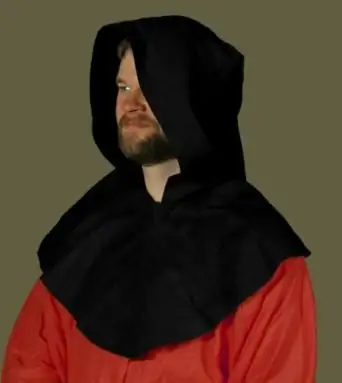
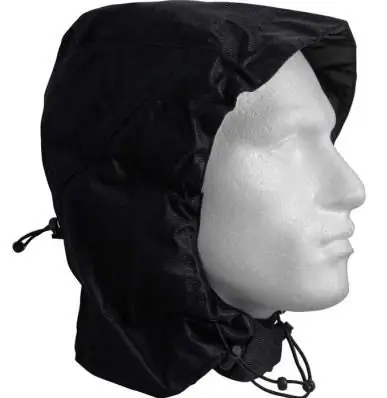
No matter what kind of hood the needlewoman liked, a little patience and basic knowledge of drawing drawings will help create truly unique clothing models. Also with ourrecommendations, you can ennoble a coat or jacket that has a worn collar. Children and men will love helmet hoods that emphasize their inner strength and at the same time protect their neck and face from wind and snow. We have shown simple models of this part in the photographs. Keeping in mind the darts and the fit line, you can build a pattern of absolutely any hood in one or two hours without nerves and haste.
Recommended:
How to make an origami cup - detailed instructions and video
In the article, we will take a closer look at making an origami paper cup for children. Usually, the sheet is folded according to the scheme, but it is also convenient to watch a video in which an experienced origami master deftly assembles it. In this article, we will present both. In addition, a paper cup can be made from an ordinary thick sheet of white paper for a printer, as well as folded from an ordinary notebook page or a sheet of colored paper
Collar pattern: stand, collar. Detachable collar pattern
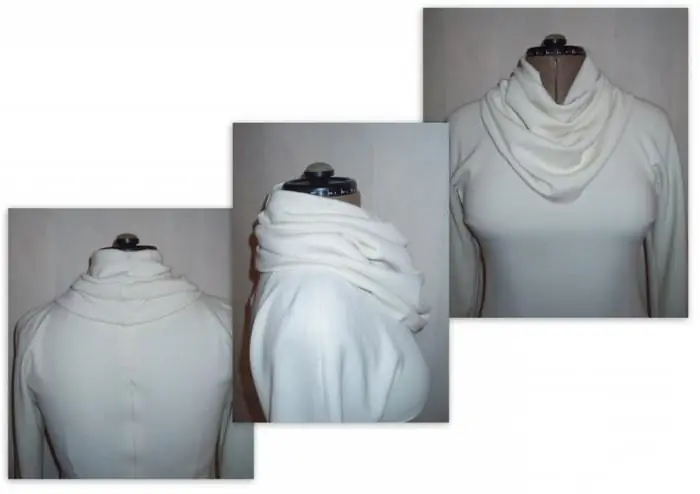
Collar pattern is a very simple task, but the resulting product can perfectly complement the outfit. There are a large number of types of collars, each girl will be able to choose something to her liking
How to make glasses out of paper. detailed instructions
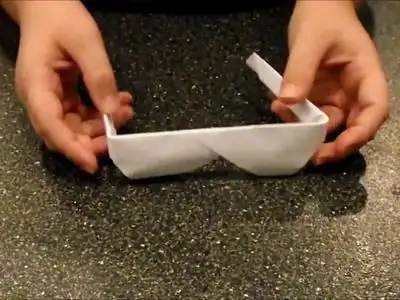
It tells how to make glasses out of paper, as well as how to make virtual reality glasses yourself
How to sew a Moscow seam on light fabric? detailed instructions
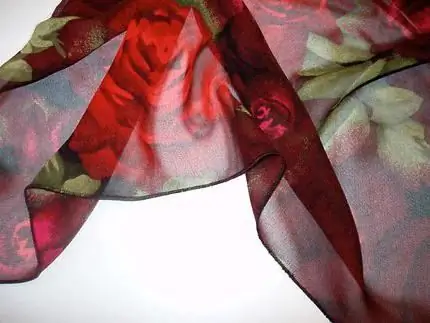
Beautifully stitching open sections on thin fabrics can be quite problematic and difficult, since the material can crumble and literally “float” in your hands. Do you want to get a perfect result in the form of a neat, elegantly folded edge? Use the Moscow seam for this. Consider the main stages of its implementation in the form of a step-by-step instruction with photos
How to sew a pillowcase in different ways? Detailed Instructions
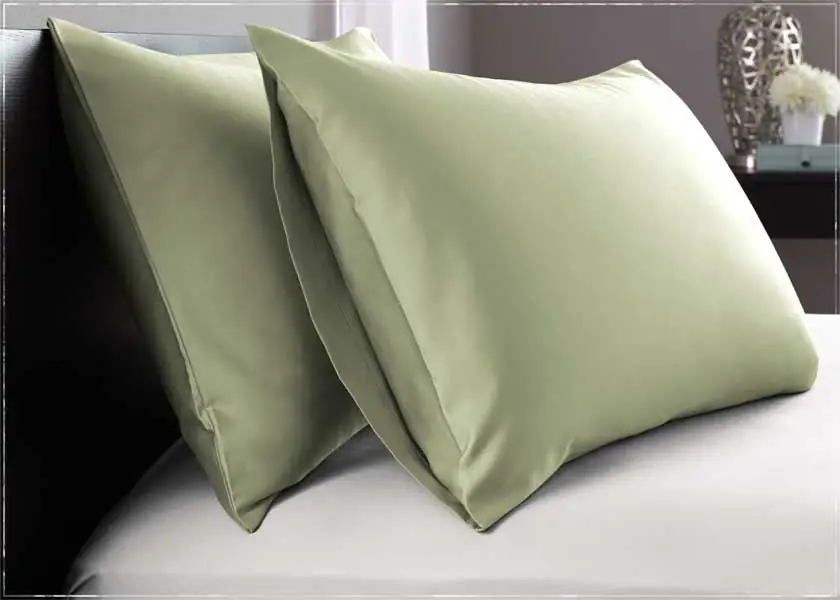
Pillow cases are sewn in different ways. This is a pillowcase with a smell familiar to the inhabitants of our country, a product with various fasteners - a snake, buttons, ties or Velcro. There are pillowcases sewn with an envelope, which on the back are fastened in the center with a button. How to sew a pillowcase yourself, you can find out by reading our article, which describes in detail the different ways of sewing
