
Table of contents:
- Author Sierra Becker becker@designhomebox.com.
- Public 2024-02-26 03:46.
- Last modified 2025-01-22 22:09.
Surprisingly, fashion is cyclical. And you can hardly object to this statement, because indeed, what was popular several decades ago, but has already lost its consumer demand, is gradually returning to the markets. These items include anything from shoes and clothes to jewelry and designs.
Of course, new-old things are similar to their predecessors, and nothing more. All materials, design ideas and useful properties are changing thanks to modern technologies. So, the topic of our article for today will be a hat with earflaps. A do-it-yourself pattern that will be clear to craftswomen of all levels, and the product itself is easy to make.

Rich history
It is hard to imagine a woman in a hat with earflaps a few centuries ago, since this wardrobe item belonged only to men. The winter accessory was made of wool on the inside and suede on the outside. The result was a headdress in which one could wait out any cold and not freeze at all.
Of course, you can be grateful for the materials, but special attention should bepay attention to the design of the caps. Due to the low forehead, the wind practically did not hit the face, and the long ears saved their namesakes from blowing, which the analogues of that time definitely could not provide.

Now everyone wears this accessory, as such a headdress is well suited, surprisingly, for both girls and men. In our case, we will replace animal materials with artificial analogues, which will facilitate the care and the sewing process itself, because it is high time to create patterns for earflaps made of fur from modern materials.
List of necessary things
First you need to prepare all the necessary materials. To be honest, the most important thing, without which the pattern of a women's hat with earflaps will definitely not work, is the sketch itself. And everything else is just variables that can be manipulated depending on the desired result. Therefore, do not rush to throw away fleece trimmings and run to the store, but first of all, carefully consider the list.
- Fabric. In our case, we need two types of fabric, since one goes to the lining, and the second, respectively, to the outside of the hat. Based on the purpose of your hat, you can take thinner or, conversely, insulated counterparts inside. We replace natural fur with faux fur, which, in our opinion, looks much more interesting due to the diverse palette and many textures.
- Insulation. This item is also selected individually, taking into account the season in which you plan to wear the product.
- Pattern with earflaps. Listed in ourmaterial.
- Sewing supplies (sewing machine, pins, thread, needles, scissors and felt-tip pens for cutting).
First stage: pattern of earflaps
First, we should prepare a paper sketch, which we will rely on later.
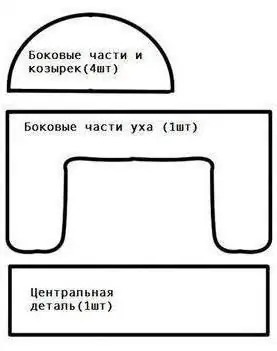
To do this, prepare a clean work surface, and you can start creating!
- Print on a printer or manually transfer the pattern to paper and cut out the blanks. You can also adjust the details by lengthening or shortening the length of the ears or the size of the visor.
- So, the pattern of a women's hat with earflaps is ready! The matter remains small: you need to cut out the required number of copies from both types of fabric and put them aside until the next step.
Second stage: stitching parts
When the cut parts are ready, you can continue to work. To do this, turn on the sewing machine, carefully lay out the blanks and proceed!
- First, let's make a visor: it consists of two fur parts and does not require a lining, so we sew the parts together from the inside, turn inside out and set aside.
- Now let's get to the base: it is sewn from one central part and two sidewalls. It is important to note that the fur part and the lining are created in parallel! Again, we sew the details from the wrong side, having previously fastened them together with pins, after which we turn everything out again.
- Let's move on to the ears of our earflaps, which we sew to the "fur" base so that they look down, andthe continuation of the details met at the back of the head. We also connect everything with a sewing machine.
The third stage: connecting the parts
Now it's just a matter of putting all the pieces together.
We put on two blanks for a hat (one is cotton, the other is fur) so that they are connected with the front sides to each other. Thus, on both sides we will get the wrong side

- Sew the two parts together along the entire bottom edge, retreating about 1.0-1.5 centimeters. At the back of the head we leave a hole through which we turn the entire cap with earflaps.
- Sew the gap manually with a thread to match the fur, also do not forget to sew a visor in front. At this stage, the pattern of a hat with earflaps can be considered mastered and attached to life!
Just look what a wonderful hat we made in just 30 minutes. This is a real find for any craftswoman, so use it with pleasure!
Recommended:
T-shirt rework - an easy way to get a stylish new thing

Real needlewomen from old things are able to create amazing and stylish things. An old worn T-shirt, which some hostesses, without sparing, use during general cleaning, can turn into an interesting piece of clothing that can create a stylish look for a girl
How to play Sudoku: step by step puzzle solution
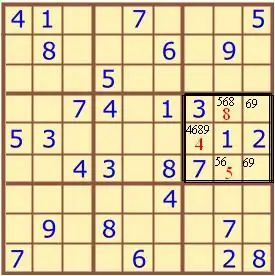
Sudoku is a very interesting puzzle game. It is necessary to arrange the numbers from 1 to 9 in the field in such a way that each row, column and block of 3 x 3 cells contains all the numbers, and at the same time they should not be repeated. Consider step-by-step instructions on how to play Sudoku, basic methods and a solution strategy
Choose a Teddy bear pattern and sew a toy for any age
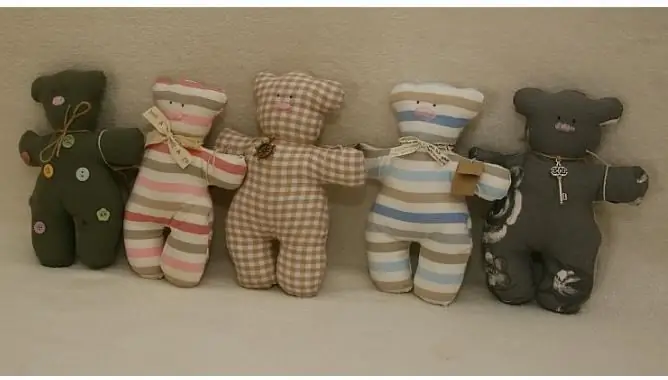
One of the classic toys is the familiar Teddy bear. Pattern, master class - all this you will find in our article
Knitted turban - a stylish solution for cold days
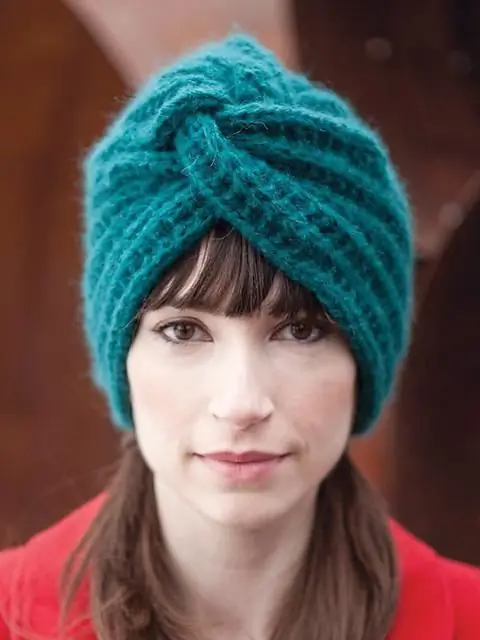
It's already cold and you still can't figure out what to wear? Then we offer you a fashionable accessory for all modern fashionistas - a knitted turban that you can make yourself
A practical solution - flowerpots from a tire on your own
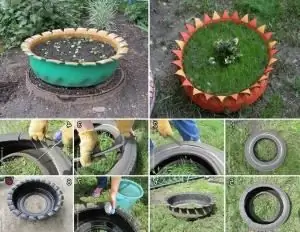
You can create a practical vase for flowers in the country from improvised materials. Old tires will come in handy: spacious flowerpots from tires will refresh the look of their summer cottage
