Table of contents:
- Author Sierra Becker becker@designhomebox.com.
- Public 2024-02-26 03:40.
- Last modified 2025-01-22 22:09.
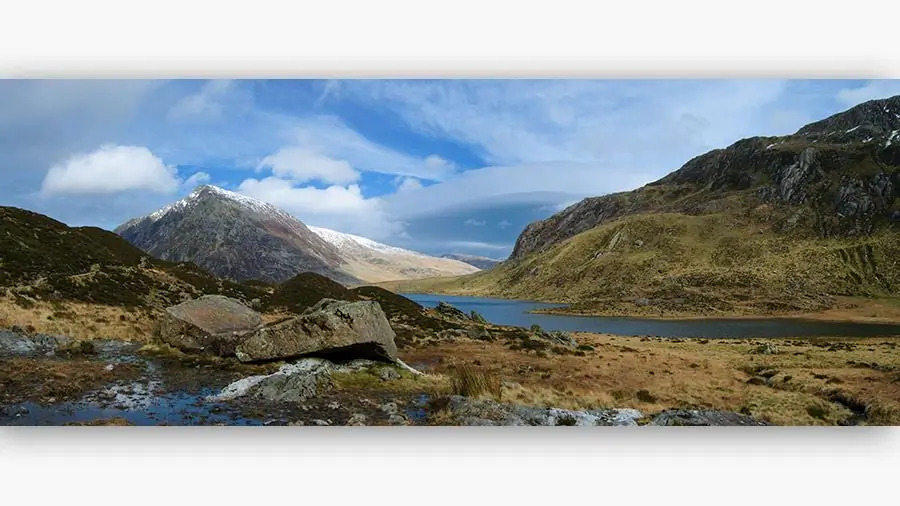
The image in the photo looks completely different if it is submitted not in the usual format, but in a panoramic one. What is panorama you ask? This is a wide-angle image that helps you see more of your surroundings than the camera can see. A good photographer makes sure that the viewer gets the maximum pleasure from looking at his work. The landscape is best for creating a panorama. The main thing is to initially choose the right geometric parameters and take high-quality photographs. Then you can start creating a panorama. Let's discuss how to make a panorama in Photoshop.
Creating Snapshots
For a more illustrative example, we will consider the process of how to make a panorama from nature images in Photoshop. When taking preliminary shots, it is important to take into account that there are no secondary objects in the image, for example, people, cars, and so on. When photographing sunrise or sunset, it is better if you install the camera on a tripod. This will allow you to work out fine details well and maintain the correct horizon line. Accurate photos are easier laterglue.
By setting the self-timer shutter with a delay of ten seconds, unwanted camera shake can be prevented. If the pictures will not be in RAW format, then it is worth setting the camera to white balance. The image will be better and more natural. We take at least three pictures of the landscape we have chosen. The more pictures, the better. This will allow you to choose the most suitable images for gluing.
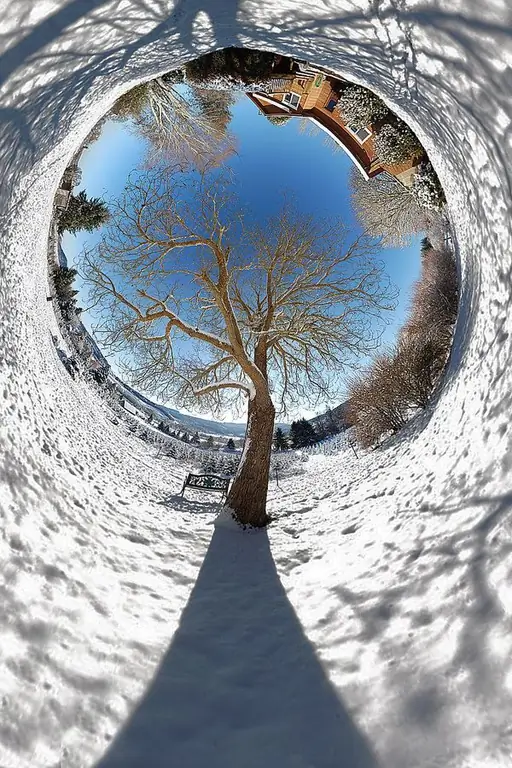
We take photos, each time turning the camera at a slight angle from the previous frame. You can even combine 360-degree shots by taking a picture of the scenery around you first, if the camera has a good wide-angle lens.
The process of creating a panorama
To create a panoramic image, use a photo editor. A photograph can be assembled from any number of shots, but a circular panorama in Photoshop is made from five to seven frames. The main thing here is to understand the principle of work. If the photos turned out uneven in tone, sensitivity, sharpness, etc., this can be corrected in Photoshop.
Uploading pictures to the editor. If the photos turned out to be different in exposure, the program itself will put the picture in the desired sequence.
- Start the program.
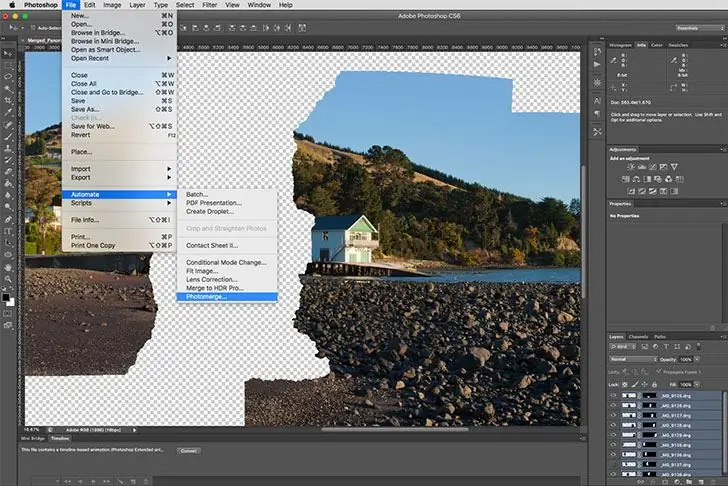
- Go to "File" - "Automation" - "Photo Merge".
- In the open editor window, select a folder or individual photos from which a panorama will be created in Photoshop.
- Press the "add open files" button.
- Check all three items under the list of uploaded photos.
- After that, click OK. "Photoshop" processes the received images and forms an approximate gluing of the panorama.
- The viewer will see the vertical lines of each fragment, and the layers will be shown in a separate window.
The number of frames affects the process of automatic panorama layout. If the "Auto" button is checked in the settings, then we do not need to do anything, the program itself selects the exposure and corrects unevenness.
Editing
Now all visible joints should be merged into one panorama. Press the button: "Layer" - "Merge Layers". Let's start cropping unnecessary elements of the image:
- Choose cropping menu
- Point over the alignment areas of the image and crop them.
- Small areas can be painted over by applying: "Tools" - "Stamp".
- Hold the Alt key, mark the area to be painted and click on it with the left mouse button.
So we learned how to glue a panorama in Photoshop. There is no special work in this, the program itself does everything for you.
Creativity
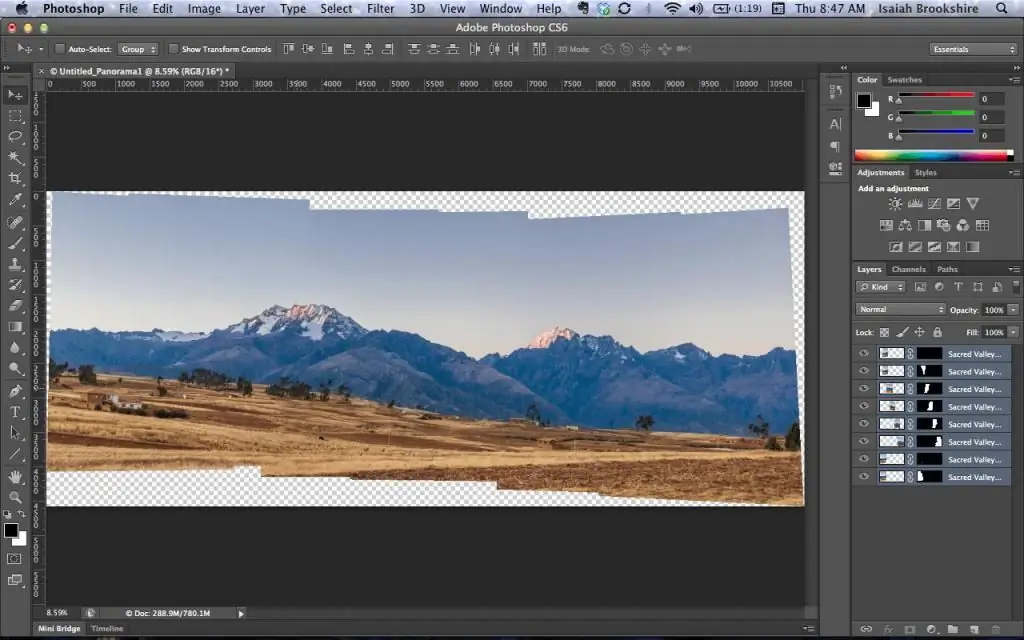
The final step is more up to your creative imagination. The resulting panorama can be edited using color, choose a different tone, remove some small details. This works best in 16-bit mode. All this can be found in the settings.
Practical Tips
Unlike other programs, Adobe Photoshop does a better job of stitching panoramic shots. Gluing panoramas in "Photoshop" occurs automatically, the user cannot influence the process manually in any way. Especially if you are a beginner photographer.
- After uploading photos to the program, you can open them by pressing the key combination Ctrl+O.
- If you use more than three shots, you need to align them by opening: "Window" - "Align" - "Cascade".
- It is better to build a panorama on a new file. To do this, press Ctrl+N and drag the photos onto it.
- In order not to get confused with a large number of images, after dragging the photo into a new file, immediately close the source.
- Select all the layers that will make up the future panorama: hold Shift and click on the first and last photo.
- Start gluing images: "Edit" - "Automatic alignment of layers".
- Select mode: panorama stitching projection.
- The fewer errors and deviations from the vertical will be on the original images, the better the panoramic photo will turn out.
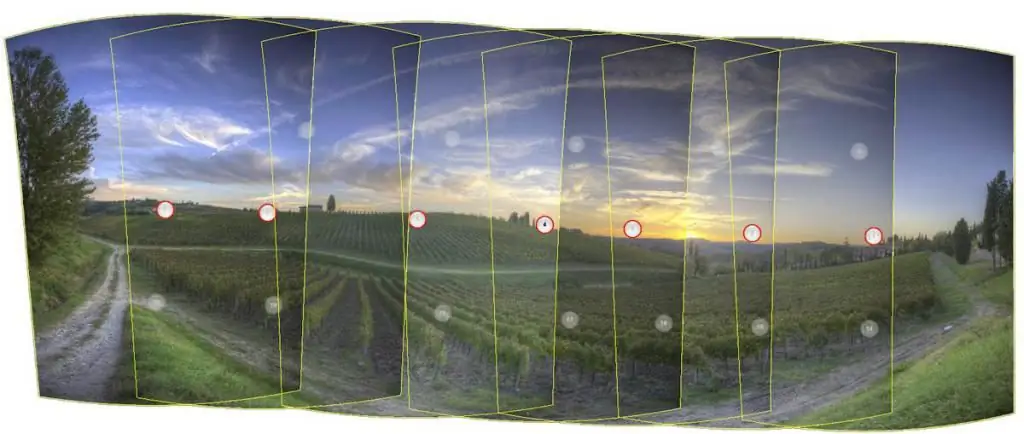
If you rarely use photo editors and still don't know how to make a panorama in Photoshop, for the sake of interest, you can try all the gluing modes offered by the program. See what happens.
We refine the resulting image so that the joints of the layers are notso noticeable, especially if the exposure of the pictures is different. To do this, select the menu: "Edit" - "Automatic layer blending".
Parameters
Depending on the quality and theme of the original images and the tasks that the program has to perform with them, select the necessary parameters for how to make a panorama in Photoshop:
- Mixing images. Joins images according to the most suitable borders for each other, by color. A mask with joints is applied on top. If this option is disabled, the mask is not created.
- Vignetting removal. Compensates the exposure with color, removing the dark corners of the photo.
- Geometric distortion correction. Evens out distortion that appears in a photo taken with a fisheye lens.
If the program does not have a blending function, all distortions will have to be edited by yourself.
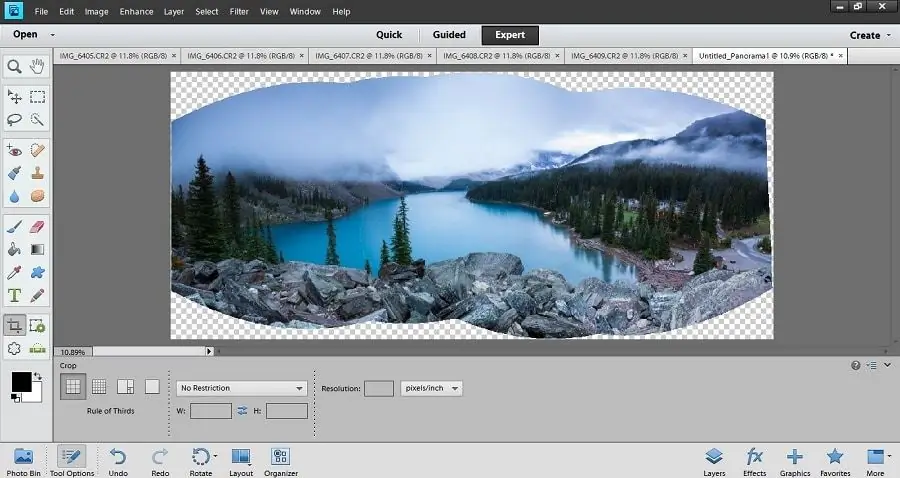
Retouching
If during the shooting no additional frames were taken on the sides, top and bottom of the landscape, then the projection will definitely get empty corners at the edges. In this case, you can either crop the image, or retouch the voids with parts taken from additional frames, inserting them into the panorama and smearing the joints with the "Deformation" function. It takes a little more time, but it's worth it.
Recommended:
How to wipe a camera lens: tools, effective methods, tips and tricks
Dust everywhere. It is inevitable, and you just have to come to terms with the fact that it gets on the lenses. Of course, many other substances such as sweat fingerprints, leftover food or something else can end up on all equipment. Here are some important tips that will tell you how to clean the camera and how to wipe the camera lens
Interior photography: how to shoot interiors, tips and tricks
Interior photography is a separate area of photographic art, the primary task of which is to depict the interior space of premises from the most favorable angle. Often the photographer needs not only to show the room in terms of composition and perspective, but also to pay attention to details: focus on the texture of the walls and furniture, emphasize the lines. How to start photographing interiors?
How to take pictures with your phone: setup, lighting, tips and tricks

Many people want to try themselves as a skilled photographer, but not everyone has the skills, abilities, and indeed the necessary equipment in the form of a professional camera. At the same time, most people have smartphones - some have expensive ones, others have budget models. So why not read how to take pictures with your phone the right way?
Learning how to win at poker. How to play poker the right way: tips and tricks for a successful game

At first glance, it may seem that poker is a rather difficult game to understand. However, this is not quite true. It only takes a few minutes to understand the basics and learn all sorts of strategies. But assimilation of information is half the battle. It will take years to automatically hone your own skills and make poker a stable source of income
How to make money knitting at home: tips and tricks
Today, in many countries, handmade goods are becoming increasingly popular. One of them is knitted things, in the production and sale of which it is quite possible to make a profitable business
