Table of contents:
- Author Sierra Becker becker@designhomebox.com.
- Public 2024-02-26 03:35.
- Last modified 2025-01-22 22:09.
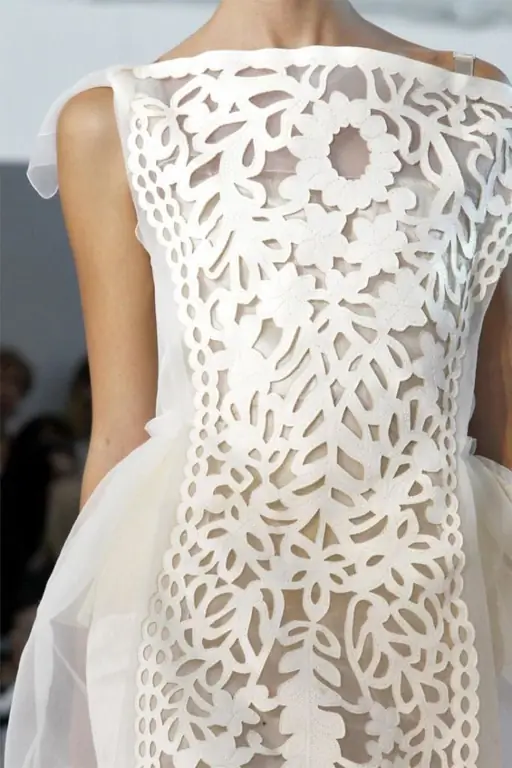
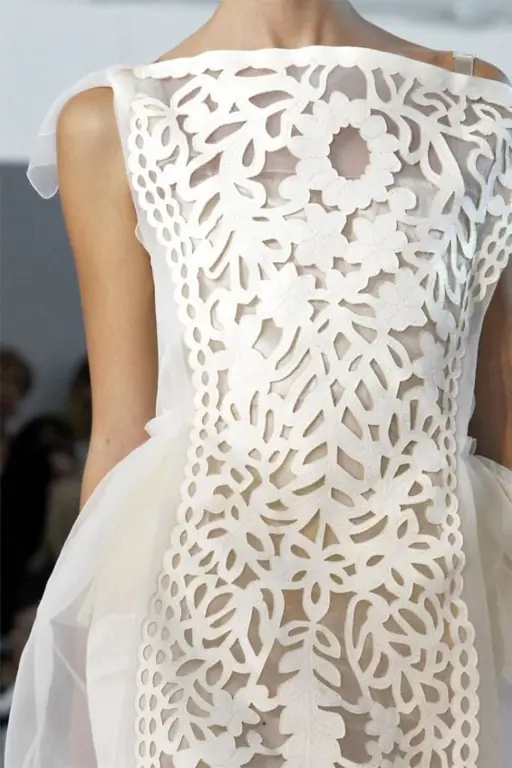
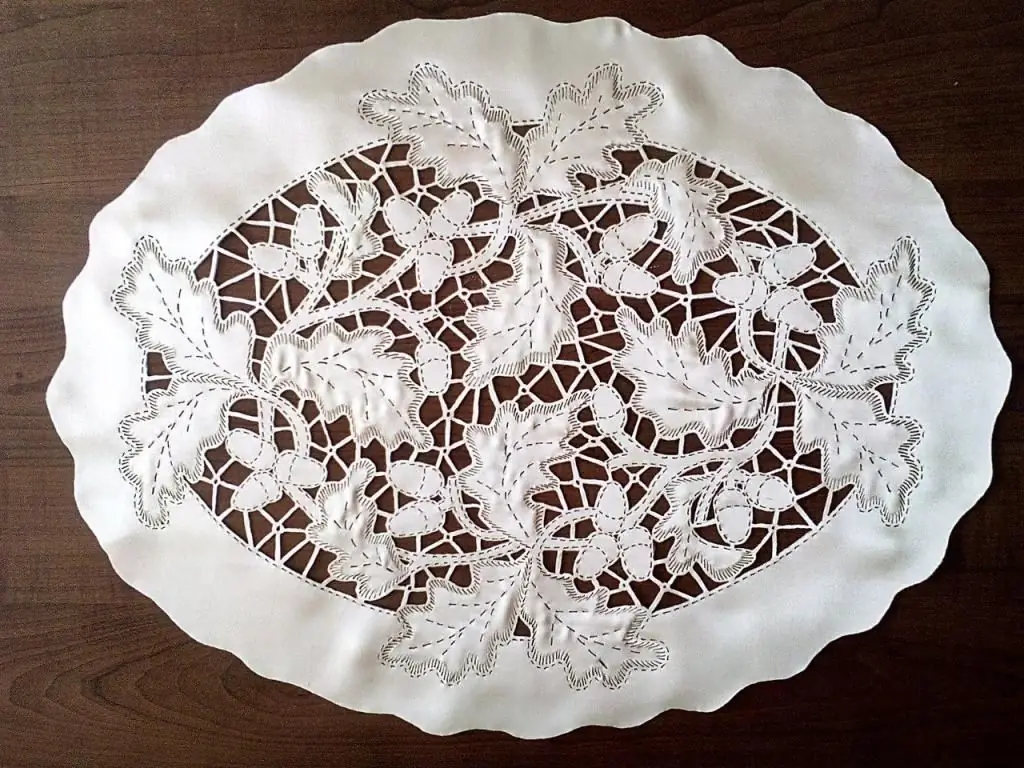
Recently, guilloche is gaining popularity. This is a new and rather interesting type of needlework. Collars, hems and cuffs of dresses are decorated with carved fabric elements. Guilloche is a technique of burning on fabric, which is an artistic carving that allows not only to decorate clothes and interiors, but also to follow fashion trends.
History of Needlework
Guilloche was recognized as one of the types of creativity in the middle of the 20th century. The author's method of burning on fabric appeared only in the 80s of the last century. Its creator was Zinaida Kotenkova, a Russian needlewoman living in Rybinsk.
The secret of the technique lies in the use of a special tool for burning out when cutting patterns on fabric or gluing pieces of fabric to create an appliqué.
The innovation of Zinaida's creative idea was confirmed in 1990 by a copyright certificate. The efforts of this woman contributed to the popularization of guilloche. Burnout schemesa lot of fabric. With their help, you can create various products: napkins, tablecloths, jewelry, accessories, clothing details.
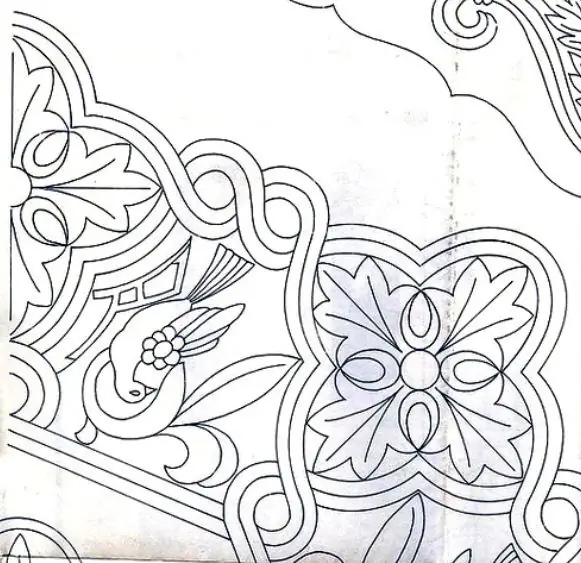
Working tools
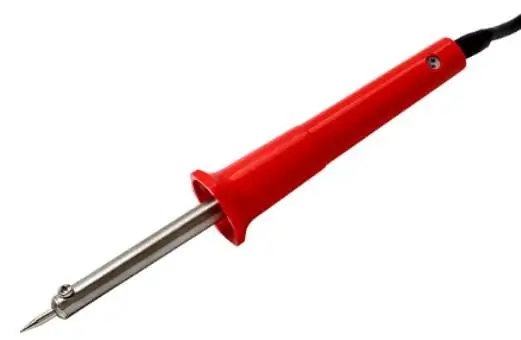
The guilloche technique is based on working with hot devices - heaters or cutters. For those who are just starting to work in this direction, a soldering iron with a thin tip will suffice.
Openwork guilloche (fabric burning) requires the use of a device with which wood patterns are made. Be sure to have a set of nozzles with wide, thin and rounded tips, allowing you to make patterns of varying complexity.
It is advisable to choose cutters with a voltage adjustment function. This will allow you to work with fabrics of different thicknesses. The reduced voltage also makes it possible not only to cut patterns, but also to melt fabric to create appliqués and mosaics.
The needle of the cutter can be sharpened with normal sandpaper. In addition to a special device, schemes, tweezers, scissors, glue, small accessories and stencils are needed for guilloche (burning on fabric).
Do not forget about safety, because the burning technique is associated with high temperatures. Hot parts of the tool must not come into contact with bare skin, nails and hair.
Craft supplies
A feature of guilloche is that all work is done only on synthetic fabrics. They don't burn, they melt. This allowscarefully cut and glue pieces of fabric.
The following fabrics are most often used in needlework:
- Nylon. The material is suitable both for the base and for the manufacture of individual elements. This group of fabrics includes tricotine, synthetic satin, crimplene, dense corrugated brocade.
- Kypron ribbons. The wide color palette of the material allows you to create intricate patterns using the guilloche technique. Fabric burn-in patterns and vibrant details help create aesthetic color transitions.
In guilloche, it is acceptable to use lurex, rayon, nylon, chiffon, imitation velvet.
Before starting work, the properties of the material are checked. To do this, it is enough to set fire to a small piece to understand whether it burns or melts, whether traces of soot and burning remain on it.
In addition to the basic ones, additional working materials may be required. For example, drawings for guilloche (fabric burning) can be applied to foil or cardboard. Finished works are often decorated with embroidery, beads, buttons, beads and other decorative elements.
Classification of appliances
The choice of handicraft tools is great. The main thing is to determine for what purpose it is required: to work professionally or try a new technique.
| Soldering iron | Suitable for burning, but the tip will need to be sharpened so that it looks like a needle and makes it easier to work. The tip is not suitable for working with fabric, becausewill constantly stick to it, making the process difficult. |
| Burner with temperature controller | The best option, suitable for most needlewomen. The range of work is greatly increased, allowing you to work with different materials. |
| Fabric burner |
A device designed to work with fabric and pasted over with a protective material that protects hands from overheating. Unfortunately, it is equipped with only one needle, which cannot be replaced. The lack of a temperature change function is another drawback. |
| Burner with interchangeable nozzles | A set of nozzles allows you to create various patterns and lines of different thicknesses. A failed nozzle can be ordered online so as not to buy the entire set again. |
Instrument selection criteria
Simple devices without additional settings and attachments are the cheapest. They are great for beginners. Professionals are better off choosing tools with different attachments and power settings. They can work with materials that differ in texture and density.
Do not forget that cheap tools will not last long, will not work at a high level.
Fabric masterpieces
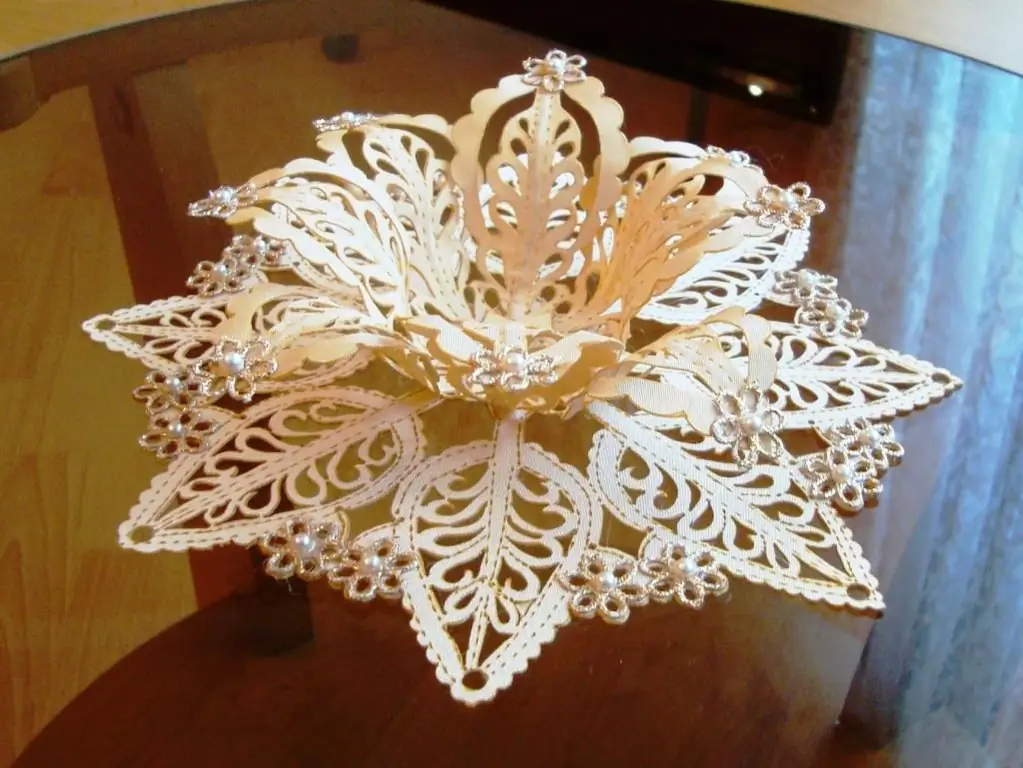
Allows you to create original and very beautiful decor items using the guilloche technique. Curtains by burning on the fabric are airy, unusually delicate. There are several techniques for this needlework,each of which helps to make unusual paintings, napkins, capes, bedspreads and other items.
Guilloche seems like a laborious hobby, but in reality it is far from it. Working with a miniature soldering iron allows you to relax and enjoy the process.
Master class
Let's consider how guilloche paintings are created. Fabric burning schemes are drawn on paper. We will also need a piece of synthetic fabric of the desired color and size, glass and a lamp. A step-by-step master class will teach you how to create a picture from scraps of fabric glued to the base material. You need to do the following:
- The drawing of the picture is printed on a piece of paper. The outline of the image must be surrounded by a bold line.
- The glass is positioned in such a way that a lamp can be placed under it for illumination. For example, glass can be placed on two books, and a lamp or lantern can be placed under it.
- Choose materials to create a picture. It is better to use a light fabric as a base - elements of bright colors look better on it.
- A sheet with a printed pattern is placed on the illuminated glass. A fabric is placed on top of it, from which small details will be cut. The heated cutter carefully traces the outlines of the picture, which allows you to cut out the elements of the picture in this way.
- Cut out every detail preferably without taking your hand off the fabric.
- Details are laid out in the field of view in such a way that between them there isfree space. The base fabric is attached to the stencil with sewing pins and illuminated by a lamp.
- The first parts to be glued are those that will be covered from above by other elements. The sheet is applied to the base, after which the parts are connected to each other with quick movements of the cutter along the edge, resembling stitches.
- After gluing all the leaves, they move on to the petals of the flowers created using the guilloche technique. On the scheme of burning on the fabric, they should be clearly visible. Too small elements are better not to draw. It is not worth holding the tip of the soldering iron in one place for a long time. This may result in a hole in both the part itself and the base fabric.
- The internal contour is started after attaching all the details to the base. The inner lines of the drawing are passed with quick and sharp movements of the soldering iron, leaving small holes.
- Finishing the product is completed by cutting out the contour. It can be either flat or openwork.
Guilloche on leather
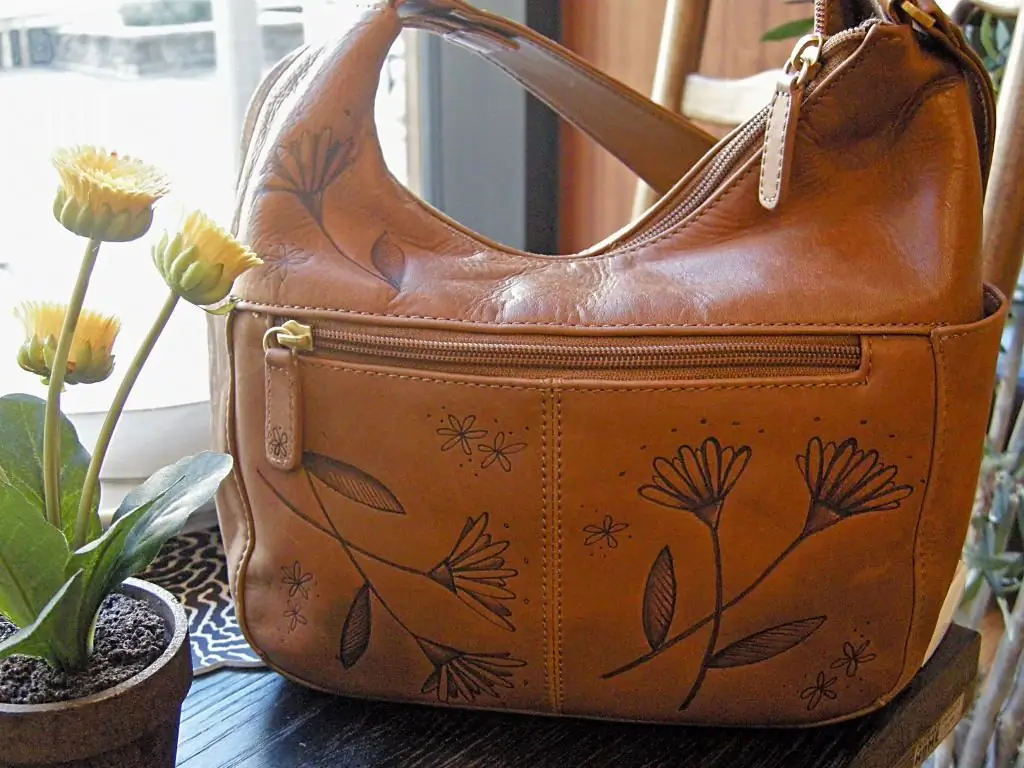
One of the varieties of this craft is leather processing. Unlike the creation of collars and curtains, leather burning applies a design to the skin, and does not make holes.
This variant of the technique requires some practice, so it is advisable to fill your hand with unnecessary scraps so as not to spoil the finished product.
How to burn on the skin
The process is performed in the same way as guilloche on fabric (burning out an openwork bandeau, for example).
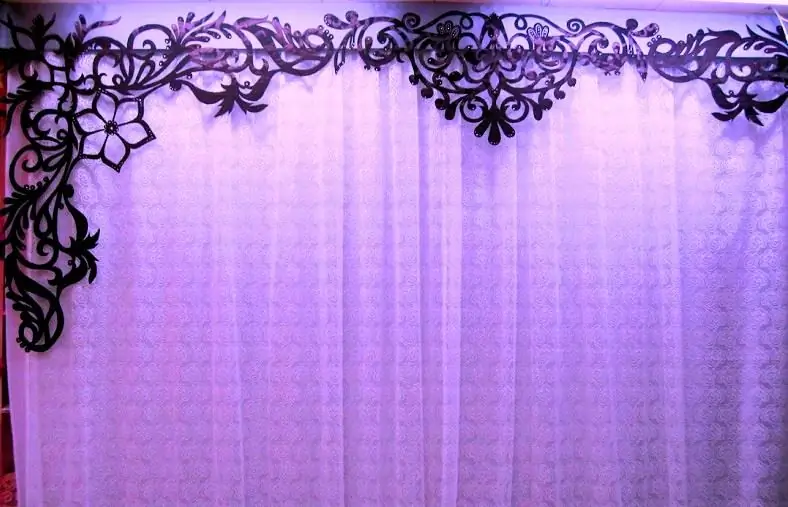
This curtain decor element can also be made of leather. At the same time, you need to choose such a color of the material so that the gang fits into the design idea. Please note that this element of the lambrequin must be openwork, so the skin will have to be burned through. Only an experienced craftswoman can create such items. For beginners, it's best to practice with fabrics or guilloche leather as described above.
Initially, an object is selected on which the drawing will be applied, and a suitable image for creating a stencil. For the first experience, an old product that is not a pity to spoil is suitable. It is desirable to burn a contrasting pattern on light skin. Plant elements will look best on it. It is better not to resort to geometric shapes. The selected drawing is transferred to paper or tracing paper.
The stencil image is transferred to the skin with neat thin strokes. To do this, you can use a thick needle or pin. The drawing is burned out by the device already along the lines applied to the base without taking off the hand.
Recommended:
Polymer clay peony: description with photo, peony colors, description, step-by-step instructions for performing work and the nuances of sculpting a flower
In the 30s of the last century, such a wonderful material for crafts as polymer clay was invented. At first, parts of dolls were made from it, but plasticity, ease of working with the material and durability of products quickly won the hearts of craftsmen, and clay began to be used to create souvenir figurines and jewelry. Polymer clay is especially popular in the manufacture of flower arrangements
Wood burning. Wood burning for beginners
Woodburning is an art that first appeared at the end of the last century in the capital of Russia. At first, this technique was used to make nesting dolls. Subsequently, this method of artistic processing of wood was called pyrography
Embroidery in Provence style: description, French style, step-by-step instructions for performing work and embroidery technique
The article describes the features of the French Provence style, its characteristic features and the history of its formation. An overview of the main techniques for performing cross-stitch, satin stitch and ribbon embroidery is presented in detail. In addition, a technique for reproducing the key symbol of French embroidery, lavender, is described in the canvases
Pullover "bat" with knitting needles: description, step-by-step instructions and knitting technique

Many beautiful people at some point think about how to knit the "Bat" pullover with knitting needles. And it doesn’t matter to us at all what aroused the creative impulse. But we want to help bring the idea to life. To do this, we offer detailed instructions
Paintings from scraps of fabric with your own hands: technique, necessary materials and tools, step-by-step instructions
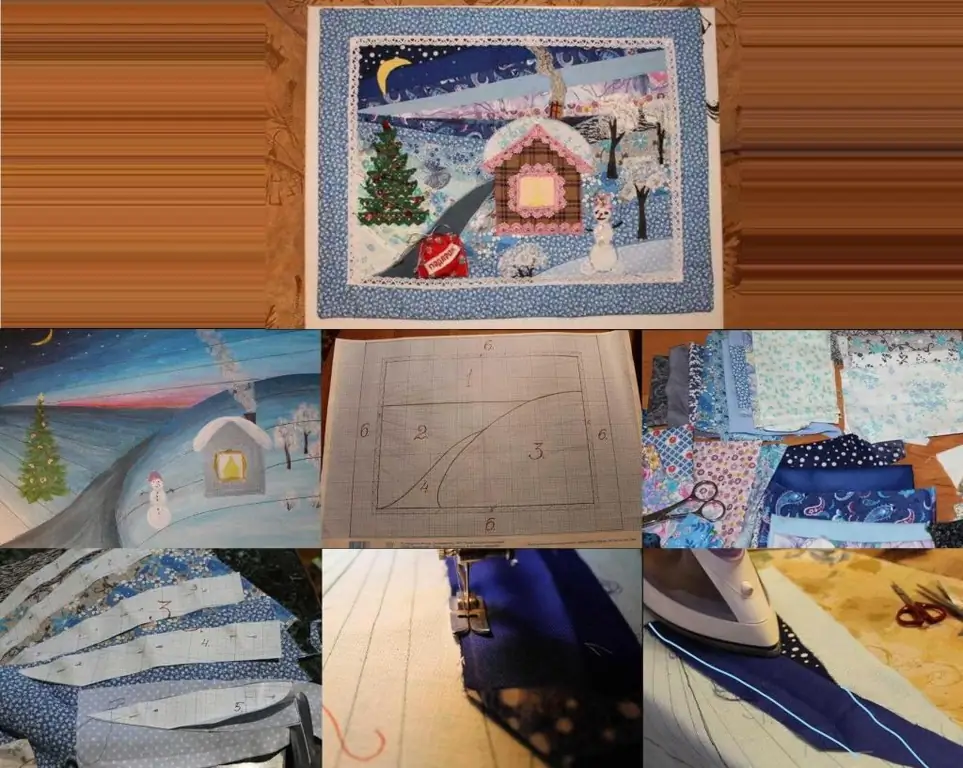
There were times when paintings made with paints and brushes were in incredible demand. However, now they are much less in demand. They are competed with paintings from shreds of fabric. Even those who have never been familiar with this technique will be able to make such a masterpiece with their own hands. The main thing is to carefully study the material presented below
