Table of contents:
- Author Sierra Becker becker@designhomebox.com.
- Public 2024-02-26 03:46.
- Last modified 2025-01-22 22:09.
For those who like to make DIY crafts, the Internet offers a variety of options for using materials. This is junk and natural, as well as fabrics and paper, quilling strips and yarn, plasticine and much more.
One of the most accessible and inexpensive materials for creativity are ribbons. You can use both satin and cotton. In the article we will offer several options for making crafts from ribbons. Ideas are easy to bring to life, creating both a cute picture and a hairpin or a toy for a child.
Butterfly
To create such a butterfly, you need to pick up three ribbons of different colors. It is better to take a dense material so that the product keeps its shape well. We begin to collect the insect from the wings. To do this, the tape is folded in turn as follows: the first turn is 6 cm, the second is 8 cm, the last is 10 cm. The edges should be in the center so that the seams are not visible. When all three elements of green, pink and purple are made, we begin to decorate the craft with our own hands from ribbons.

Green ribbon wrapped around the centralpart with several turns, leaving the edge free for subsequent work on the mustache. The tail also remains free by 5 cm. The cut edge is folded over and sewn inward with a hidden seam. It remains to create a mustache. To do this, the front edge is cut in the center and each part is sewn along the ribbon.
Cat
As a DIY craft, you can create a cat's face from ribbons. Such work can be attached to a hairpin for a child or sewn onto a girl's dress. It is better to take a circle of black felt for the base. The tapes are cut into identical segments of 10 cm each. The edges are cut with corners on both sides. Then all the pieces are folded diagonally through the center point of the base and sewn together. You will also need a small piece of pink ribbon for the ears.

To make them, cut off two identical pieces of black and pink and put them together with a horseshoe. Before sewing them in the area of the ears, you need to lift the tapes of the muzzle so that the loops are under them. In order to make a beautiful ribbon craft, we sew a red satin bow. It remains to draw the face of a cat. You can use purchased eyes or half beads. The mustache is made from thread.
Peacock
The method of making the body of such a beautiful peacock resembles the quilling technique. The body is made by twisting two black ribbons into a circle. The free segment will represent the neck. To make the bird's head, the edges of the ribbons are sewn together - the beak and the dot on the neck. A twisted smalla piece of tape. A purchased eye is glued to it. On the other side of the twisted mug, a peacock crown is sewn from three sewn pieces of green ribbon.

But what about the bushy tail? It is made from colored ribbons folded together: green, blue and black.
Picture "Girl in an old dress"
Girls love to play with unusual dolls. Often they themselves like to draw characters and clothes for them. Our next DIY ribbon craft will be just one of these hand-drawn girls.
First, a doll is cut out of cardboard along the silhouette. The face, hair, shoes and hand are drawn with felt-tip pens in advance. Further, an old dress with a fluffy skirt and a hat will be made from satin ribbons and lace.
Material should be selected carefully. When buying, make sure that the width of the lace is slightly larger than the width of the satin ribbon. What for? This is necessary so that when folding the two strips together, the lace ribbon is visible.
Let's get started. To create such a skirt, you need to sew each strip of two ribbons along the upper edge with stitches and pull the thread at the end. Thus, frills will turn out. Each subsequent strip is taken shorter than the previous one. The edges are folded in and sewn on the back of the picture.

The hat and bouquet are made in the same way. You can make your own roses for a hat and a bouquet from thin ribbons, or you can take purchased ones.
After reading the article and carefully examining the photos of DIY crafts fromribbons, try to do such simple work yourself. This is a very exciting activity.
Recommended:
DIY patchwork bags: step-by-step instructions with descriptions and photos, tips from craftswomen

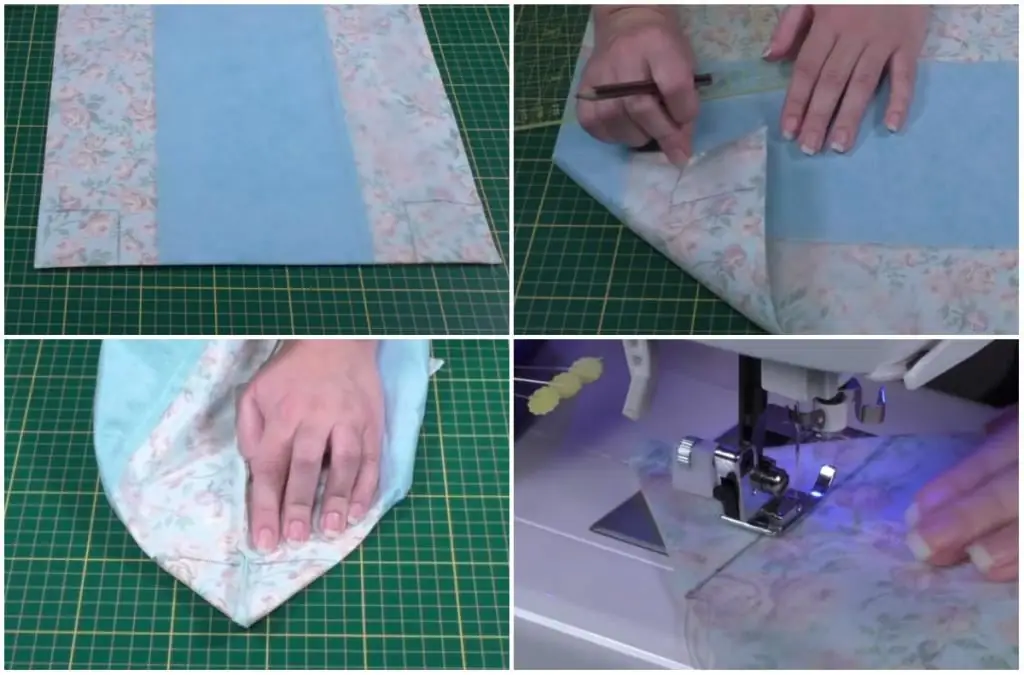
Patchwork bags are unique in design and are usually one of a kind. Masters do not like to repeat themselves, and each time they create a bag in the patchwork style with their own hands in original colors and using different techniques. There are a lot of techniques. We will talk about some of them in this article. Even a novice craftswoman can create a stylish patchwork bag with her own hands. And the detailed master class below will help with this
DIY fabric rug: step by step instructions with photo

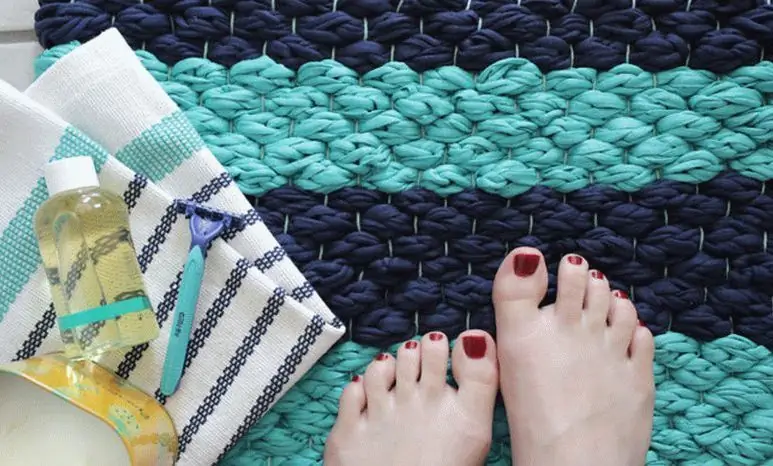
Carpets are an integral part of a stylish interior. They are in almost every home. You can buy them for fabulous money, or you can get them for mere pennies - just make them yourself from improvised materials. The main thing is desire and free time
How to make a ship out of matches: diagrams, step by step instructions. Crafts from matches

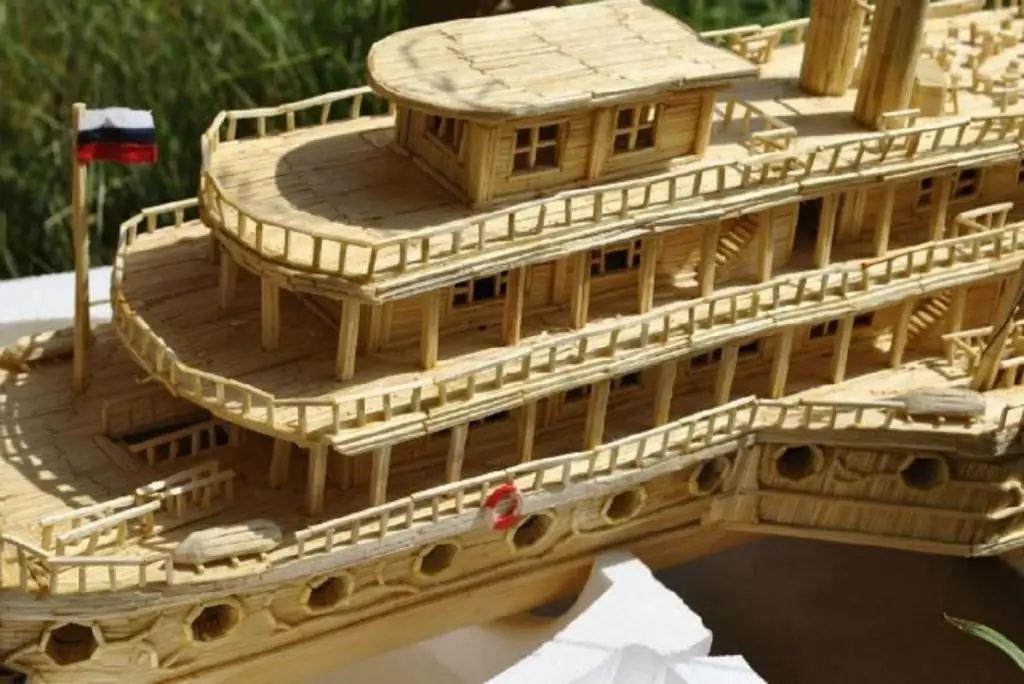
Since the matches are the same size, they are even, so you can make a variety of crafts from them. Including houses, architectural structures. But most often people think about how to make a ship out of matches. Glue is used for this, but it is believed that if done without glue, then this is the height of skill
Glue Gun Crafts: Best Ideas, Step-by-Step Instructions

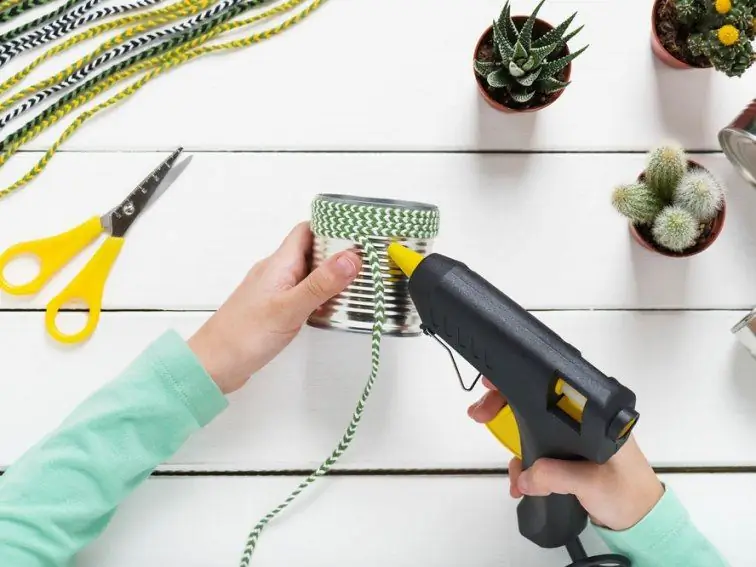
Crafts with a glue gun can be just an element of decor that pleases the eye and brings a bit of comfort and special charm to the house, or they can be truly functional. Things made with hot glue look original, and pride in interior elements made by one's own hands is quite legitimate. Consider some of the many existing examples of how to use a glue gun for more than its intended purpose
Crafts from a sponge for washing dishes: samples with explanations

In the article, we will consider options for making DIY sponge crafts that preschool children can do together with their parents, children in the senior group of kindergarten in manual labor classes. You can play with them, use them to draw and print with stamps. Photos of samples will help you understand what result should be obtained in the process of work
