- Author Sierra Becker becker@designhomebox.com.
- Public 2024-02-26 03:46.
- Last modified 2025-01-22 22:09.
Everyone knows that beads are always elegant and keep the warmth of the hands of the craftswomen who worked on them. Indeed, in order to create a beautiful artistic craft, you need to try very hard. Just imagine: tiny beads - beads - should be collected in a harmonious composition. Some of these things are real pieces of art.

No lady will refuse to accept as a gift a magnificent set of beaded jewelry, an evening clutch or a mobile phone case. And how good are the beaded embroideries! But such things are not only pleasant to receive. Beadwork, made for yourself with passion and love, will be no less dear to you. And of course, they will serve as an excellent gift for a close friend or relative.
It is customary to give beadwork for the main holidays. Easter is a bright family celebration, during which the closest and dearest people gather together. Let's make together with you a symbol of Easter - an egg from beads!

WHITE EGG FROM BEADS WITH RED BELT
We will need:
- white transparent beads 6;
- matte red beads;
- nylon thread;
- wooden egg blank;
- scissors;
- needles for beads.
We start by making a belt, which is woven separately from the egg, and then sewn right on the egg. We measure the girth of the egg blank in the widest place and determine the width of the girdle.

Fix the last bead by making a stop bead out of it, tying the thread in a knot. Then we make a belt using the technique of mosaic weaving according to the patterns. It is necessary to weave the belt until it tightly wraps around the egg. Then we wrap the workpiece to gradually get an egg from beads. It is better to sew the belt right on the workpiece itself. The number of beads on the right and left should be the same. We sew them together in pairs, pulling the belt tightly. Next, we work directly on the egg. Weave the bottom part, and then the top. After that, turn the egg over and attach the next row. The very last row will not be very even, but this is normal. It looks a bit sticking out in a zigzag pattern.
Everything will be fixed. On the reverse side, we pass along it with a snake in the opposite direction. Continuing the work, we can notice that the previous row of beads sits on the egg somehow not very tightly. We begin to reduce the next row. Instead of two beads, we sew only one.
As this row flattens out, as we snake through the egg inin the opposite direction, it will be seen whether we did everything right. Whether the beads fell into place beautifully, whether there are holes. If gaps nevertheless formed, then you can fix this by adding an additional bead to this place and choosing the right size.
We start to weave the pattern through 5-6 rows from the girdle. We continue to braid the egg according to the same principle, gradually reducing the beads more and more and reducing it to nothing. Here the thread can be fastened and cut. And then fasten again on top. You can do it differently by passing the thread through the rows up and braiding the egg until its entire surface is covered with beads. After that, we collect more red beads on the thread and weave a beaded thread about 25-30 cm long. Sew the ends of the threads on the sides of the egg, starting from the top. And decorate the egg by tying a bow at the top.
Beaded Easter egg is ready!
Recommended:
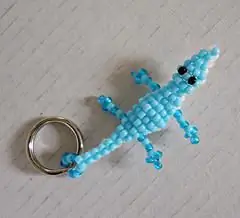
How to make a crocodile from beads? Volumetric beading. Scheme of a crocodile from beads

In the article we will consider how to make a crocodile from beads - an original souvenir. There are many options for its manufacture. The article will describe volumetric beadwork, because everyone knows that such figures are more interesting
How to make an Easter egg from beads?

Beaded Easter eggs are a wonderful gift for a bright holiday for loved ones. Only good thoughts, warmth and a piece of your soul are invested in such a gift, because such gifts are always made with love. These souvenirs will give only pleasant memories
How to make DIY home decoration? Ideas for home decoration

Do you love creative work? Do you do needlework? Looking for new apartment decorating ideas? Making homemade decorations for your home is simple, and most importantly, pleasant
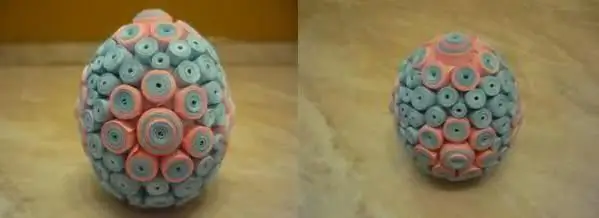
Easter egg in quilling technique. DIY Easter egg

The "quilling" technique allows you to make amazingly beautiful eggs for Easter. In addition to them, you will need colored paper, glue and a wooden toothpick. These are all the items that are needed to implement interesting ideas using quilling. Easter egg will turn into a real work of art and will be the subject of your pride
Crafts for Easter: how to braid an egg with beads

Colored eggs are a traditional attribute of Easter. Artificial eggs, painted with paint, decorated using decoupage technique, braided with beads, were always prepared for the holiday. Today we will talk about how to braid an egg with beads so that you can present a spectacular souvenir as a gift to your loved ones
