Table of contents:
- Author Sierra Becker becker@designhomebox.com.
- Public 2024-02-26 03:45.
- Last modified 2025-01-22 22:09.
If you think about it, many of us have not held plasticine in our hands for a long time. Time runs. Children grow, they learn, they develop. And modeling from plasticine takes first place in the development of motor skills of the hands of babies.
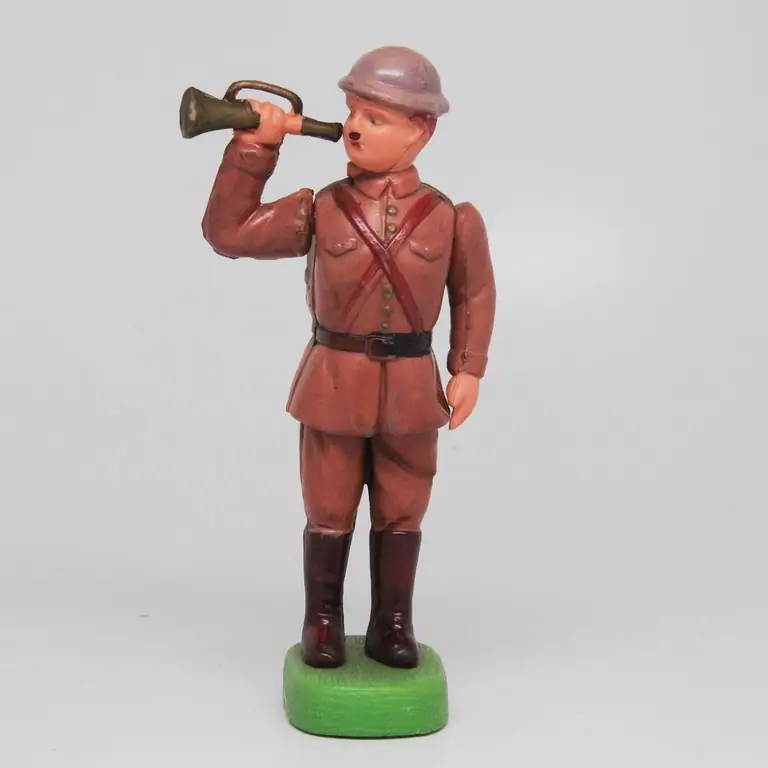
So why don't you sit next to the child now and together with him do not make a military soldier? This is a very exciting activity. For example, such a soldier can be presented to a friend or veteran grandfather. A handmade gift would be just right. After all, it symbolizes the enormous strength and power of our country and the people themselves. So how to make a soldier out of plasticine?
Required material
Making a plasticine soldier is very easy! To get started you will need:
- large pieces of green plasticine;
- medium yellow;
- small pieces of white, black, red;
- beige plasticine;
- wire or matches to connect body parts.

Green plasticine together with yellow must be used for a military uniform. These two colors must be mixed. Then the shade of the form itself will bebrighter, sandy.
Small pieces of plasticine will be needed for sculpting small details of the face and the body itself. Also black color will be needed for boots. Matches will come in handy to collect all parts of the body. But it's better to use wire. With its help, a soldier can be given any form.
So how to make a plasticine soldier step by step?
How to mold the body of a warrior
Now you can begin to sculpt the soldier itself. To begin with, we mix green and yellow colors (we talked about this earlier). Knead the plasticine well so that it is soft. Then we divide all this mass into seven different parts. From these plasticine balls you should get:
- cap;
- breeches;
- sheepskin coat (tunic);
- two hands;
- two legs.

And how to mold a soldier from plasticine so that he is original and cool? It all depends on your imagination.
Toe loop and legs
Starting to sculpt the details. The main part of the tunic (uniform) must be made from two different parts. It is possible from one, just do not forget that later you will need to make a small recess for the belt.
We paste the yellow plasticine belt itself. Then we make a stack (a tool for cutting plasticine) a vertical line from top to bottom. These will be the sides of the jacket. And then we fasten small buttons along this line.
After we made the uniform and designed it properly, we begin to sculpt the following details. The lower (legs) and upper (torso, arms) parts of the soldier should be connected with a wire.
Let's start modeling boots and a collar. For shoes, you need to make two cylinders with oblong bases at the bottom.
For the collar, we also make a cylinder, only thinner and longer. For a more dramatic look, you can attach a small strip of yellow plasticine.
Now that the boots and collar are ready, they need to be connected to the main part. It is better to use matches for better fastening.
The main parts of the soldier are ready. It remains to make the head and hands. To do this, you need beige plasticine.
Head and hands
For the head we make an oval blank. We mark with a stack where the eyes will be located. For them we use white and black colors of plasticine. Then we make out the nose, eyebrows and lips.
For the hands we form two small cakes, curved inwards. The stack needs to highlight the fingers. We sculpt the hands and head to the sheepskin coat with matches in the same way as the main details.
We make ears out of two small balls of beige plasticine.
Headwear
Don't forget that a soldier needs a cap. To make it, you need to take yellow-green and black plasticine.
You should make blanks for a cap and a visor from them, and then blind them together using a red edging. In the middle we make out a small star. We collect all the details and attach them to the head.
We fasten shoulder straps on the shoulders. For them we use black and yellow plasticine.
If desired - for greater effect - such a soldier can be mounted on a pre-prepared stand.

Now you know how to mold a military soldier from plasticine. As you can see, it's very simple. Even a schoolboy can easily make such an interesting little man in a green uniform.
Recommended:
How to mold animals from plasticine together with a child?

Let's talk about how to mold animals from plasticine. Modeling classes are considered useful at any age. Thanks to this type of visual activity, children receive the necessary knowledge and the shape and properties of objects, fix colors and shades
How to mold a plasticine shark: a master class with photos

Sharks are widely known both in everyday life and as cartoon characters. It will be interesting for adults and children to learn how to mold a shark to use it for a variety of crafts
Sculpting lesson. How to mold a minion from plasticine

Have you still not watched the cartoon "Despicable Me"? And you have no idea who the minions are? But your child is already well aware of them. He pesters with questions: "When will you buy this home?" While the point is yes, let's learn from the article how to mold a minion from plasticine
Zombies vs Plants. How to mold a poster of a popular game from plasticine

Among gamers there are many who, as they say, "ate the dog" in the fight against zombies. It turns out that one of the effective means in the war with the walking dead is plants. This bold statement is proved by an arcade game with elements of strategy, popular among fans of all ages, which is addressed to children of six years and older. It's called Plants vs. Zombies. How to mold her heroes from plasticine?
And I remember, once you were lucky to mold a cow from plasticine

She was adored by her grandparents when they were children. Time passed, and moms and dads were born. And wow, they sang this cheerful song with the same pleasure. And when they have their own children, they, too, moving energetically and smiling happily, drag out the famous: "We remember …". And now three generations sing in chorus. Who inspires them so much?
