Table of contents:
- Author Sierra Becker becker@designhomebox.com.
- Public 2024-02-26 03:35.
- Last modified 2025-01-22 22:09.
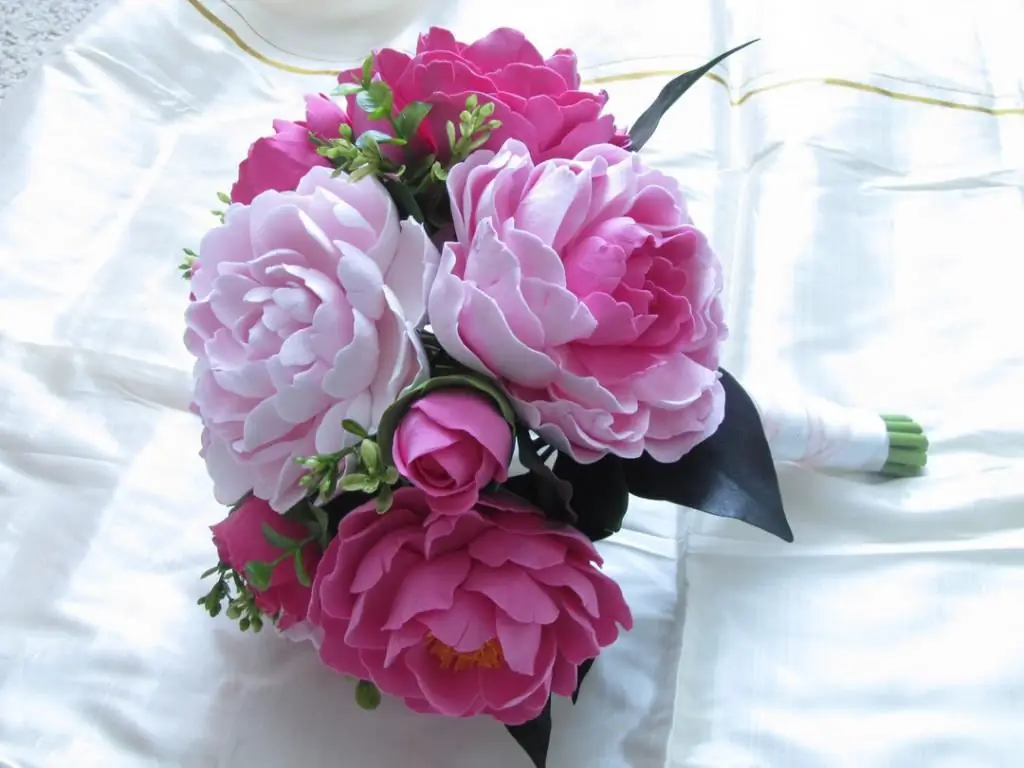
In the 30s of the last century, such a wonderful material for crafts as polymer clay was invented. At first, parts of dolls were made from it, but plasticity, ease of working with the material and durability of products quickly won the hearts of craftsmen, and clay began to be used to create souvenir figurines and jewelry. Polymer clay is especially popular in the manufacture of flower arrangements. Ceramic floristry has become an independent art form, and interior flowers created using this technique can compete in beauty with living plants. Sophistication and durability have made them an essential attribute of wedding celebrations. After all, a plastic bouquet will not wither and will delight with beauty for many years, reminding of the family's birthday.
In this article we will tell you how to make polymer clay peonies with your own hands, what type of clay is suitable for interior flowers and jewelryand what tools are needed for the job. So let's get started.
Types of clay
Polymer clay is a material for decorative art, from which dolls, jewelry, small sculptures, interior flowers are created. There are 2 types of plastic surgery:
- self-hardening;
- thermoplastic.
The first type of material, depending on the underlying components, is "heavy" and "light". "Heavy" plastic is used to create dolls and their individual parts. In structure, it resembles natural clay. Products from the material are rough, they can be sanded, painted with oil and acrylic paints, varnished. The disadvantage of keramoplast is a high degree of shrinkage of products after drying and the likelihood of cracks.
When creating dolls, professional craftsmen use a special "doll" clay, which allows you to adjust the product even after it dries: grind, cut off excess. Clay can even be soaked if necessary to change the composition. Its main advantage is less shrinkage.
"Light" plastics are used to create flower arrangements. The most popular Japanese-made clay based on cellulose. This is a very soft and plastic material that allows you to create thin translucent petals, visually almost indistinguishable from natural ones. Finished flowers are matte and resemble paper. Such products do not tolerate moisture. A bouquet of polymer clay peonies will decorate your living room or bedroom and never wither.
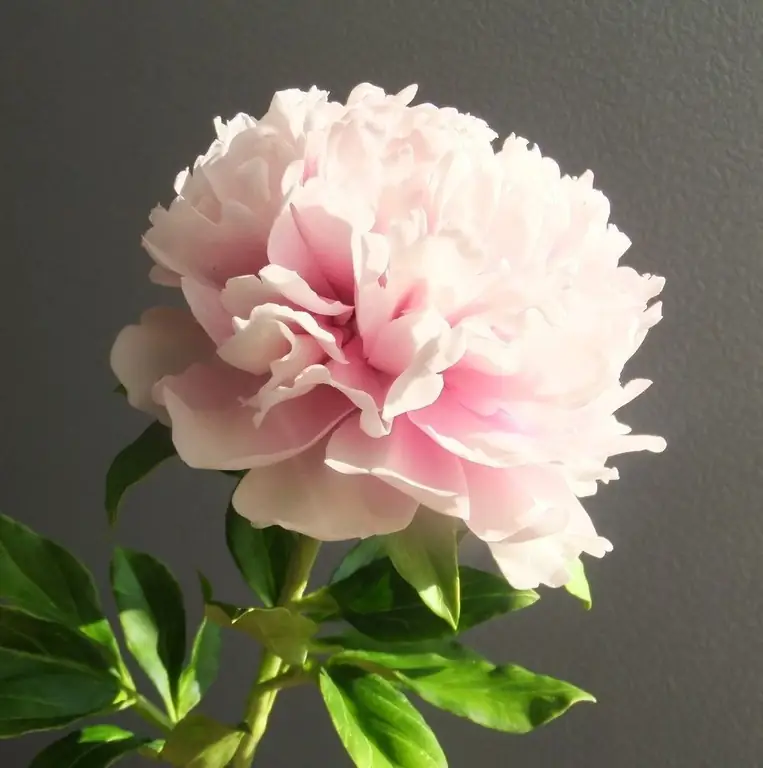
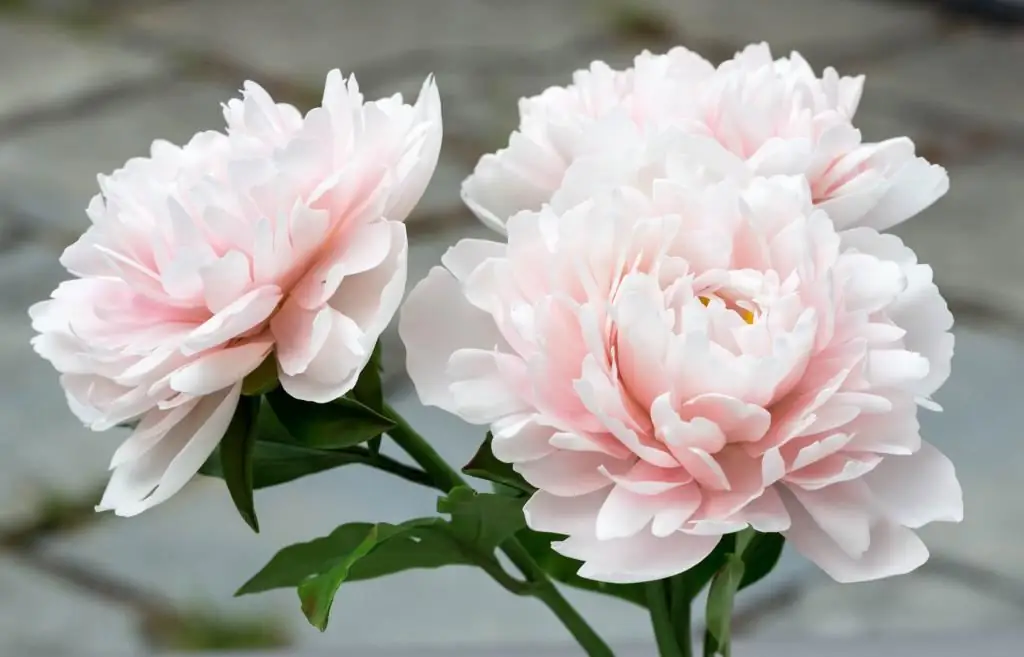
The origin of ceramic floristry as an art is associated with the appearance of "cold porcelain". It is based on a mixture of PVA glue and corn starch. On sale, the most common material is white, tinted with oil paint. Finished products can be painted with acrylic. Flowers from "cold porcelain" are flexible and realistic, they are not afraid of moisture. Masters recommend making polymer clay peonies from this type of plastic. The special properties of the material allow it to be used to create exquisite costume jewelry, decorated with tiny, almost "living" flower arrangements. In the photos presented in the article, polymer clay peonies look so realistic that it is difficult to distinguish them from real ones!
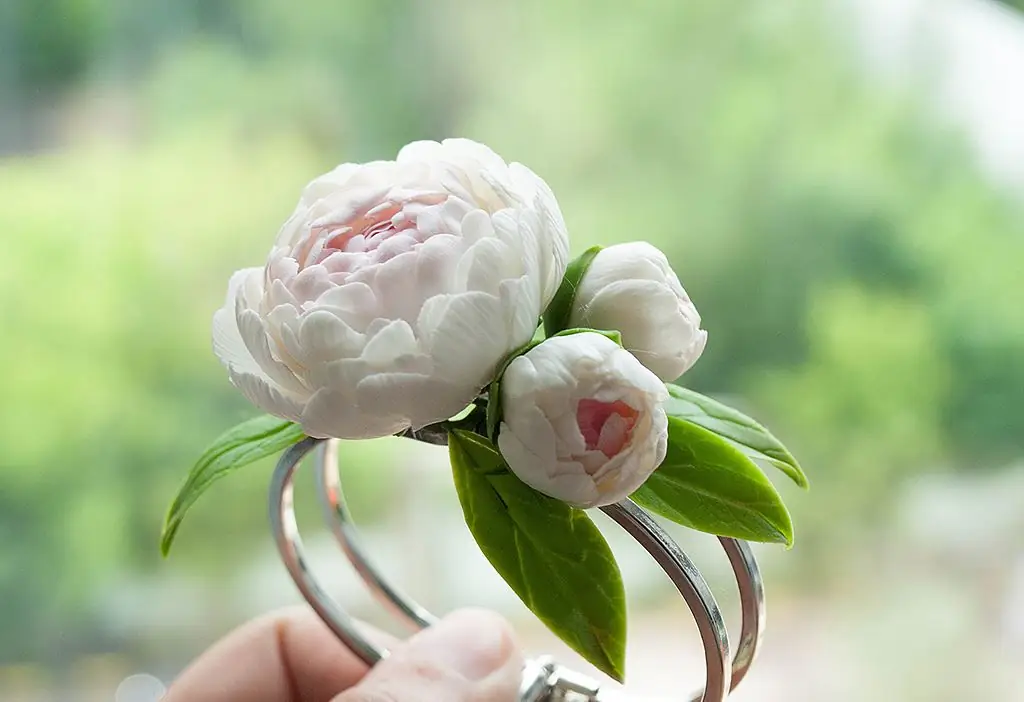
The second type of polymer clay, thermoplastic, is made on the basis of polyvinyl chloride and plasticizers that evaporate when heated. Products are baked at a temperature of 110-130 degrees Celsius in an oven or boiled. Thermoplastic products are strong and resilient. This clay is great for creating jewelry, so if you decide to make a peony brooch out of polymer clay, then choose it. The material is liquid (in the form of a gel), ordinary (it resembles wax plasticine in structure), translucent and with fillers (metal powder, sparkles, etc.).
Tools and materials
Before you start creating a full-sized polymer clay peony, you need to prepare materials and tools for work.
- "Cold Porcelain". Beginning needlewomen are advised to use cellulose-based plastic, however, “cold porcelain” produces more durable products and can be tinted with oil paints in a “raw” state.
- Latex glue. Useful for connecting parts.
- Thinner and oil paints. White, red, green.
- Moldy. These are special blanks imitating the texture of the petals and leaves of natural flowers. They are made from acrylic, silicone, epoxy and other suitable materials. Molds can be purchased at specialized stores or made independently. If the peony textures were not at hand, you can use a rose mold for the petals, and hydrangeas for the leaves.
- Thick and thin wire. The first is for the stem, the second is for the leaves.
- Round nose pliers.
- Clay rolling pin, stacks of various sizes, ball-ended stacks, roller blade, nail scissors.
- Tape tape. Needed to fix the leaves to the stem.
- Brushes for glue and paints.
Beginning craftswomen are often interested in the question: how to mold a peony from polymer clay. There is nothing difficult in this, the main thing is to stock up on patience, time and quality materials for work.
Leaves
So let's start by making polymer clay peony leaves.
Cut a thin wire into pieces 7-8 cm long. You will need 6 bases.
Now you need to knead the clay. We knead a piece of plastic and add a little green oil paint to the middle, carefully so as not toget dirty, knead the material until a uniform color is obtained. Next, roll out the layer with a thickness of about 2 mm. Using a roller cutter, cut out 2 shamrocks and 4 leaves. Blanks can be trimmed with scissors. We roll the edges of the leaves with a stack with a ball to make them thinner and more realistic. Next, you need a mold. We transfer the texture of the veins, gently pressing the plastic blanks to the mold, after which we bend the leaves along the central vein and put the wire smeared with glue inside. Leave to dry.
Petals
First, let's make the core of the peony out of polymer clay.
Using round nose pliers, make a loop at the end of the thick wire. This is the future stem. We roll a ball with a diameter of about 1 cm from green plastic. We give it a teardrop shape. We cut the narrow tip of the workpiece with scissors into 5 parts. Try to keep them about the same. We straighten the ends in different directions. Got an asterisk. Lubricate the loop on the wire with glue and “put” on it the core of the future peony. We remove excess glue, level the plastic and smooth the joints. Using a roller knife, we push five recesses along the core, imitating the relief of the veins. Leave the workpiece to dry.
To make peony petals from polymer clay, you will need a large piece of plastic. We tint it with red oil paint. The peony has three varieties of petals: small narrow, medium and round large. To create the first type, you need a piece of clay with a diameter of 1 cm. We give itthe shape of a drop in the height of the petal. We roll out the workpiece in a stack, creating the desired shape. We tear the edge slightly so that the workpiece becomes as similar as possible to a real petal. We draw longitudinal veins with a stack, slightly crush the workpiece and send it to dry. Small petals need to be made 12-15 pieces.
The stem blank should be placed in a vase or bottle and bent for easy fixation of the petals. Next, glue the petals to the core of the flower. Turning the workpiece during operation is not recommended, as the flower may lose its shape. When the first batch of petals is fixed, we put the work to dry and proceed to the manufacture of medium-sized petals.
The technology for molding medium petals does not differ from the one described above, however, plastics for each workpiece will need 2 times more. For the future peony, you need to mold 15-20 medium petals.
The last look is large petals. They need to be slightly cupped with a stack with a round head, and the edge should be made like a "heart". The relief of the workpiece is given with the help of a mold. The petal is printed on both sides. Such blanks will need 10-12 pieces. Ready dried petals are glued to the stem.
The flower bowl is ready. Now you need to let it dry. Until the glue and plastics are completely dry, the flower should not be turned over.
Sepal
While the flower dries, let's sculpt the sepals. They will need 10 pieces: 5 rounded convex and 5 small leaves. For the manufacture ofof the first type, take a small piece of green clay, roll it out, give it a convex shape using a stack with a round head. Let's add texture to the workpiece using the mold that was used to sculpt the petals. Let's make a small pinch on the edge, with this part we will glue the sepal to the flower.
Small leaves are made using a technology similar to large ones. We glue the dried elements to the flower: the first row is round sepals, the second is narrow leaves, in a checkerboard pattern between the round ones.
Stem
Now you can work on the stem. We make a sausage 9-11 cm long from green clay. We straighten the stem wire and coat it with glue. Next, we cover the stem with clay. We level the seams, make the stem uniform in thickness. Hard-to-reach places (for example, next to the sepals) are smoothed with a stack with a small round head.
Painting leaves
The leaves of a real peony have slightly brownish veins and a whitish underside, so dried plastic blanks need to be painted to make them realistic. You will need: red, green and white oil paint, brushes, thinner, paper napkins.
Lay out a leaf of polymer clay on a napkin, and paint with a brush dipped in a solvent, and then in whitewash. Next, use a dry brush to blend the paint. Turn over the sheet. Using the same technology, paint the other side with green paint and shade it. To draw the veins, mix green and red tones. We leave the workpiece to dry. We do the same operations with all the leaves andsepals.
Build branch
After the leaves are dry, you can start assembling the branch. First you need to partially wrap the wire with green plastic. Approximately 2 cm from the base of the leaf. Now you can collect the quintuplets. With the help of teip tape, we wind single leaves to the shamrock. We fix the ends with glue. Next, we stick around the junction and almost the entire wire, leaving a small area for fixing the branch to the stem. Smoothing out the seams. Assembling the second cinquefoil.
At a distance of 10-12 cm from the bud, we attach the first branch to the stem using tape tape. A little lower we fix the second one. Cover the stem and joints with green clay, level the joints and seams.
Flower painting
The polymer clay peony is almost ready, it remains to slightly tint the petals. We start with the core of the flower. Gently bending the petals, use a semi-dry brush with red paint to tint the green center. Next, paint the edges of some of the petals.
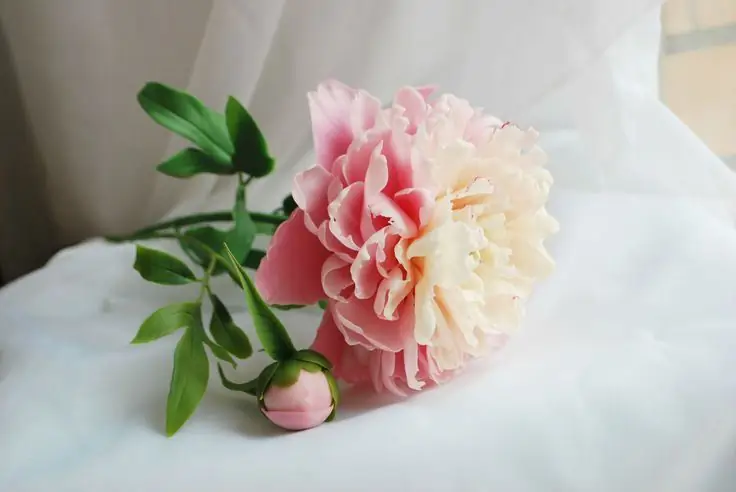
An elegant interior flower is ready!
Thermoplastic jewelry
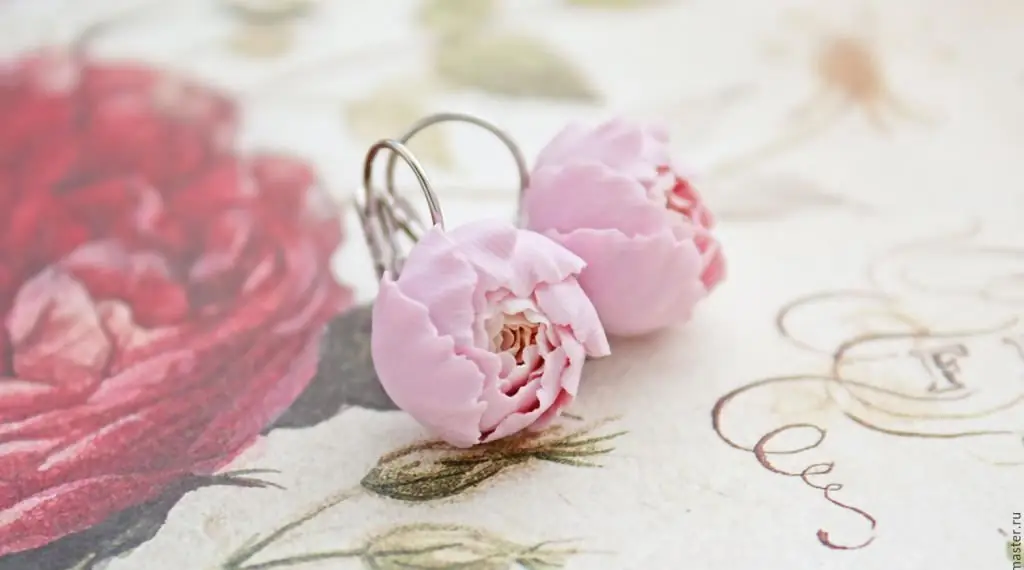
From plastic it turns out amazingly beautiful jewelry. Earrings with peonies made of polymer clay look elegant and gentle. The manufacturing technology of such accessories, on the one hand, is simpler, and on the other hand, more difficult than interior colors. It is easier, because the products are created from baked clay, and it remains plastic for a long time in the air. And it is more difficult due to the fact that the elements of the composition are very small, and the finished product must be subjected to heat treatment.
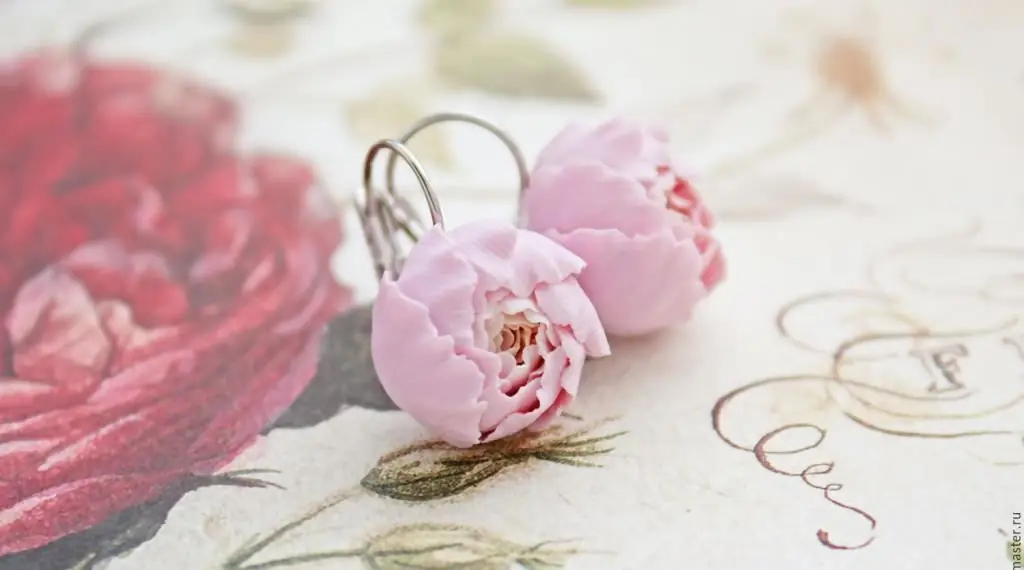
The molding process is similar to that described above. Next, the flower is glued into the hole of the fasteners using liquid plastic. Now the product needs to be baked.
The average baking temperature is 110-130 degrees, but you should carefully study the clay manufacturer's instructions before use. Products are laid out on parchment paper and placed in the oven for 10-15 minutes. Be sure to open windows, as evaporating plasticizers are highly toxic. After use, the oven must be thoroughly washed with detergent.
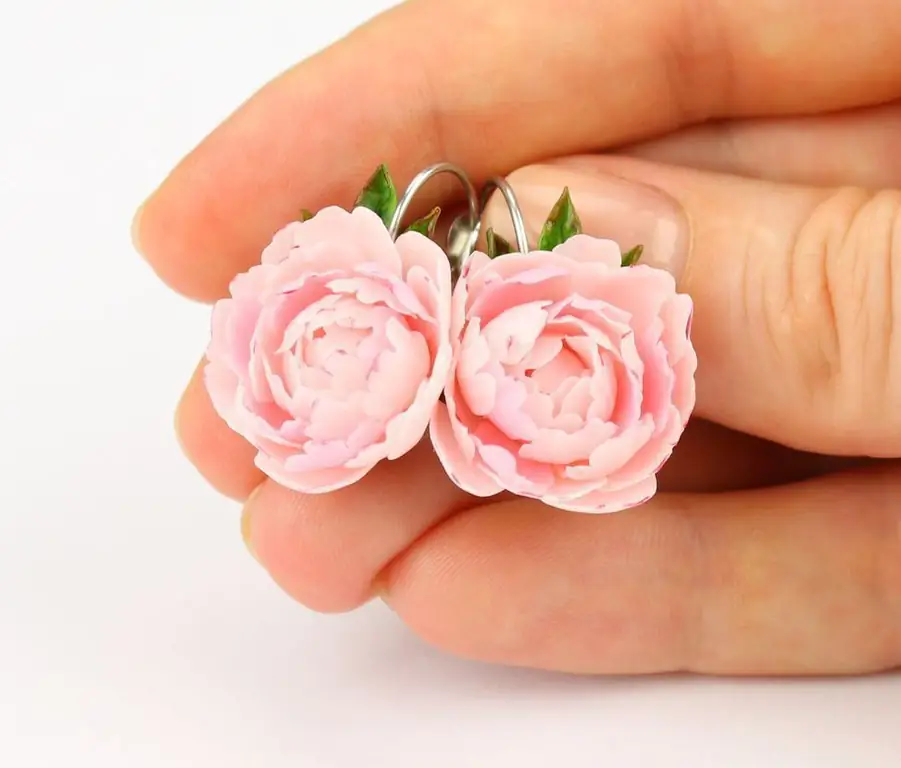
Delicate earrings are ready! Other jewelry is made in the same way, including brooches with polymer clay peonies.
Conclusion
Plastic allows you to create amazingly beautiful interior compositions and accessories. Flowers from "cold porcelain" deserve special attention. Durability and high realism of products have won the hearts of craftsmen around the world. We hope that the detailed polymer clay peony MK presented above will help you create a wonderful composition for decorating an interior or a celebration.
Recommended:
How to make products from polymer clay: instructions and photos
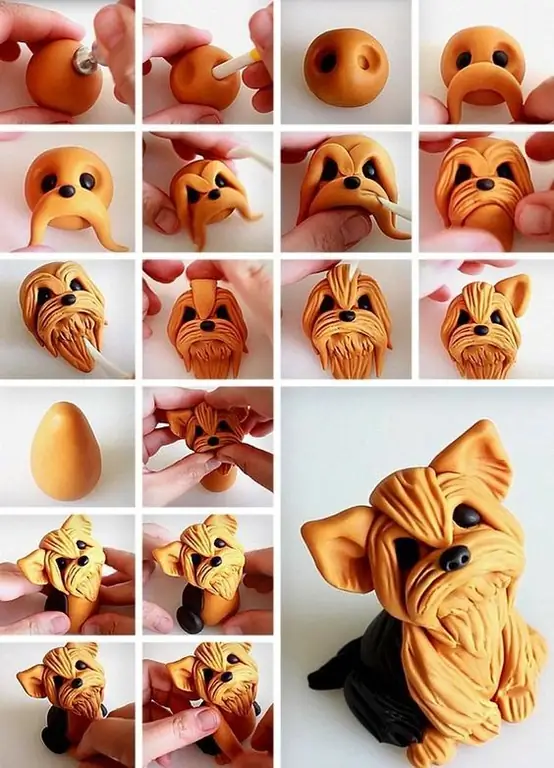
Did you sculpt from plasticine as a child? If yes, then you will definitely succeed in polymer clay products. This is a fairly plastic material that allows you to create a wide variety of crafts. Some of them do not require special knowledge and skills. It just takes a little creativity
Polymer clay Cernit: overview, colors, instructions
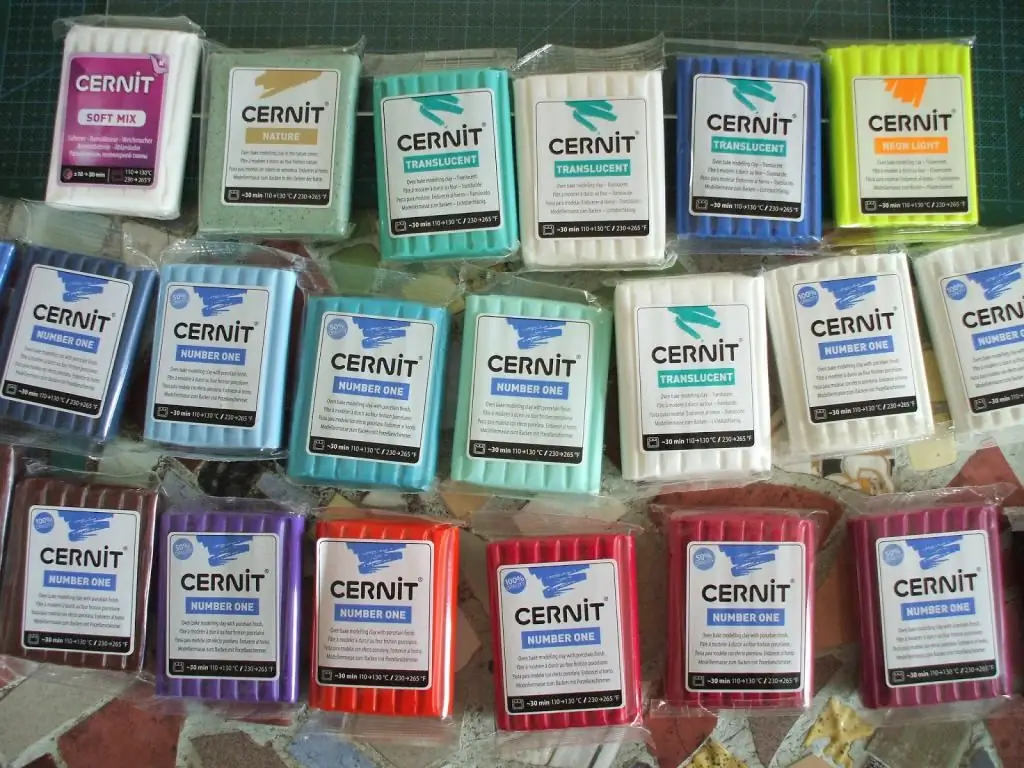
This article deals with the qualities of polymer clay and the characteristics of the varnish used to cover it, the popular Belgian brand Cernit. An overview of the manufactured lines is provided with a description of their features and scope
Tips for beginners: how to work with polymer clay. Required materials and tools, work technique
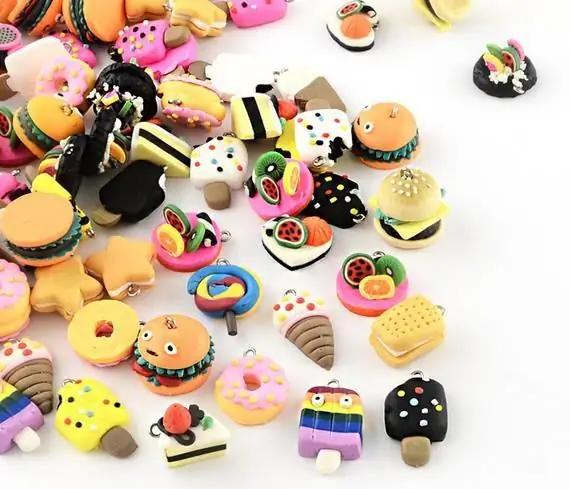
One of the popular materials for creativity is polymer clay. Jewelry, souvenirs, toys, etc. are created from it. To master the technique of working with polymer clay, you need to consider the advice of experienced craftsmen. There are many subtleties and nuances, knowledge of which will allow you to avoid serious mistakes. Next, consider which masters give advice to beginners and how to work with polymer clay
Polymer clay: how to make at home. How to make polymer clay jewelry
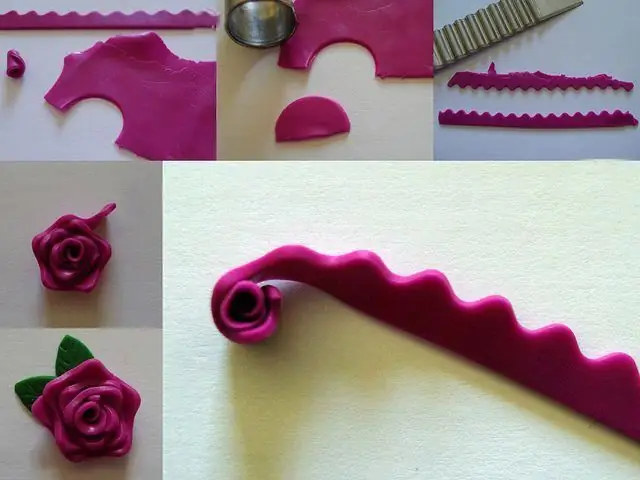
If you no longer want to spend money on expensive industrial polymer clay sold in craft stores, you can make your own. For this, simple ingredients available to everyone are used
Polymer clay - what is it? Self-hardening polymer clay
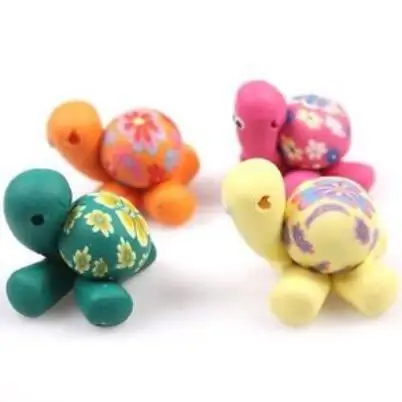
Polymer clay is an elastic material that is pleasant to work with. It is produced with different properties: one should be dried in the oven, the other is self-hardening. There are a lot of polymer clay manufacturers today, these are FIMO, Decoclay, Cernit, Kato and other companies. Having experienced different types of product, you can understand the purpose of each of them. From one it is convenient to make large figures, from the other type - small details
