Table of contents:
- Author Sierra Becker becker@designhomebox.com.
- Public 2024-02-26 03:35.
- Last modified 2025-01-22 22:09.
Creating toys is a very easy and wonderful thing to do. After all, to experience the excitement and thrill when a little bunny or a doll begins to be born in your hand is really priceless.
Stylish, expressive and DIY
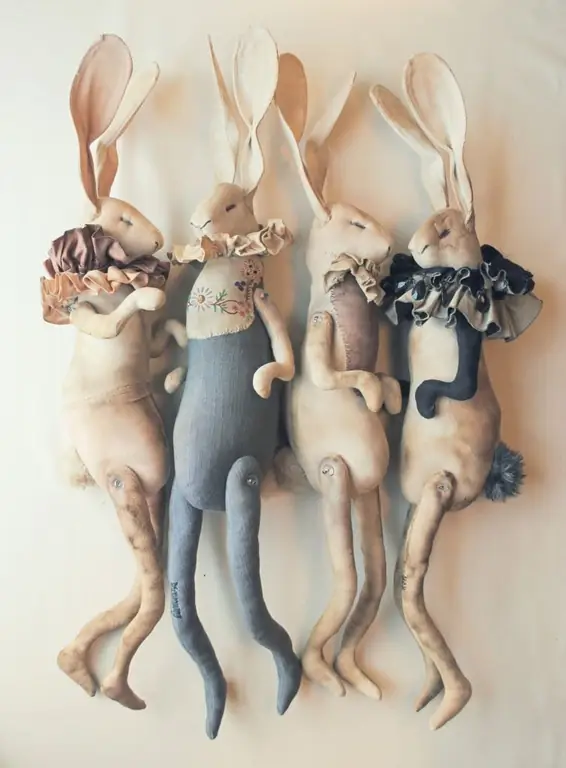
Do-it-yourself interior toys can be created using fairy-tale characters, cute animals, beautiful princesses or copies of portraits as a basis. Often, neatly made handmade toys look amazing in the interior, they are filled with comfort and a warm homely atmosphere.
And if you look closely at the touching details, admiration for toys will be endless. Seemingly minor details added by the author to the image of the doll have no functional significance, but they enliven her. Looking at them, it does not seem that this is an ordinary bauble on a shelf with books.
Required Materials
It is better to choose a fabric for the doll's torso that is not too dense so that it is comfortable to sew and formnatural folds. A synthetic winterizer can shine through a thin fabric, so ordinary cotton is best, and knitwear is even better. Often, do-it-yourself clothes for interior toys are sewn from old unnecessary things with a beautiful pattern.
For the head, you can use a porcelain blank, a simpler option is a foam ball. However, options look interesting, where the head is sewn from the same fabric as the arms and legs. As a filler, synthetic winterizer, cotton wool, holofiber are used.
Create a warm atmosphere
To create warm knitted sweaters, scarves, hats and socks, you will need yarn. This is a great option for making a New Year's interior toy with your own hands. The main Christmas colors are green, red and white. It is in this color scheme that you can choose accessories or materials for creating clothes.
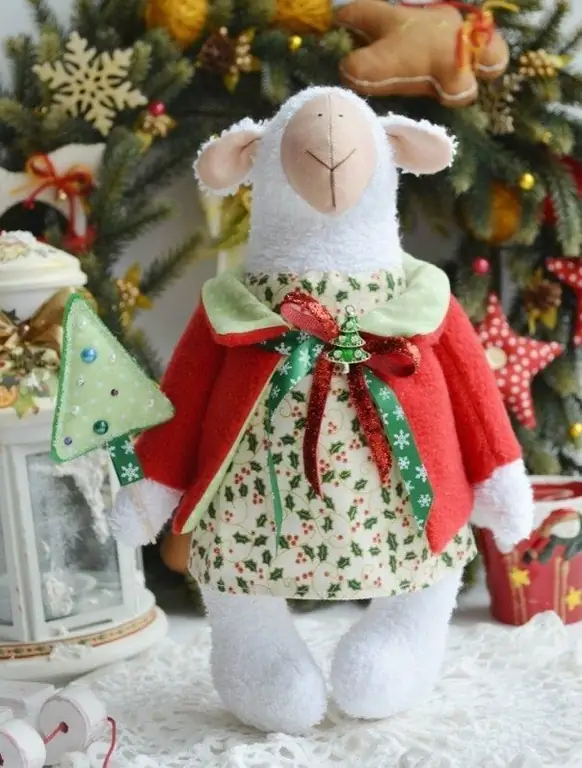
Do-it-yourself interior dolls and toys will be a wonderful gift for this holiday. It can be given to parents, children or even friends. As details, you can put a red cap on the toy, and put a small bag with gifts or a festive box in your hand.
Where to start sewing?
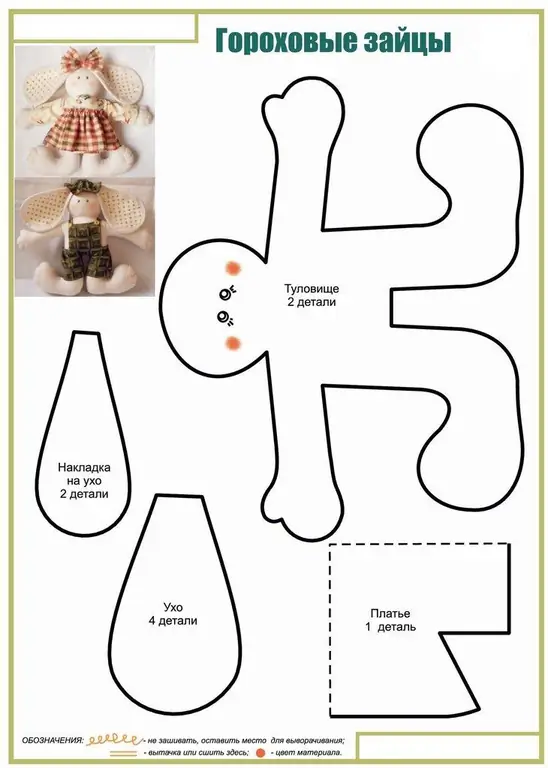
A pattern is drawn on paper. The body can be solid, but a much easier option for beginners is to pattern individual body parts. Separately, according to the template, arms, legs, torso, neck and head are cut out of the fabric. In this case, you need to leave a little fabric around the edges for the inner seam. Don't stitch too muchclose to the edge, otherwise the edges of the fabric may creep out over time if the seam is not very tight. All the details are sewn from the wrong side, while it is important not to forget to leave a hole. Through it, the part is first turned inside out, and then filled with synthetic winterizer.
Responsible moment
The toy should be stuffed tightly, the filler can be pushed deep into the pencil. After stuffing, the seam is sewn up, but it should not be visible. It can be done in places that will be covered by clothing. The seams on the arms and legs should be done in places where they will be sewn to the body.
We connect all parts together, making sure that there are no distortions: arms and legs should be in place. It is better to attach the head last. Remember that if the eyes and mouth will be embroidered with thread or buttons are sewn in their place, then this must be done first, before sewing the head together. If the eyes are drawn, then this is best done at the very end. So that during work you can not be afraid that they will be smeared.
Hair and hairstyle
Hair is usually superimposed with artificial curls made from kanekalon. Specialized stores sell doll wigs made of the same material. A simpler and more original option for creating a do-it-yourself hairstyle for an interior toy is hay, thread or yarn.
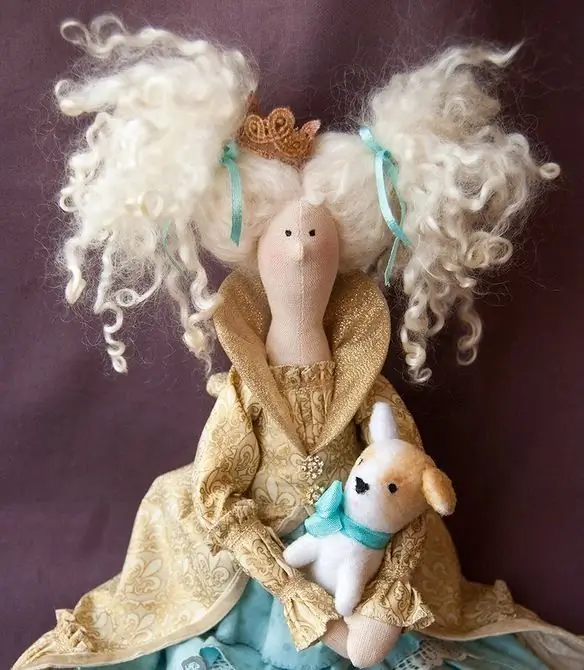
The wig is first fixed with pins, and then gradually stitched along the parting, starting from the middle and going around the entire circumference. When you're done, do your hair: style,braid. If necessary, artificial hair can be cut. Doll hair can be the craziest colors. Before sewing on the wig, you can dye it any color you like.
The hair you create for your doll gives her a personality. They actually set the character and overall tone of the whole image. A boy may have a mohawk, messy red curls, or short hair. For girl dolls, the variety is much wider: luxurious shining curls, loose hair, pigtails, ponytails, witchy tresses or an elaborate evening hairstyle.
Creating a doll wardrobe
For the doll you need to sew clothes, which is already much easier. The holes must be large enough to be put on the hero. In many photos of do-it-yourself interior toys, you can see attached buttons, for example, on vests or jackets.
Let's start with the doll's shirt. It can be sewn in two parts or according to a pattern from a single piece, as in the presented pattern for an interior toy.
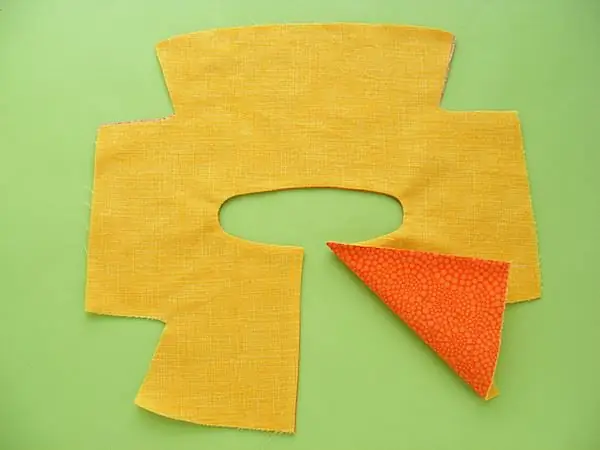
With your own hands, connect a piece of fabric with another exactly the same. Do not forget which side they need to be sewn together. Cut out the shape along the outer line. In order not to make the neckline too large, sometimes T-shirts and dresses are put on before the head is sewn on. Or clothes can be made with fasteners. For the smallest doll owners, you can use Velcro. The edge of the fabric is hemmed from the wrong side to make it look neat, the easiest way to make a T-shirt or vest.
A pretty simple element of a doll's wardrobe can be a skirt. Regardless of the style, it is very easy to sew it. The necessary piece of fabric is cut out and sewn along the seam, at the top of the belt you need to make a fastener or fasten an elastic band.
It is also easy to make a dress if you sew the top and bottom parts separately, and then just sew them together on the reverse side. Of course, there are much more complex and sophisticated styles that you can create yourself if you wish. You can make beautiful and even chic doll clothes using leftover or recycled textiles.
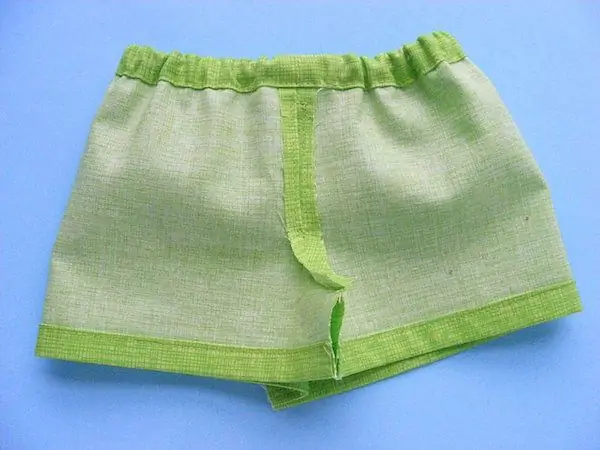
To create trousers or shorts, cut out two pieces, sew them together on one side, then hem the top edge so that there is a passage for the rope or, better, the elastic band that will hold the pants. Then the inner parts of the legs are sewn together, and lastly the other edge. Then you can thread the elastic, and you're done.
Parts and accessories
Shoes are made from felt, fabric and leather. You can also use ready-made doll shoes.
The finished doll is decorated with accessories. Hairpins, hats, artificial flowers are attached to the head. With your own hands, you can sew a cap, hat or gloves from fabric for interior toys. You can add a wide variety of beads and elastic bracelets made of beads or miniature beads to the image. Embellishments can also be added on top of the clothes, for example, with a glue stick with glitter, draw a pattern or lines on the dress. A small strap can be put on the belt, and inhands to give a bag, a basket, a bouquet and other little things.
Toys look amazing when decorated, and when dressed up in beautiful outfits, they make the best Christmas gifts.
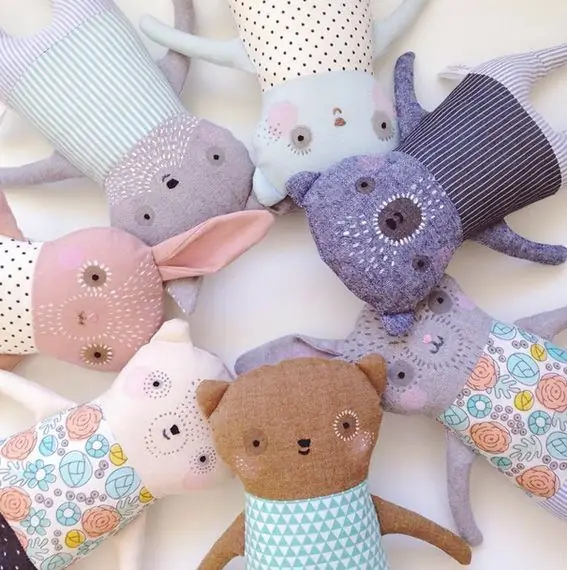
Homemade toys tend to last longer than store-bought ones. If a child makes an interior toy with his own hands, he spends a certain amount of effort. And appreciate it more. Homemade toys are also more valuable than purchased ones because they are just as much fun to make as they are to play with. Doing something interesting, getting satisfaction from the result and translating the idea into a tangible form is a pleasant and rewarding experience.
Recommended:
Papier-mache technique for beginners: ideas, instructions, master classes
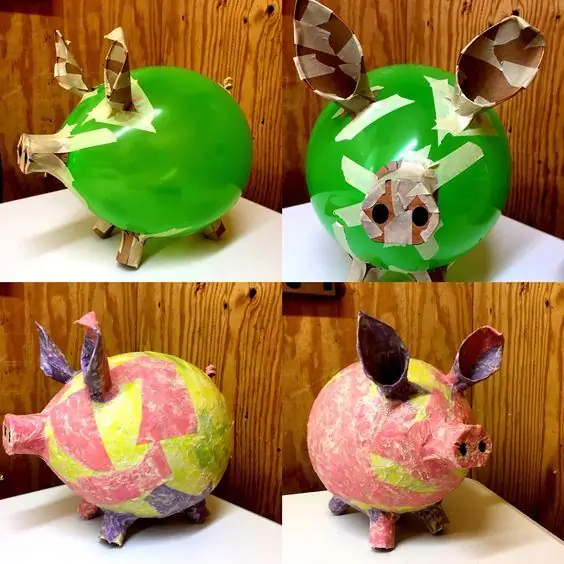
For beginners, the papier-mâché technique is considered affordable and easy to perform. The work consists in the manufacture of various figurines, dishes, home decor items from layers of paper. There are several different options for performing such creative crafts, each of which we will describe in detail in our article
Beaded pendant: scheme and execution in the technique of hand weaving

Beading has been a popular type of needlework for several millennia. The materials for it are changing, and the technique is being improved. But at the core, there are still a few simple tricks and methods that needlewomen from all over the world use to create jewelry. Beads are used to create bracelets, earrings and pendants, as well as hair accessories
Diamond embroidery: instructions for beginners, technique, tips, tricks, kits
Recently, diamond embroidery has been especially popular with needlewomen. The works created in this technique amaze the imagination with the sophistication and grace of lines, delight with the magnificent play of light. The paintings look like a real gem. Anyone can try their hand at this art. The technology for assembling a diamond panel is simple compared to other types of needlework. The detailed instructions in the article will help you create a masterpiece with your own hands
Toy made by hand. How to sew a soft toy with your own hands: patterns for beginners
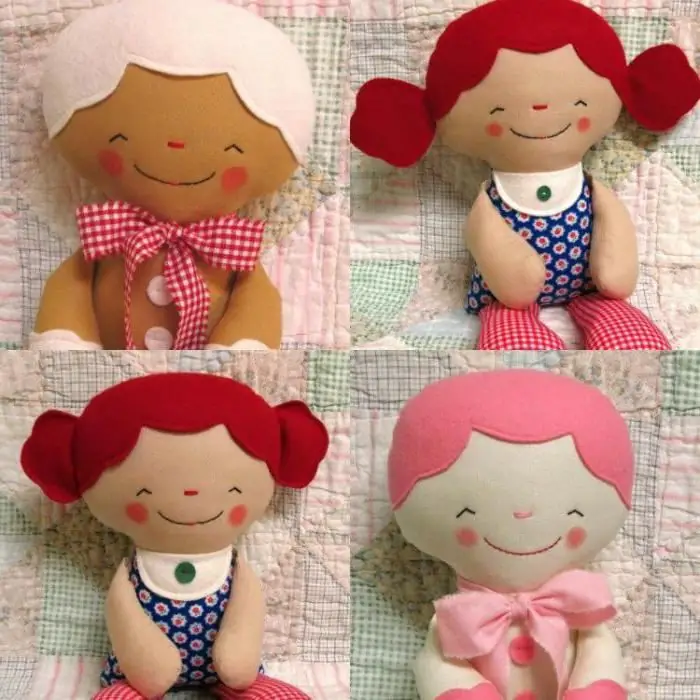
Given the popularity and demand for hand-made goods, a hand-sewn toy will be an excellent gift not only for a child, but also for an adult of any age: it can be presented as a souvenir or interior decoration. It's easy to make something like this. The main thing is to choose a simple pattern, in accordance with your experience
Where is the French seam used? His technique of execution and a brief description of other types of seams
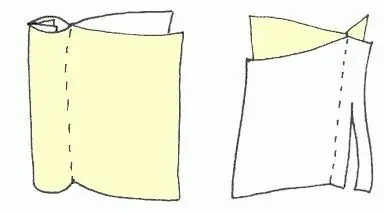
Probably, every girl in school at needlework lessons was taught the basic types of seams for hand and machine sewing. But over time, these skills disappear. And when it is required to apply knowledge in practice, it becomes an almost impossible task. Immediately you need to remember how to perform a French seam, how to tuck the fabric and re-master the art of threading the lower and upper threads in the machine. All fabric processing technologies are divided into two groups. It's easy to remember them
