Table of contents:
- Author Sierra Becker becker@designhomebox.com.
- Public 2024-02-26 03:47.
- Last modified 2025-01-22 22:09.
Collecting origami snowman usually begins before the New Year holidays to decorate the festive table or just put it under the Christmas tree next to Santa Claus and the Snow Maiden. But if you decide to get down to business for the first time, then you need to practice in advance. Now many are interested in what kind of art this is, how and from what to make modules, how to put them together to give the figure a certain shape.
In the article we will tell you in detail how to make such a craft step by step. The presented photos will give you an idea of which snowman is better to make, how to decorate it so that the character looks festive and really becomes a decoration of the room.
How to make modules
To learn how to create an origami snowman, let's figure out how to make the modules themselves, because without them you will not succeed. If you decide to practice, then take plain A4 white printer paper first. It needs to be folded in half to form a small rectangle you need.size, and then cut all the folds with scissors. You will get a lot of blanks. The painstaking work of folding them into modules lies ahead.

For an origami snowman, you will need at least 1000 pieces, so it is better to prepare the modules in advance and put them in a box. How to do them is clearly visible in the diagram in the photo above. The rectangle is folded in half in length, then folded in half in width. Then lower the side corners down so that the sides meet in the middle. Bottom should be drop-down edges. They turn the work over to the back side and bend triangular corners on the hanging parts from one side and the other.
Then you need to lift the resulting inverted trapezoid up and carefully smooth all the folds with your hand. It remains to fold the module in half so that the pockets are on the outside. Other modules will be inserted into these holes to form the desired part. If you learn how to make figurines and assemble modules together in different ways, then you can spend money and buy thick origami paper at the stationery store. The snowman from it will turn out to be more voluminous and large, and the details will take a little less.
Getting Started
So, the modules are prepared, you can start connecting them together. Next step by step consider how to make a snowman out of paper. To do this, you need to be able to connect modules. How this is done can be seen in the photo below. We take two modules and attach them to each other with the back sides. The right angle of the triangles must lieon the surface of the table. The third module connects them together. To do this, we insert the corners of the first row lying next to each other into both pockets of the third module. The remaining two corners will look to the sides and are still out of work. It turns out that two rows are laid out at once.

Next, we add another module to the first row, inserting its corner into the pocket of the third part, which is in the second row, sticking out to the side. Thus, a long line of two rows is built. You can raise the workpiece one more row up for better fastening. The principle is the same everywhere. When a long strip of modules connected together is obtained, the workpiece is carefully bent until a circle is formed. The edges are connected by another module of the second row.
Then the paper snowman blank is turned over so that the corners stick up. You need to act carefully so as not to ruin the structure. You need to put on the modules deeper, then the workpiece will keep its shape well.
Raising rows up
Volumetric paper snowman can consist of two or three balls. If you put the models one on top of the other in a circle, you get just a high cylindrical pipe. But we need the figure to first increase in size and then decrease, then visually it will seem that the snowman really consists of balls attached to one another.
How to do it? In each next row, the number of modules increases by 1 piece. This additional module is simply inserted between the parts of the underlying row, and alreadythe next row is built on more corners. Then the action is repeated, and another module is inserted, thereby expanding the ball. When the desired size is reached, the reduction in the number of parts begins. In each next row, one module is skipped. Do this for 2 or 3 rows to highlight the bottleneck between the balls. The next ball is performed similarly.
How to decorate an origami snowman for kids
For the figure of the resulting character, you need to make a hat. It can be an ordinary bucket, assembled from modules of a different, contrasting color. You can attach a top hat made of colored paper.

In the narrow space between the balloons, tie a thin brightly colored satin ribbon. It remains to add small details: hands, nose, mouth and eyes. You can also make eyebrows, as in the photo of the modular origami snowman above. Details are cut out of paper and fixed with PVA glue. The nose is made from a cut out circle, rolled up along the radius with a tube. Trim the bell with scissors and also attach it to the "face" of the character.
Snowman with pom-pom hat
After making the main figure of a snowman, a hat is assembled from modules of light and dark green color, between them make a row of contrasting, orange paper.

The scarf is cut out of red felt. At the edges, cut the "noodles" with scissors, as on a real product. You can decorate it with purchased snowflakes made of paper or foil. Everything sticks to the felt perfectly. The rest of the details are made by felting. If you are unfamiliar with this needlework method, you can replace them with paper ones or make them from knitting threads.
Colorful snowman
In order not to think about what to make additional elements from, you can create them with modules of a different color. Already when building the rows, consider where to insert the black modules for the buttons on the bottom ball.

Place a black mouth from several nearby reinforced modules on top. In the center, through 2 rows, insert red or orange nose modules, after 1 row, symmetrically insert black details for the image of the eyes. The hat is made in the same way as the voluminous paper snowman.
Let's look at how to collect "bagels" around the neck and hat of our character. This is done simply. The modules are inserted into each other completely, that is, two corners of one are inserted into both pockets of the other. It turns out a long "sausage", which is carefully wrapped around the snowman's neck and connect the beginning and end of the workpiece together.
Try your hand. As you can see, making origami is not difficult, but very exciting. If you decide to try to collect the figure of one character, then after working on it, you will immediately take up something else. Good luck with your creative endeavors!
Recommended:
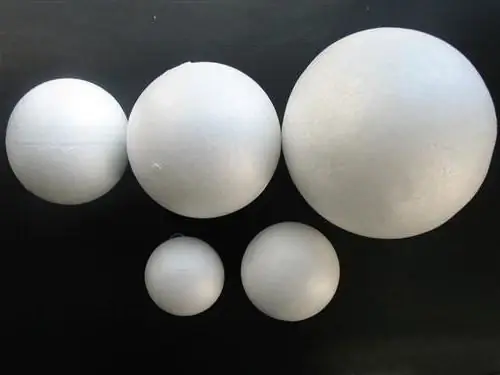
Styrofoam balls and crafts from them: master classes, ideas and description. Styrofoam snowman

Styrofoam balls are a versatile base for making various crafts. Where can I buy such blanks and can I make them myself? Detailed workshops on making a snowman and topiary, as well as many other interesting ideas for creativity especially for you in our article
Modular origami: a master class for beginners

In the article, we will consider how to make modular origami for beginners, how to fold a triangular module from a small rectangle with two corners and pockets, thanks to which various configurations and designs are assembled. It will be interesting to learn how to assemble the simplest origami, where to start, how to do DIY crafts step by step
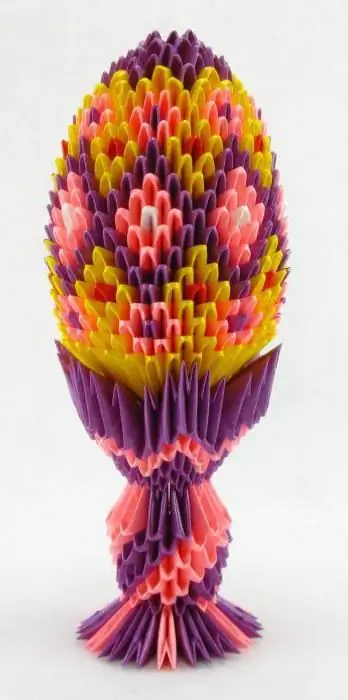
Easter egg from modular origami: master class

Holidays bring great mood, variety and a sense of joy into our lives. Perhaps that is why we are so looking forward to them. The bright holiday of Easter is no exception. The Jews roast a lamb on Pesach, the rabbit is considered a symbol of the Catholic holiday. And Christian Easter is associated with eggs painted in different colors
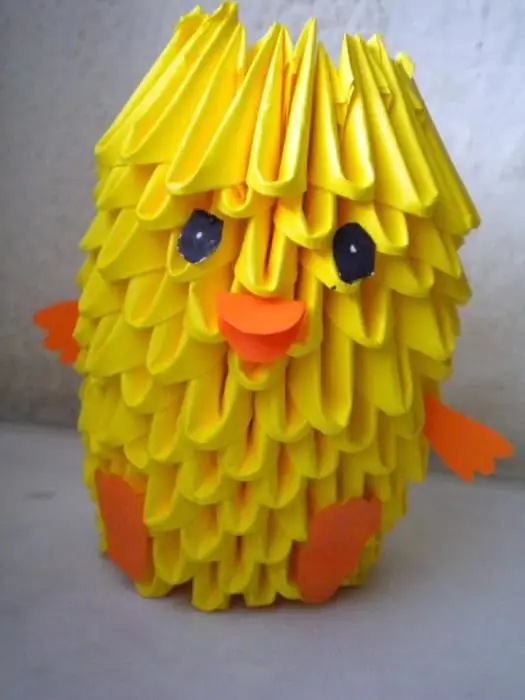
Modular origami chicken in the shell: scheme, master class

Modular origami is aimed at middle and young children. It is an additional education, a creative hobby and a method for the development of fine motor skills. Such paper souvenirs will be a great gift for parents and friends. Origami can decorate a corner with crafts or a shelf with indoor flowers. This article will show you how to make a modular origami chicken
Craft "Snowman from plastic cups" with your own hands in 30 minutes

Don't know how to decorate your house for the holiday quickly and cost-effectively? A great idea for decorating the interior and creating a New Year's mood is the craft "Snowman from plastic cups." It is not at all difficult to make such an interior figure with your own hands. Detailed instructions and design tips - especially for you in our article
