- Author Sierra Becker becker@designhomebox.com.
- Public 2024-02-26 03:46.
- Last modified 2025-01-22 22:09.
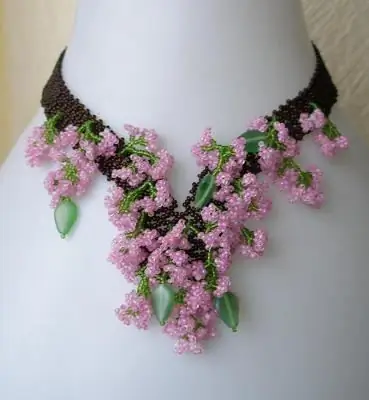
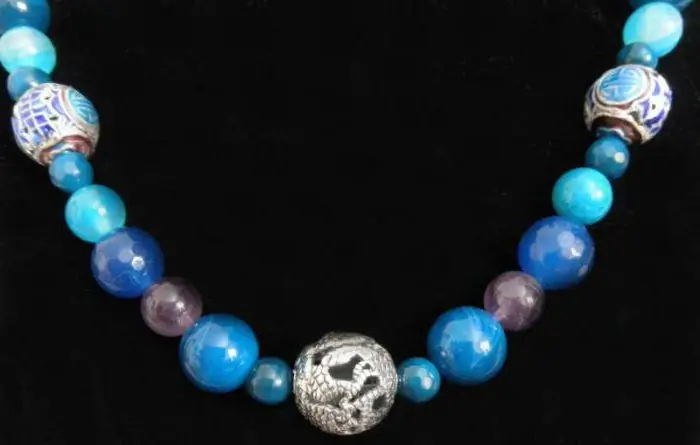
Homemade jewelry has one advantage over purchased ones - they are unique and unrepeatable in their way. Work and a particle of the author's soul are invested in their manufacture. These products are becoming more and more popular. Making jewelry with your own hands is not difficult, you just need to have perseverance, patience and a desire to create.

What products can you make yourself?
It is possible to make almost any jewelry with your own hands. And bracelets, and rings, and necklaces, and chic beads, and earrings, and fabric flowers, and an exclusive headband, and a beautiful hairpin, and a stylish headband. To, for example, make a bezel, you will need little time. Take the base and just cover it with fabric, leather or velvet, sew on rhinestones, feathers, beads, flowers. Get creative. And to make more original jewelry, you will have to master different techniques, such as beading, macrame, polymer clay modeling, and so on. Not alldo-it-yourself jewelry is created using any materials according to the schemes. Sometimes it will be enough just to show imagination and turn the idea into reality. For example, you can decorate a boring blouse with rhinestones, precious stones, beads or artificial flowers. In this way, you can decorate a bag, jeans, sweater, skirt. Give old things new life and make your fantasies come true. Next, we present to your attention the master classes. Products will be made using satin ribbons.
DIY ribbon decorations: master classes

Making an elegant bracelet
You will need the following materials:
- tape;
- rubber band;
- pencil;
- beads (diameter 10 mm);
- needle.
Assembly
First, you should calculate the number of beads you need for the bracelet. We advise you to divide the length of the wrist by the diameter of the beads. So, let's get to work. We take the tape and retreat from the edge of 20 centimeters. Mark with a pencil. There remains a “tail”, which we will need at the end of the work. We will put marks in advance at equal distances from the wrong side so that the loops between the beads are the same. In our example, this distance will be 15 millimeters. So, we have applied all the marks, it is time to start assembling the bracelet. We start from the front side. We string a bead on a needle with an elastic band and make a loop from the tape. Do not forget to "walk" the needle an equal distance. We continue. We make a loop again and string a bead. We assemble the bracelet according to the following sequence: loop - bead and so on. When the length of the jewelry reaches the desired, proceed to the fitting. If the bracelet fits in size, then we tie the ends of the elastic band and the “tails” of the ribbon with a bow. The bracelet is ready. In the same way, you can make children's jewelry with your own hands.
Making a hair clip

You will need the following materials:
- satin ribbon;
- floss threads;
- organza ribbon;
- button;
- silicone lace;
- lighter;
- regular needle;
- gypsy needle;
- base (hairpin);
- scissors;
- glue;
- glue gun;
- tweezers.
Assembly
We take a piece of satin ribbon (5 centimeters wide) and cut three parts of 6 centimeters with scissors. We should get the same rectangles, from which we make three ovals, not equal in size. To prevent the products from being disheveled, we singe their edges with the flame of a lighter. Then we take each oval with tweezers and deform them with a flame to make petals. Next, you need to add the figures from largest to smallest. Let's put them aside for now. Take an organza ribbon 3 centimeters wide and 15 centimeters long and singe the edges. Take a needle and make a basting thread. Pull the thread and collect the tape with an "accordion". Secure this position with a thread. We sew the ovals and put an organza detail on top and attach a button. We thread the silicone lace into the gypsy needle and all togetherflashing. We take a glue gun and connect our base and the resulting flower. The hairpin is ready.
Create your own jewelry and surprise others with them!
Recommended:
Beaded necklace is an excellent handmade jewelry

The most popular type of handmade jewelry is a beaded necklace, it usually does not require much time and effort to make
The best DIY gift idea

The best DIY gift idea is, without a doubt, a figment of your own imagination, a unique and original product designed by you personally. But what if fantasy refuses to invent unique gifts for loved ones? Take advantage of the ideas of recognized masters given in this article
Creative gift for March 8 with your own hands. Gift for mom on March 8

Do you think that all women still like only surprises that cost a lot of money? In fact, expensive underwear, diamonds, fur coats and cars are far from always able to deliver the same pleasure as a creative gift for March 8, made by oneself. After all, creating it, you invested in this gift not only your time and imagination, but also all your soul and love
Jewelry wire: what is it and how to use it? Accessories for jewelry

What girl doesn't love jewelry? Almost everyone, from a baby to a gray-haired elderly woman, is not indifferent to beads, earrings, necklaces and rings. And it is beads that are an element that can emphasize the lightness and elegance of the image or create a bright accent in a strict and everyday outfit. And although most often the beads are strung on a regular thread, it is more correct to use a jewelry cable for these purposes
Beauty jewelry, handmade jewelry. Homemade jewelry made of beads, beads, fabric, leather

All women dream of being the best. They come up with different details of their image to stand out from the crowd. Jewelry is best suited for these purposes. DIY jewelry is always unique and original, because no one else in the world will have the same accessory. It's very easy to make them
