Inhaltsverzeichnis:
- Autor Sierra Becker [email protected].
- Public 2024-02-26 04:44.
- Zuletzt bearbeitet 2025-01-22 22:11.
Handgemachtes Geschenk - was gibt es Schöneres? Solche Überraschungen sind insbesondere für die engsten und liebsten Menschen angenehm. Eine Origami-Papierkrawatte, zusammen mit einem skurrilen kleinen Hemd, ist ein tolles Vatertags- oder Geburtstagsgeschenk für einen Bruder oder Großvater. Dieser Aufmerksamkeitsbeweis kann sowohl ein eigenständiges Souvenir als auch eine niedliche Postkarte oder ein Behältnis für Geld oder einen süßen Preis sein.

Erforderliche Materialien
Süße Origami-Krawatte mit Hemd kann mit oder ohne Anlass verschenkt werden. Es gibt viele Männerfeiertage, an denen sich dieses Handwerk als nützlich erweisen wird: 23. Februar, Baumeistertag, Vatertag, Tag des Eisenbahnarbeiters und so weiter, ganz zu schweigen von zahlreichen Geburtstagen, Jubiläen und anderen denkwürdigen Daten. Es braucht nur 2 Blatt Papier und ein wenig Zeit, um dieses entzückende kleine Ding zu erstellen.
Sie müssen nur Schritt für Schritt den Anweisungen folgen und schon h alten Sie ein einzigartiges und originelles Geschenk in Ihren Händen. Für ein HemdSie benötigen ein Blatt Papier (8,5 cm x 11 cm) und für eine Krawatte benötigen Sie ein quadratisches Blatt Papier (5 cm x 5 cm). Die Abmessungen sind ungefähre Angaben, je nach Abmessungen des Fahrzeugs können sie variiert werden, ohne jedoch das Seitenverhältnis zu verletzen.

Hemd machen:
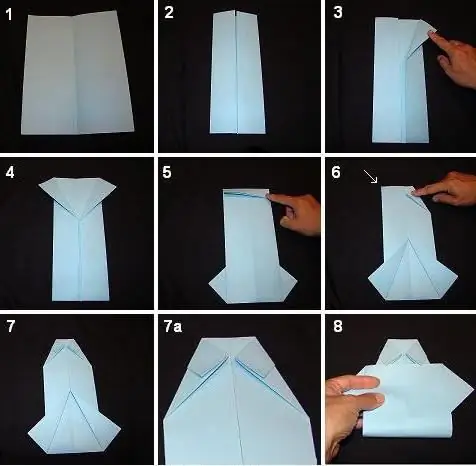
Schritt 1: Nehmen Sie ein Blatt Papier, f alten Sie es in der Mitte und bügeln Sie die F alte sorgfältig. Dann Expander zurück
Schritt 2: F alten Sie die linke und rechte Kante des Papiers in Richtung der Mittelf alte, um zwei Klappen zu bilden.
Schritt 3: Nehmen Sie die obere Innenkante jedes Flügels und f alten Sie sie nach außen, sodass eine „V“-Form entsteht. Das werden die Ärmel
Schritt 4: Drehen Sie das Papier auf die andere Seite und auch vertikal
Schritt 5: Nehmen Sie die obere Kante des Papiers und f alten Sie es etwa 2-2,5 cm nach unten. Dies ist der erste Teil des Kragens
Schritt 6: Drehen Sie das Projekt zurück auf die andere Seite. Nimm die obere linke und rechte Ecke und f alte sie um, sodass sie sich in der Mitte treffen. Du hast jetzt ein Halsband
Schritt 7: Das Shirt ist fast fertig, f alte einfach die Unterkante des Papiers (mit dem "V") nach oben
Schritt 8: Es bleibt, die untere Kante vorsichtig direkt unter den Kragen zu stecken. Es ist fertig, jetzt haben Sie ein Miniatur-Origami-Shirt! Wenn Sie keine V-F altung machen, wird das Hemd ärmellos

Unentschieden
Um das Handwerk zu vervollständigen, fügen Sie eine elegante Papierkrawatte (Origami) hinzu. Wie man es macht? FolgenAnleitung.

- Um eine Origami-Krawatte zu machen, nimm ein quadratisches Stück Papier und f alte es für eine diagonale F alte in der Mitte.
- Nehmen Sie zwei gegenüberliegende Ecken und f alten Sie sie zur Mitte hin, um ein Dreieck zu bilden.
- Drehe das Papier dann auf die andere Seite.
- F alte die obere Ecke fast bis zur Mitte der ganzen Figur.
- Nun biegen wir die obere Spitze der gef alteten Ecke bis zu einem bestimmten Abstand (in der Abbildung ist dies durch eine gepunktete Linie angedeutet).
- F alte die spurähnliche Figur entlang der gestrichelten Linie nach oben. Das ist ein Krawattenknoten. Indem Sie seine Seiten biegen, können Sie es quadratisch machen. Wie Sie möchten.
- Glätten der unteren Ecken des Trapezes oben in der Figur.
- Blatt auf die andere Seite drehen.
- Nehmen Sie die Außenseiten und f alten Sie sie zur Mittelf alte.
- Drehen Sie das Motiv wieder auf die andere Seite.
- Du hast jetzt eine süße Origami-Krawatte. Fühlen Sie sich frei, Verzierungen in Form von Knöpfen, Aufklebern, Designs oder Applikationen hinzuzufügen.


Es bleibt noch die Origami-Krawatte am Hemd zu befestigen und fertig ist das Souvenir. Wenn es sich um eine Postkarte handelt, können Sie eine Gratulation darauf schreiben und sie verschenken. Wenn eindie ursprüngliche idee war, einen behälter für ein geldgeschenk zu machen, dann kann der gef altete schein in den f alten einer krawatte oder eines hemdes versteckt werden.
Empfohlen:
Wie man an einem Abend eine Papiermaske mit eigenen Händen macht
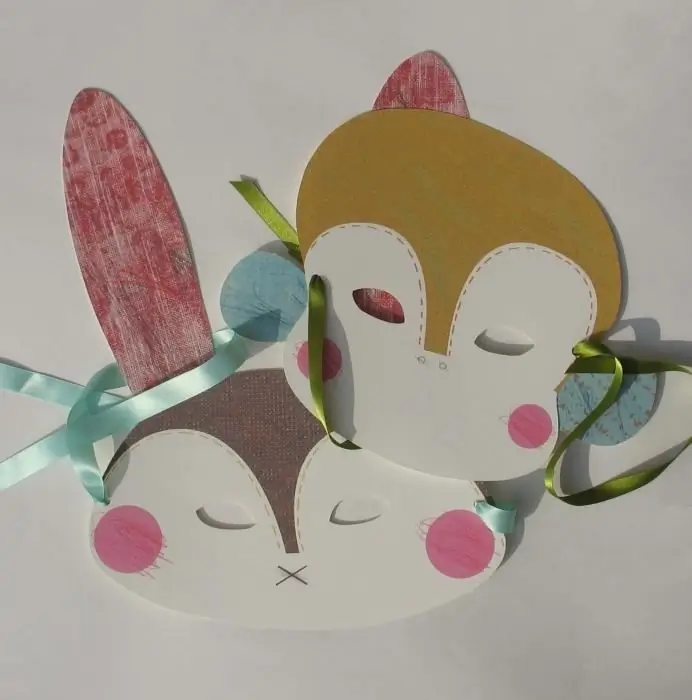
Jeder Feiertag wird zu einem echten Karneval, wenn Sie ihm einen hellen Akzent verleihen - Papiermasken. Zumal man sie in wenigen Minuten selbst herstellen kann
Wie man eine Blume mit einem Tulpenmuster aus Stoff näht: eine Meisterklasse
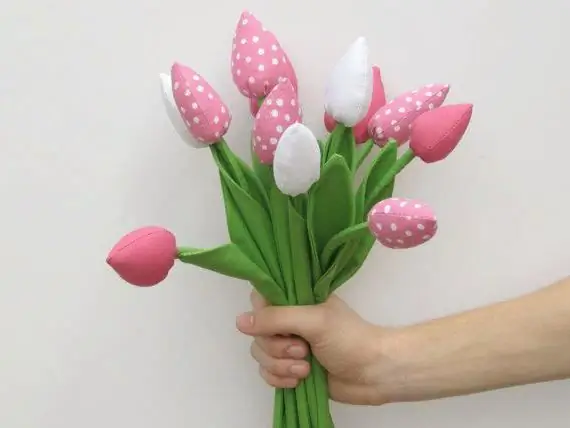
Wenn der Frühling kommt, erblüht die Natur und der Duft der Blumen erfüllt die Luft. Und welche Pflanzen werden mit den ersten Frühlingssonnenstrahlen in Verbindung gebracht?
Wie man mit eigenen Händen Haare für eine Puppe macht: eine Meisterklasse. Wie man Haare an eine Puppe näht
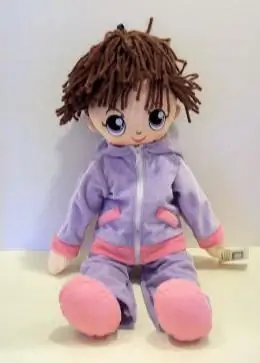
Dieser Artikel beschreibt alle möglichen Ideen und Möglichkeiten, um Haare für Textilpuppen und Puppen zu kreieren, die ihr Aussehen verloren haben. Haare für eine Puppe selbst zu machen ist viel einfacher als es auf den ersten Blick scheint, eine detaillierte Beschreibung hilft Ihnen dabei, dies sicherzustellen
Schöne Stoffblumen auf einem Kleid: eine Meisterklasse mit einem Foto
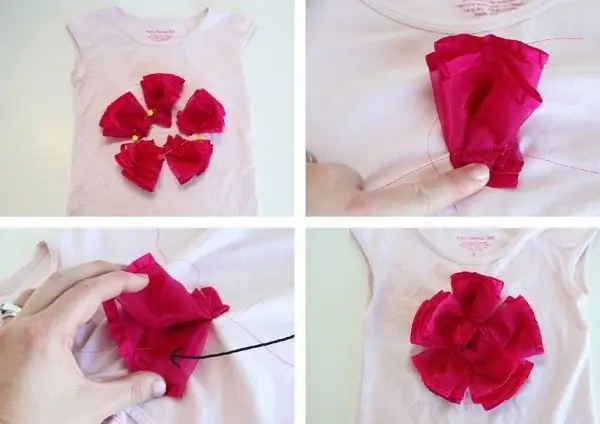
Handgemachte Produkte erregen immer besondere Aufmerksamkeit. Außerdem spielt es überhaupt keine Rolle, wo genau sie eingesetzt werden. So lässt sich eine Stoffblume zum Beispiel in eine elegante Brosche, ein dekoratives Accessoire verwandeln oder sogar statt einer Schleife an einem Geschenk befestigen. Es hängt alles nur von Ihrer Vorstellungskraft und Ihren Vorlieben ab
Wie man sein eigenes Hemd eine Nummer kleiner macht
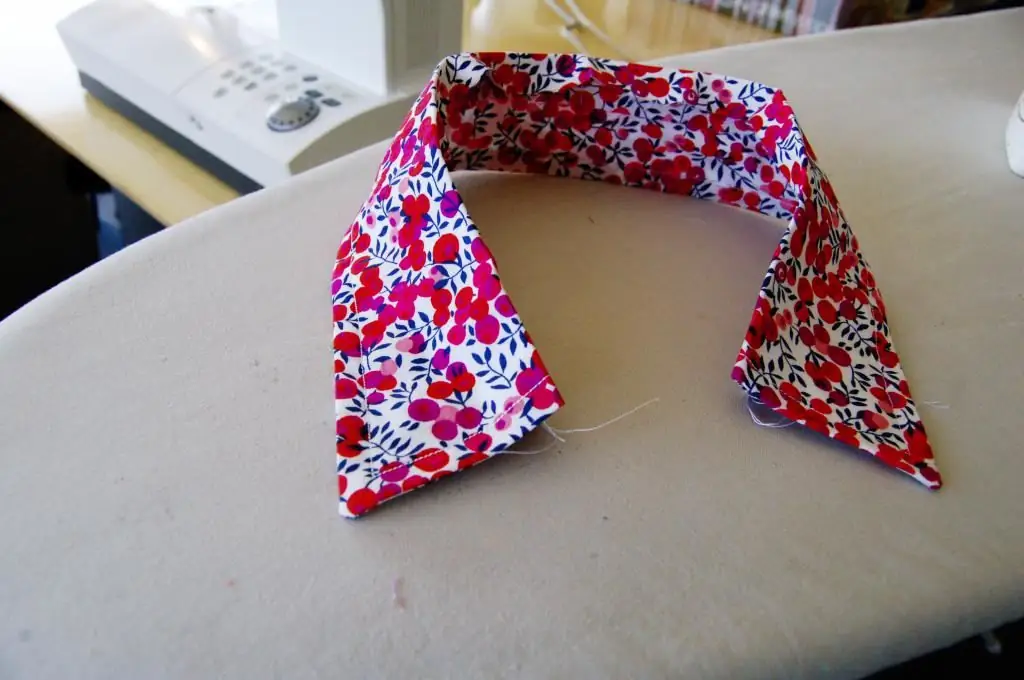
Es kommt nicht selten vor, dass in Online-Shops gekaufte Artikel nicht den angegebenen Größen entsprechen. Wenn eine solche Peinlichkeit eingetreten ist und das Geld bereits bezahlt wurde, dann bleibt nichts anderes übrig, als das neue Ding ins Studio zu geben. Aber wenn Sie zumindest ein wenig mit Nadel und Faden befreundet sind, empfehlen wir Ihnen, Geld zu sparen und die Kleidung mit Ihren eigenen Händen zu ändern. In unserem Artikel betrachten wir ein Beispiel, wie man ein Hemd näht
